Generating and setting up your Terms and Conditions with iubenda is pretty straightforward, and you’re guided along the way. In this post, we’ll show you how to create your first Terms document from start to finish. If you need any additional help, please feel free to message us via the chat window (you can find it by clicking on the green help button on the right and then clicking on the live chat button at the top). We’re happy to answer any of your questions anytime.
First up, you’ll need to access your iubenda account. If you haven’t created one already, you can do so here. Once you’re signed up it’s time to get started. The process is simple. We’ll show you how to:
Once you’ve logged into your dashboard, it’s time to begin generating your Terms and Conditions.
If you’re adding the terms to a site area or project that already exists within your dashboard, then simply click on the particular website/app to enter into the management area.
If you haven’t yet added a website to your iubenda account, do so by clicking on the Start generating button at the top right of the dashboard to open up the generation modal, filling in the relevant details and then clicking on Start generating button at the bottom of the modal window. This will also take you into the management area.
Once there, scroll down and click on Generate now under the Terms and Conditions section.

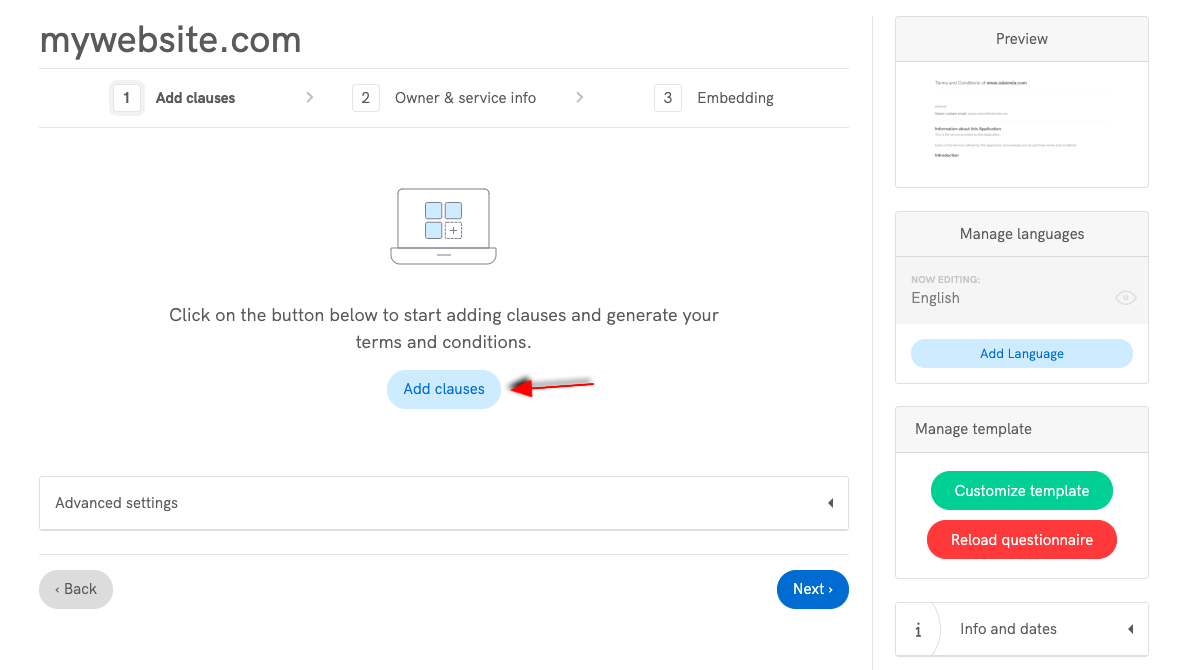
This will take you to the edit area of the Generator where you can add and customize clauses.
Now, by default, a basic set-up was created when you clicked on “Generate” (you can view this by clicking on Preview in the right sidebar). However, it’s important to point out that, since Terms and Conditions are legally binding documents, it’s in your best interest and we strongly recommended that you customize your documents to suit your particular situation and business needs. We’ll show you how to do that in the next step.
As mentioned above, your Terms of Use need to to be adapted to your business’ individual needs. You do this by editing and adding clauses.
First, click on the Add clauses button
This will open up a window which allows you to select and edit the clauses you’d like to add. If it’s your first time using the Terms and Conditions Generator, you see the following:
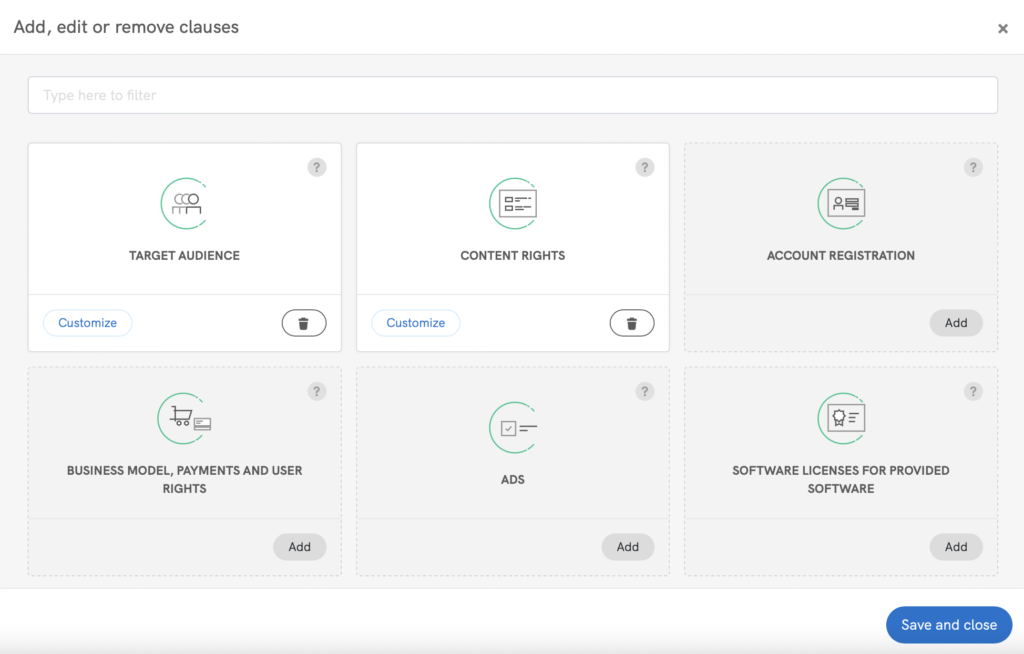
As indicated by the image above, the most commonly needed clauses are pre-selected by default as part of a basic set-up, but you can de-select or add additional clauses where necessary. The clauses are separated into intuitive modules, with on-click guides to help you throughout the set-up process.
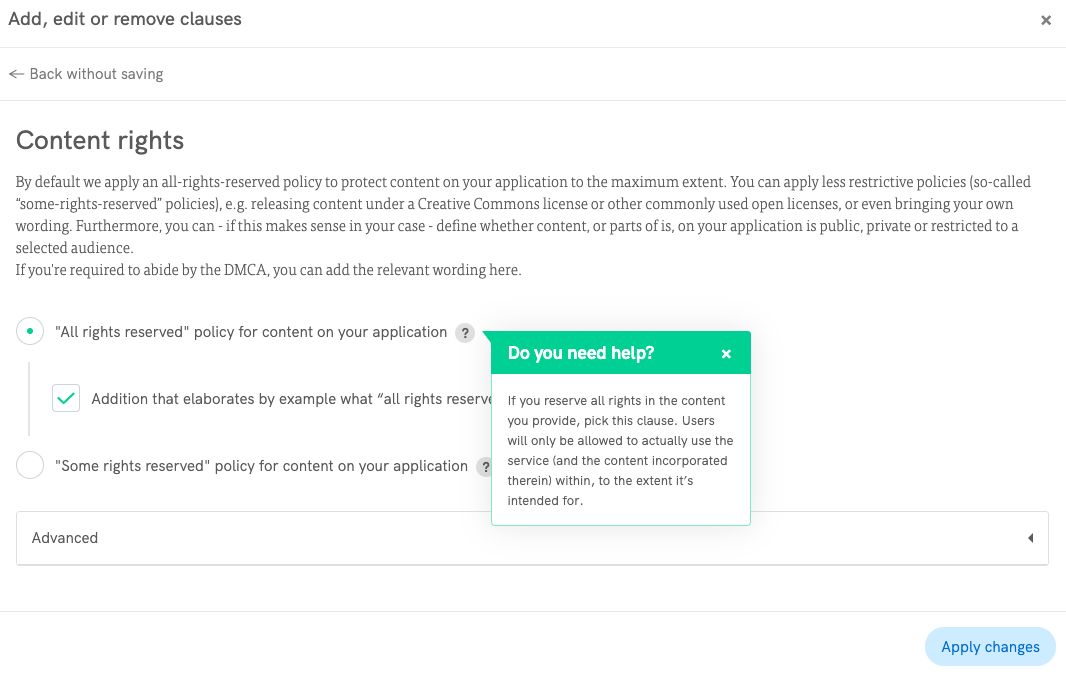
To edit a particular clause, simply click on the Customize button. This takes you into the clause where you modify as needed, to fit your particular scenario.
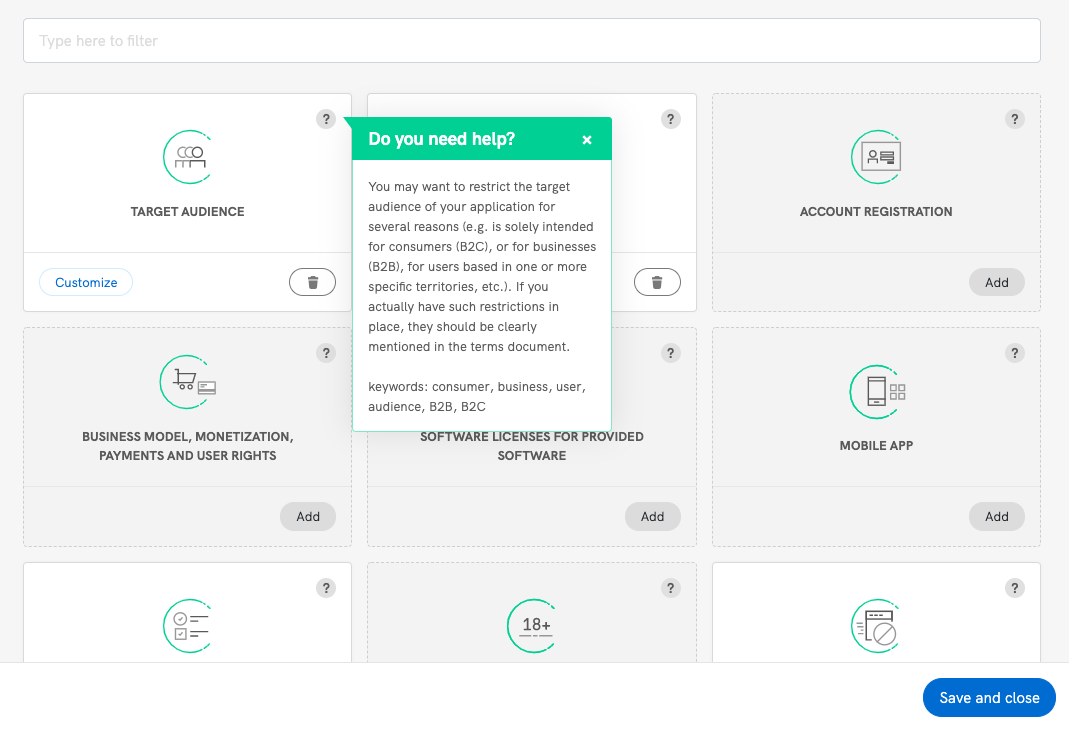
As mentioned above, the on-click guides are available throughout to make sure that you choose the options that best fit your individual needs.
Click on the Apply changes button on the bottom right to save your customizations. This action will take you back to the main “clauses modal” window. If you’re finished customizing your terms, you can click on Save and close on the bottom right of this window and move on to the next step below.
Now that you’re finished editing, you’ll need to enter your business details into the Owner’s Field. To do so, simply click on the Next button on the bottom right of the screen.
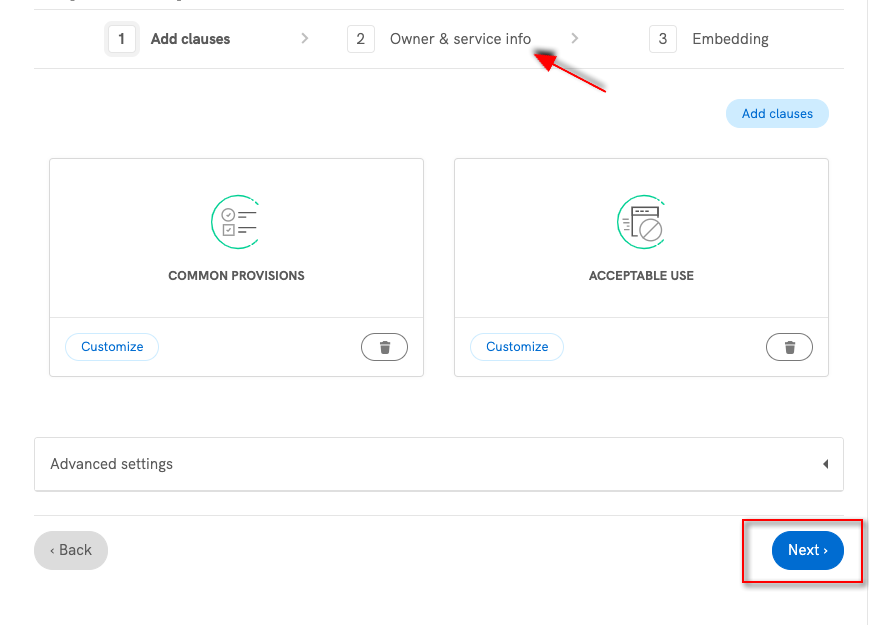
This will take you to the Owner & Service info page.
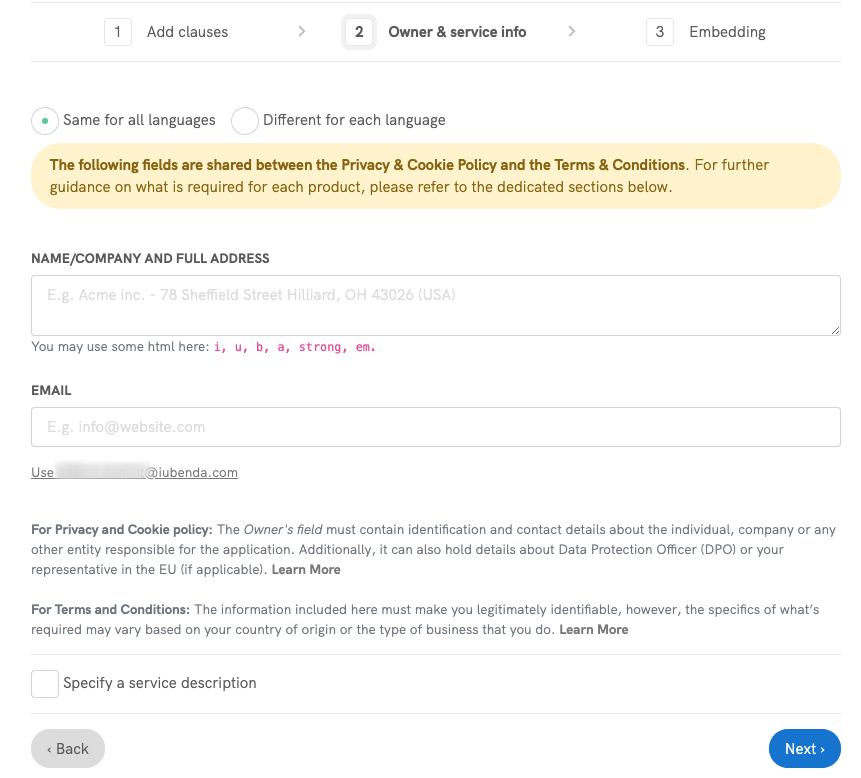
Here you’ll need to enter your legally valid business and/or contact info.
The details of what’s required for your specific scenario might vary based on where your business is located and who it targets. The most commonly required information here usually includes the owner’s/business’ identity, contact details, postal address, and relevant codes of conduct that apply to your business model (if any).
Since Terms of Service are legally binding contracts, it’s important to state legitimate details here. Also, do consider that, in many cases, under Consumer Law, customers must be able to contact you if the need arises.
More details on what’s required can be found in the dedicated guide.
Once you’re finished entering the required info into the Owner’s field, click the Next button at the bottom right of the page. This will display the finished Terms document. Subsequently clicking on Next button at the bottom right of this modal window will then take you to the integration section of your site area. You can also access this integration area throughout the generation process by clicking on the Manage and Embed link at the top left of the Generator.
The final step is to integrate the terms you’ve just generated with your website/ app. This is done by using the embedding code, or link provided on the “embed” page.
You can add the terms to your site/app in the following ways:
You can read more about how to add your terms and conditions to your site/app in the dedicated guide.
To access any of these methods, simply click on the relevant tab (if you already have a privacy policy active on that site, you’ll need to scroll to the Terms and Conditions section), copy the code snippet or text link depending on your chosen method, and follow the instructions in the guide linked above.

And you’re done!
We constantly monitor the major legislations to keep the clauses available to your documents valid and up-to-date, however, should you need to manually update clauses, personal details, contact details etc., you can simply log back into your iubenda dashboard and make changes at any time.