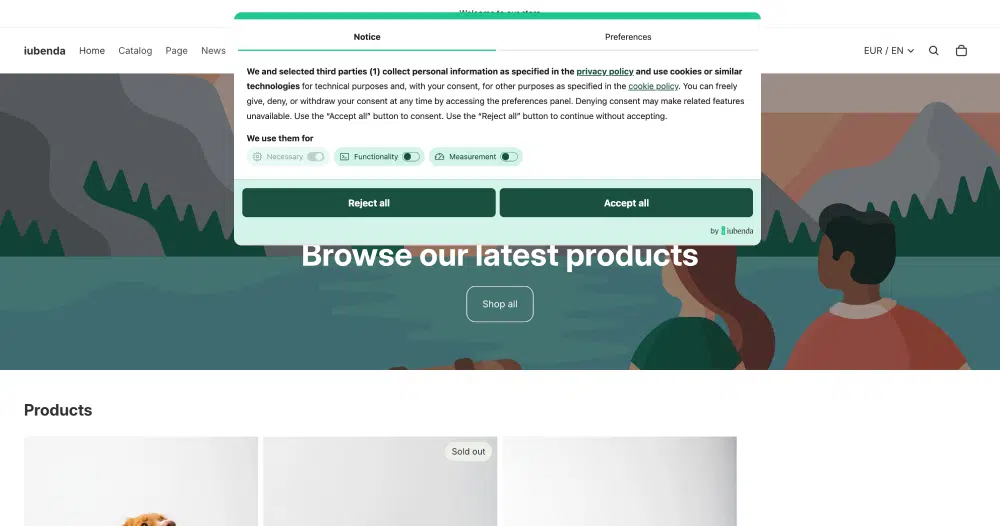
Once you’ve integrated the privacy policy on your Webflow site (which also includes the cookie policy if you’ve activated it), you can complete the setup by embedding Privacy Controls and Cookie Solution. This lets you display a fully customizable cookie banner, collect cookie consent, and implement prior blocking as required by the ePrivacy Directive, GDPR, and other privacy regulations.
Caution
To install the Privacy Controls and Cookie Solution you need to add custom code to the <head> of your site. This requires a paid Webflow Site plan (Basic or above). On the free Starter plan, you can only link to your iubenda-hosted policy page. More info on Webflow’s custom code documentation.
What the solution supports
When you embed the Privacy Controls and Cookie Solution on your Webflow site, you get access to the full feature set of the iubenda cookie management platform:
- Fully customizable cookie banner with options to match your site’s branding and colors
- Automatic cookie policy generation based on the services detected on your site
- Auto-blocking of scripts that install cookies before consent is collected
- Integration with Google Consent Mode v2 (iubenda is a Google-certified CMP)
- Integration with IAB’s Transparency and Consent Framework (TCF 2.3)
- Support for US state privacy laws (CCPA/CPRA, VCDPA, CPA, CTDPA, and others)
- Support for the Swiss Federal Act on Data Protection (FADP)
- Support for Brazil’s LGPD
- Granular, per-category consent (e.g. Functionality, Experience, Marketing)
- Geo-detection to limit consent requests to regions where legally required
- Storage of consent proofs for accountability
1. Generate a cookie policy
First, go to your iubenda Dashboard and click on [Your website] > Privacy and Cookie Policy > Edit. You’ll notice a Cookie Policy box in the right column.
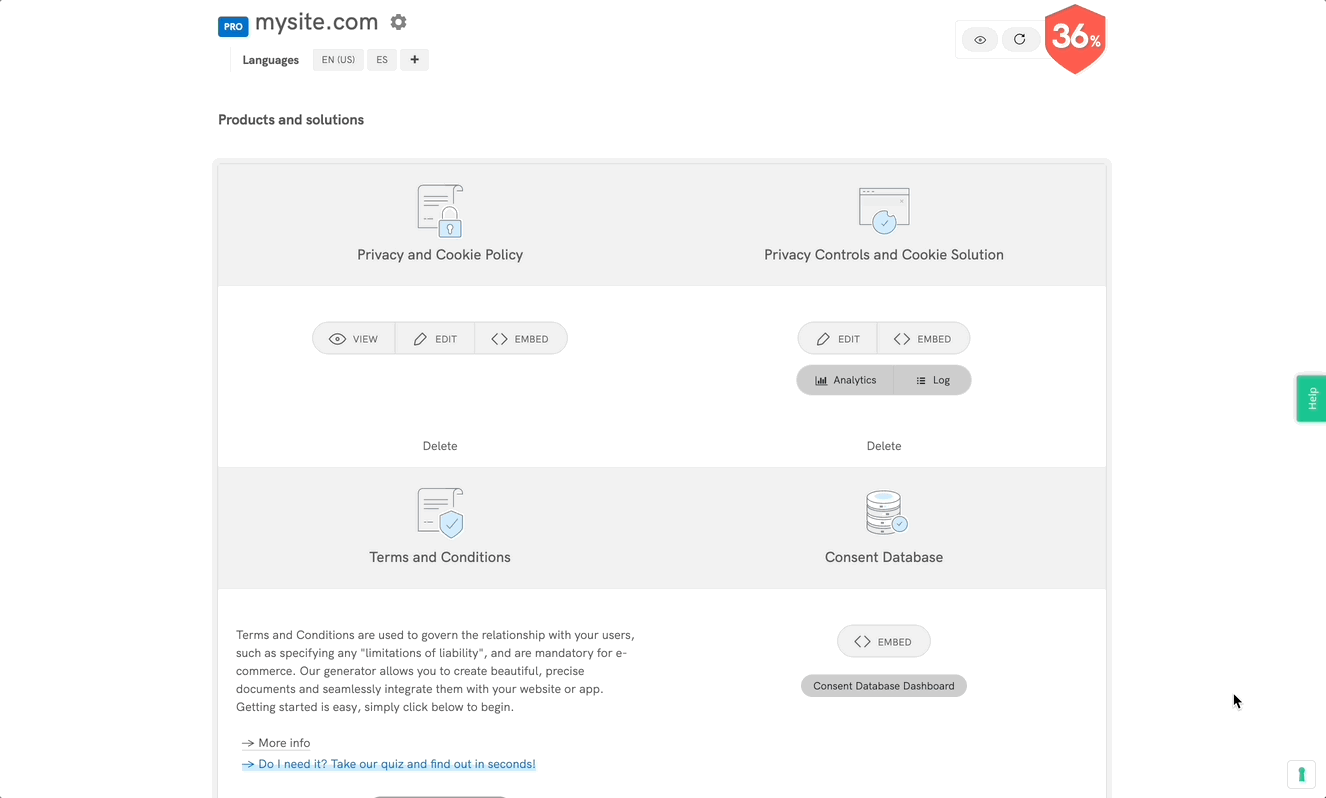
Click on Activate cookie policy and Save changes: your cookie policy will be generated automatically based on the configuration of your privacy policy.
Note
The Privacy Controls and Cookie Solution requires that you link to a cookie policy from your banner as legally required. If you have the cookie policy feature activated on your iubenda account, the Privacy Controls and Cookie Solution automatically integrates your cookie policy into the solution once the option is selected.
If you already have your own cookie policy, you can add the link in the advanced view of the Privacy Controls and Cookie Solution configurator (see below). Select Custom under Cookie Policy > Cookie Policy URL. More info on the Privacy Controls and Cookie Solution advanced guide.
2. Add the cookie banner
Click on Generate now under Dashboard > [Your website/app] > Privacy Controls and Cookie Solution.
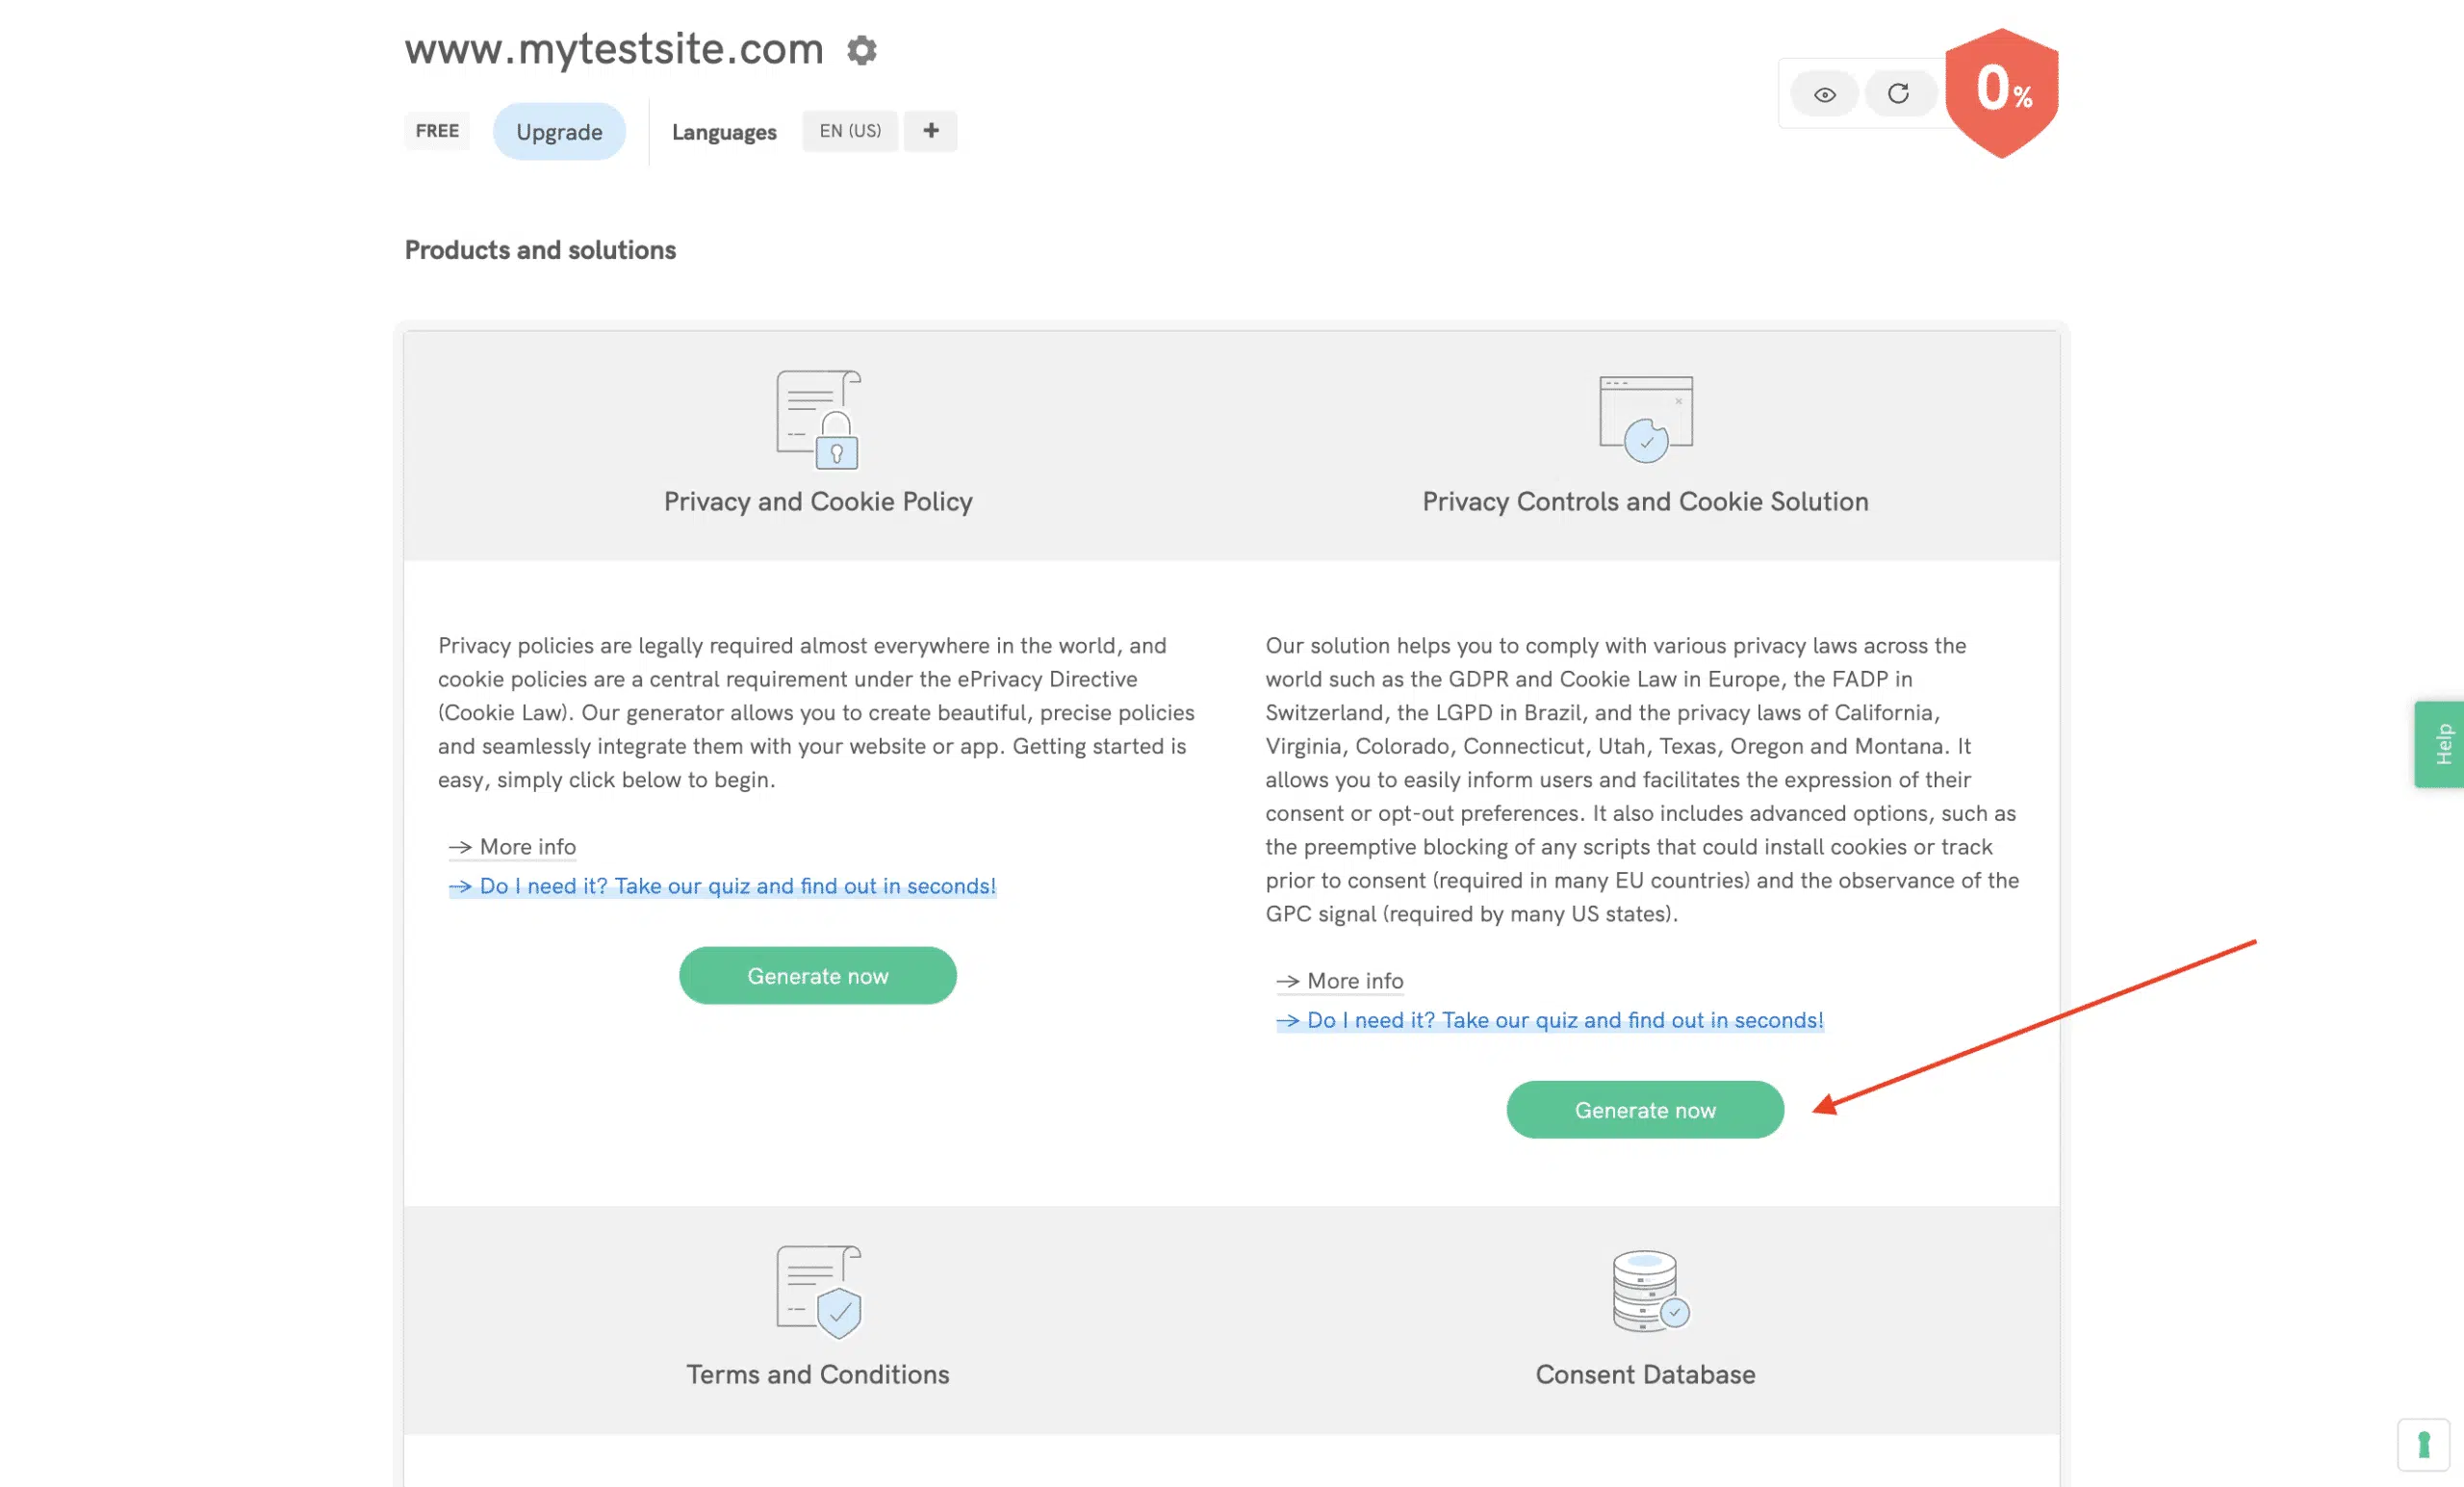
This will take you directly to the configuration panel of your cookie banner.
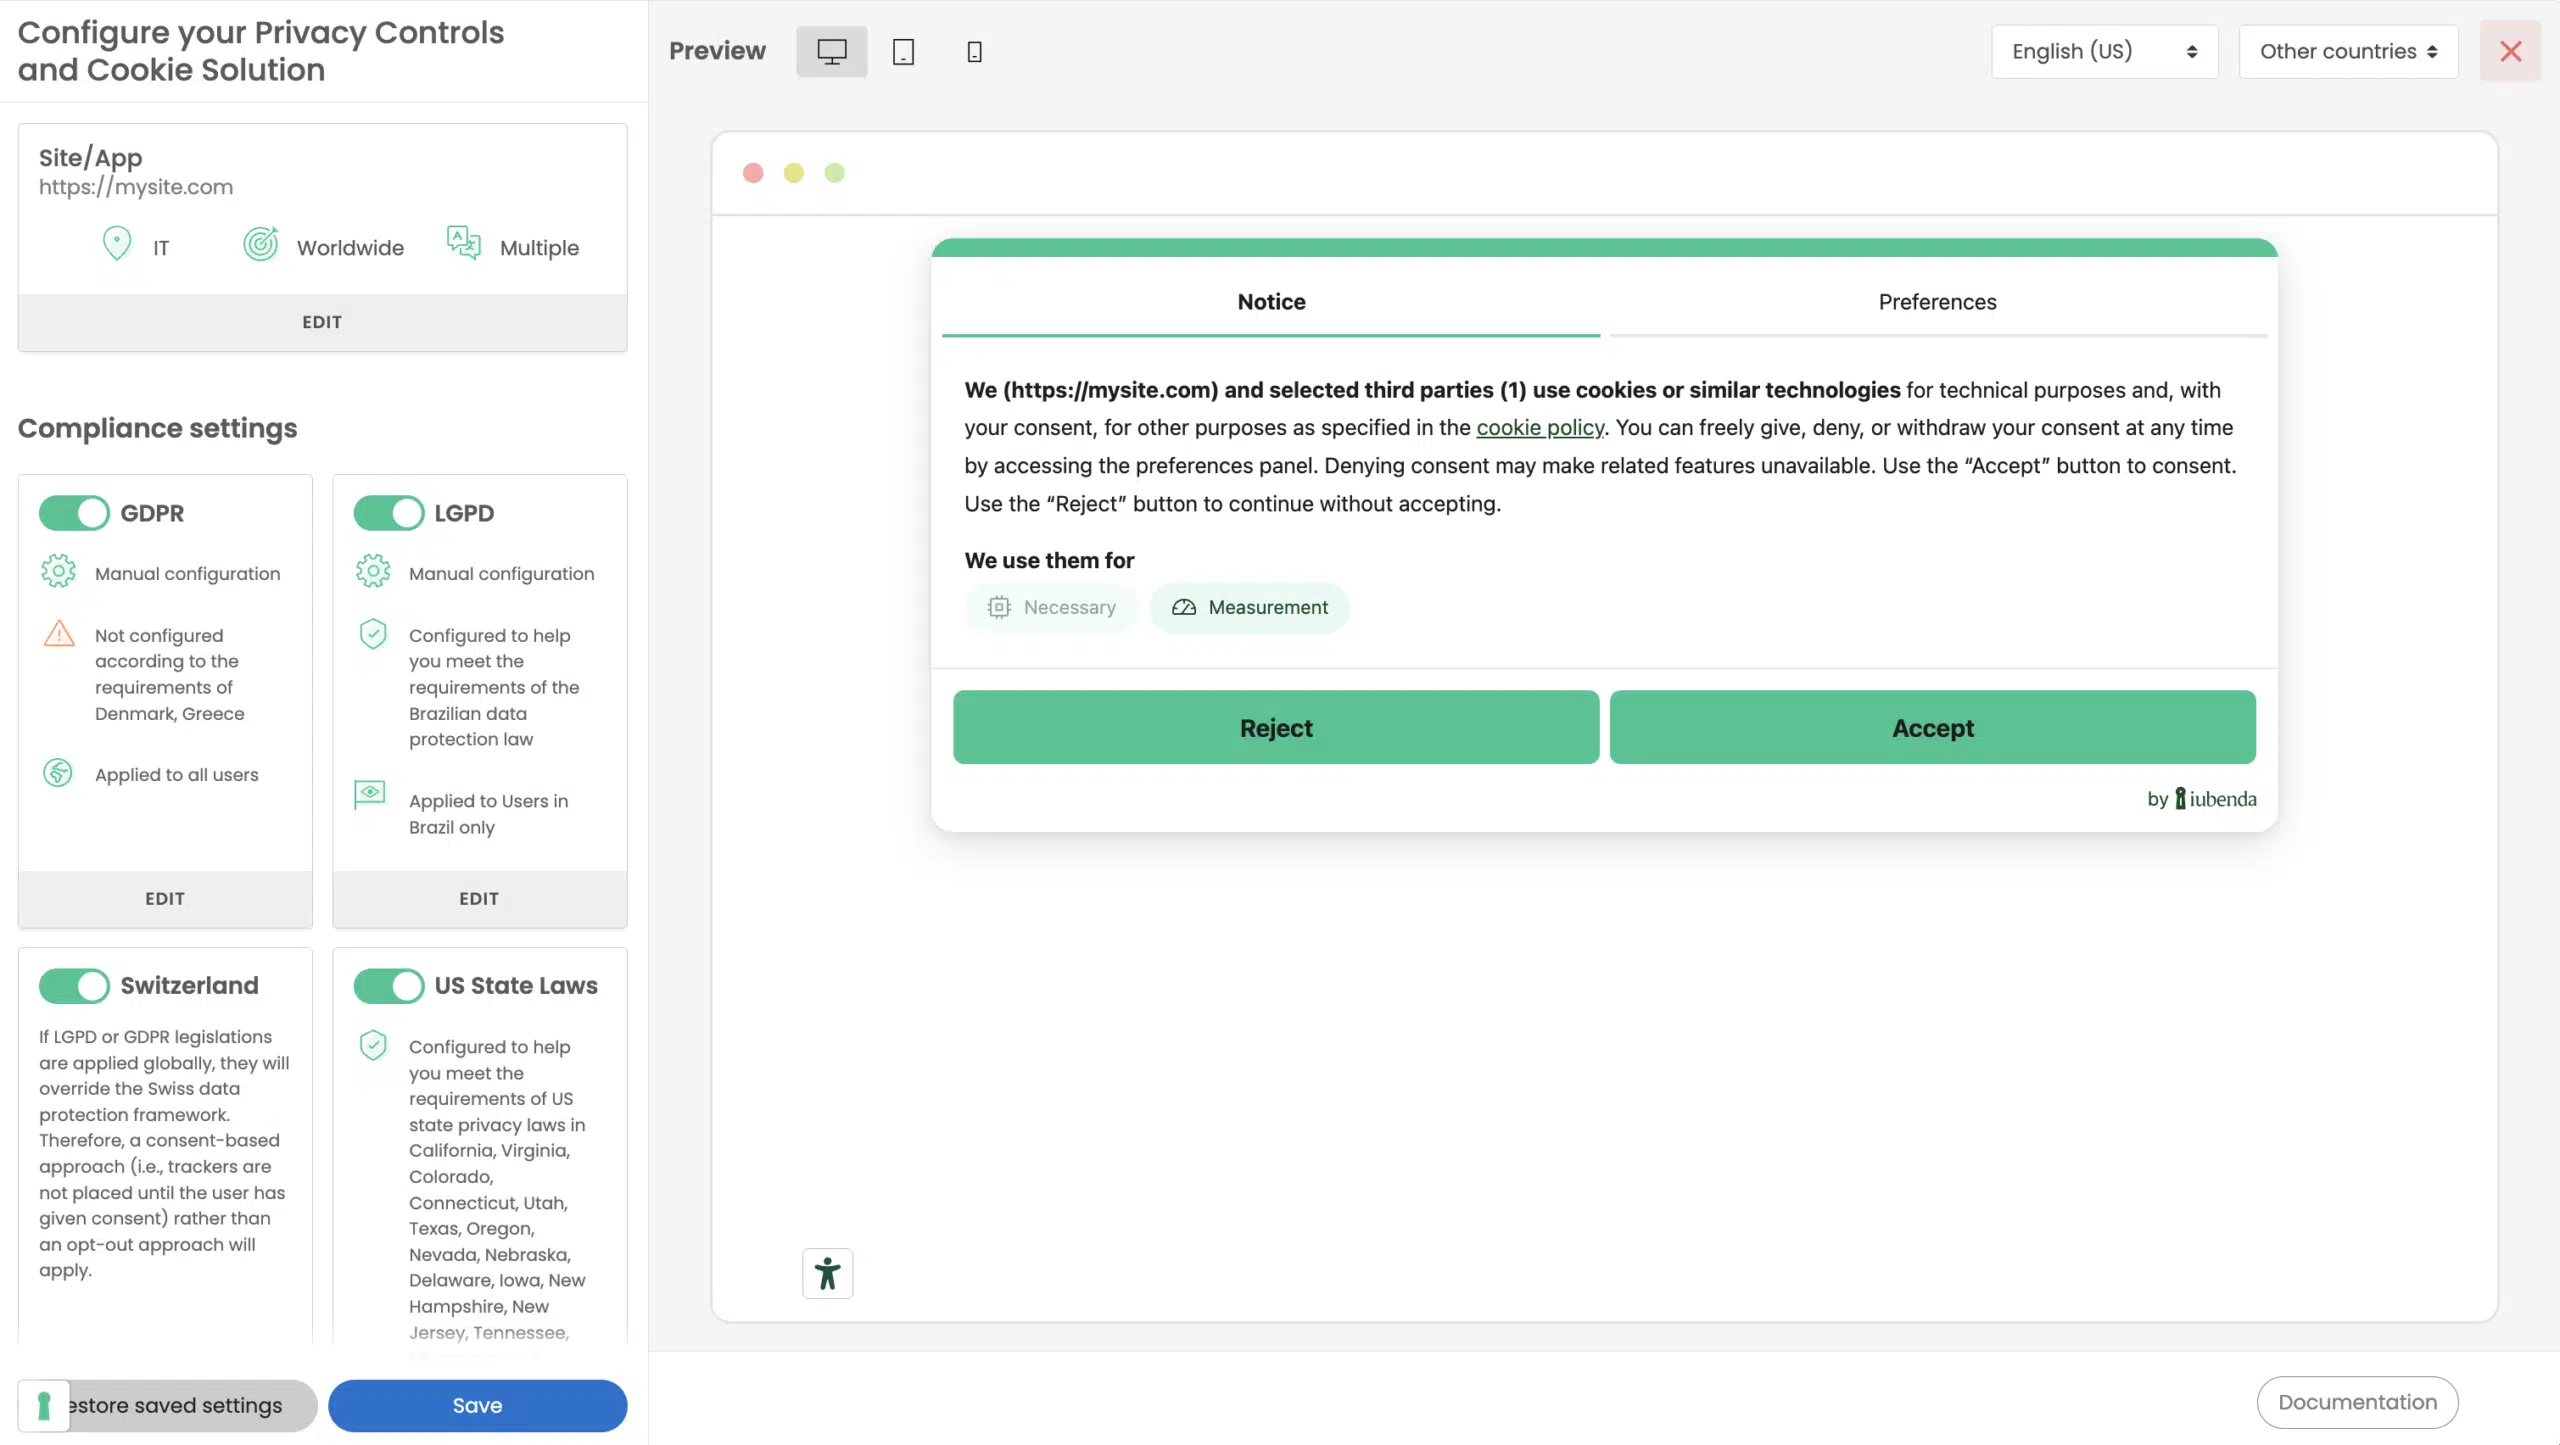
Once customized as you like, Save and Copy your Privacy Controls and Cookie Solution snippet.
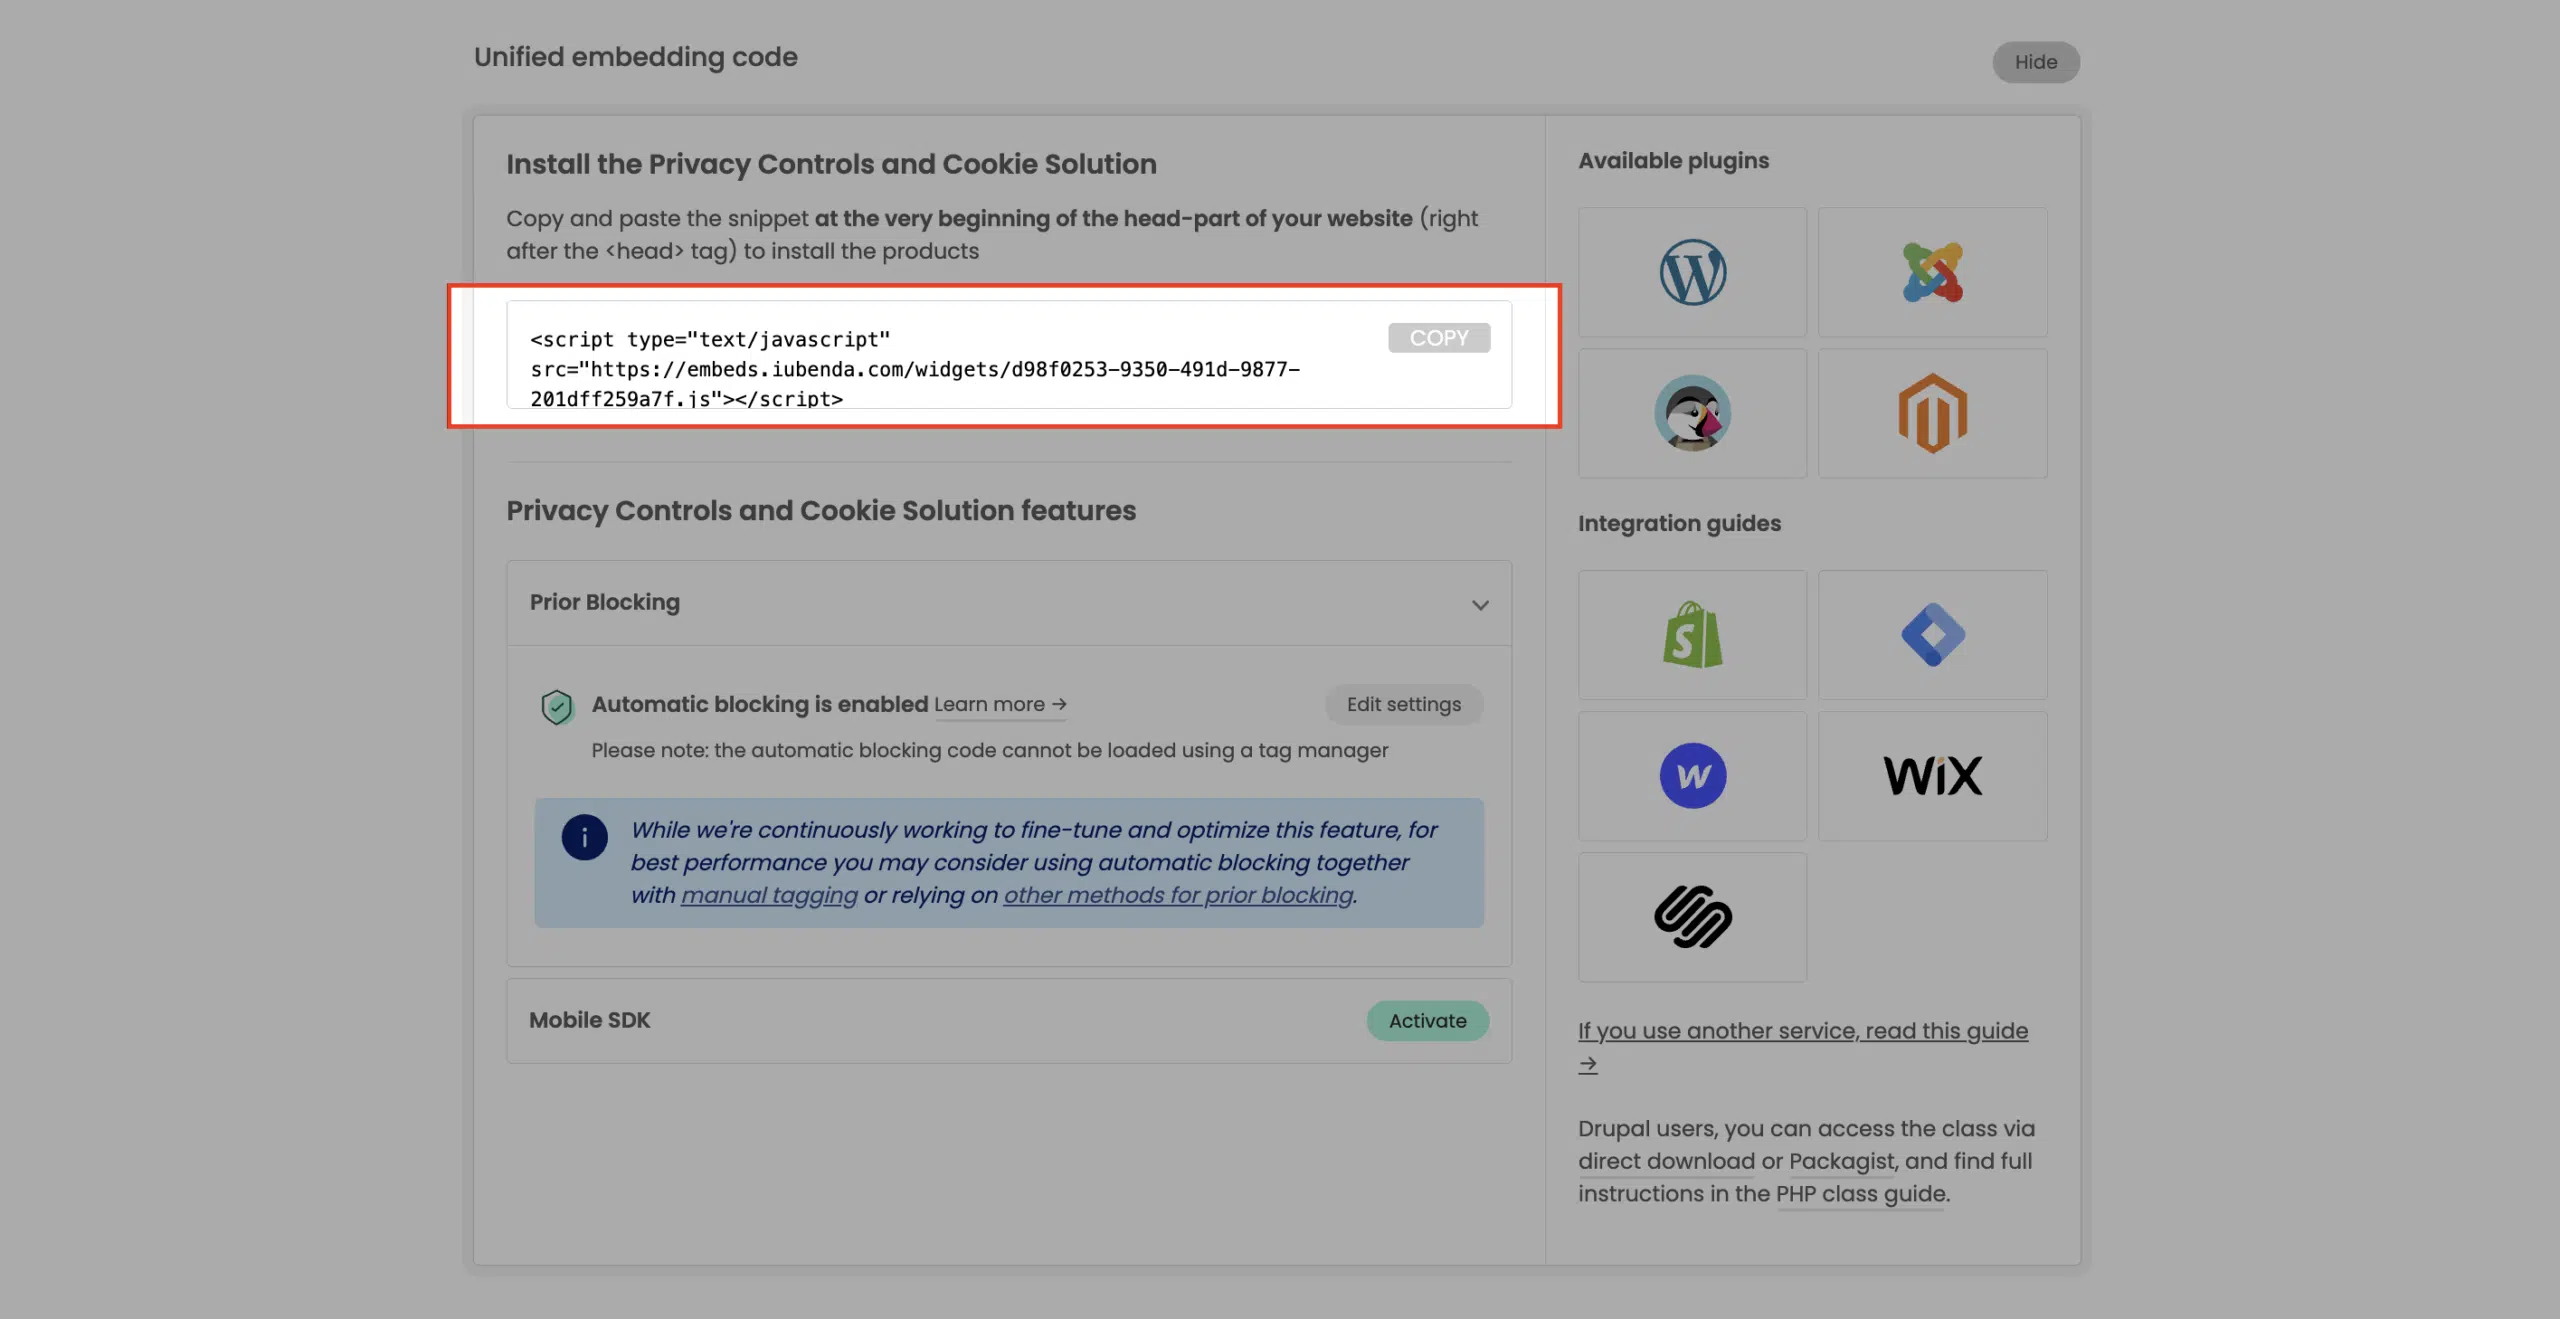
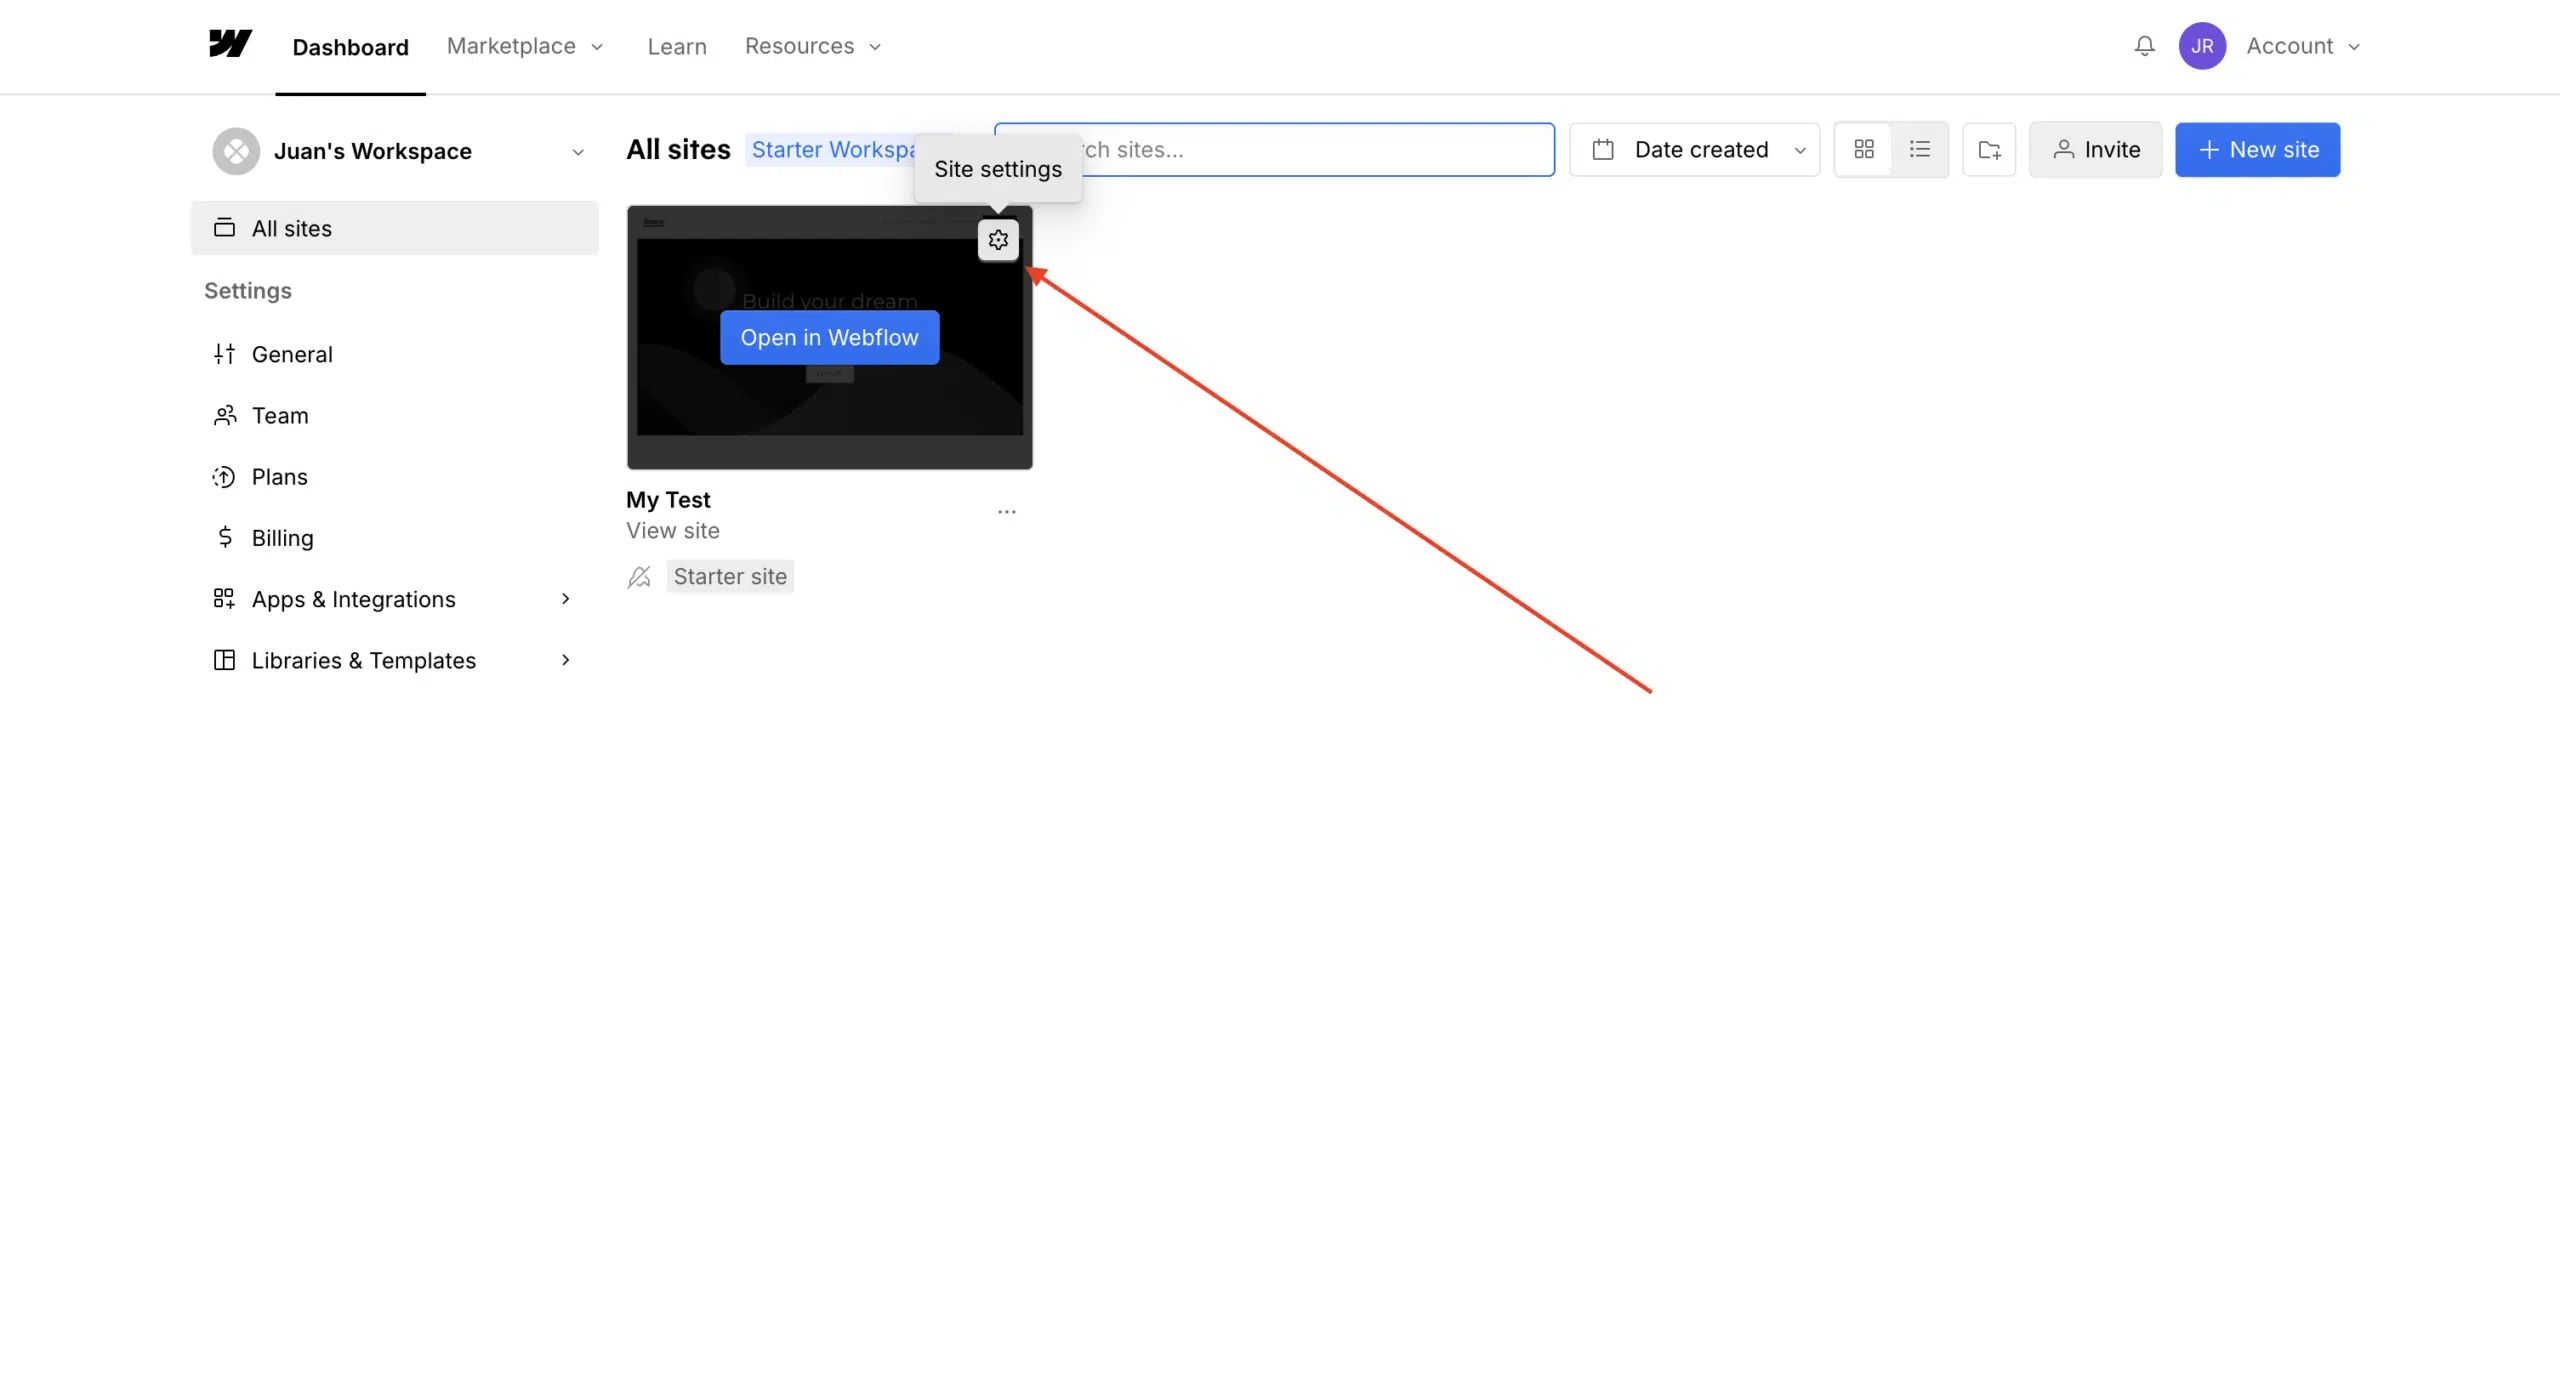
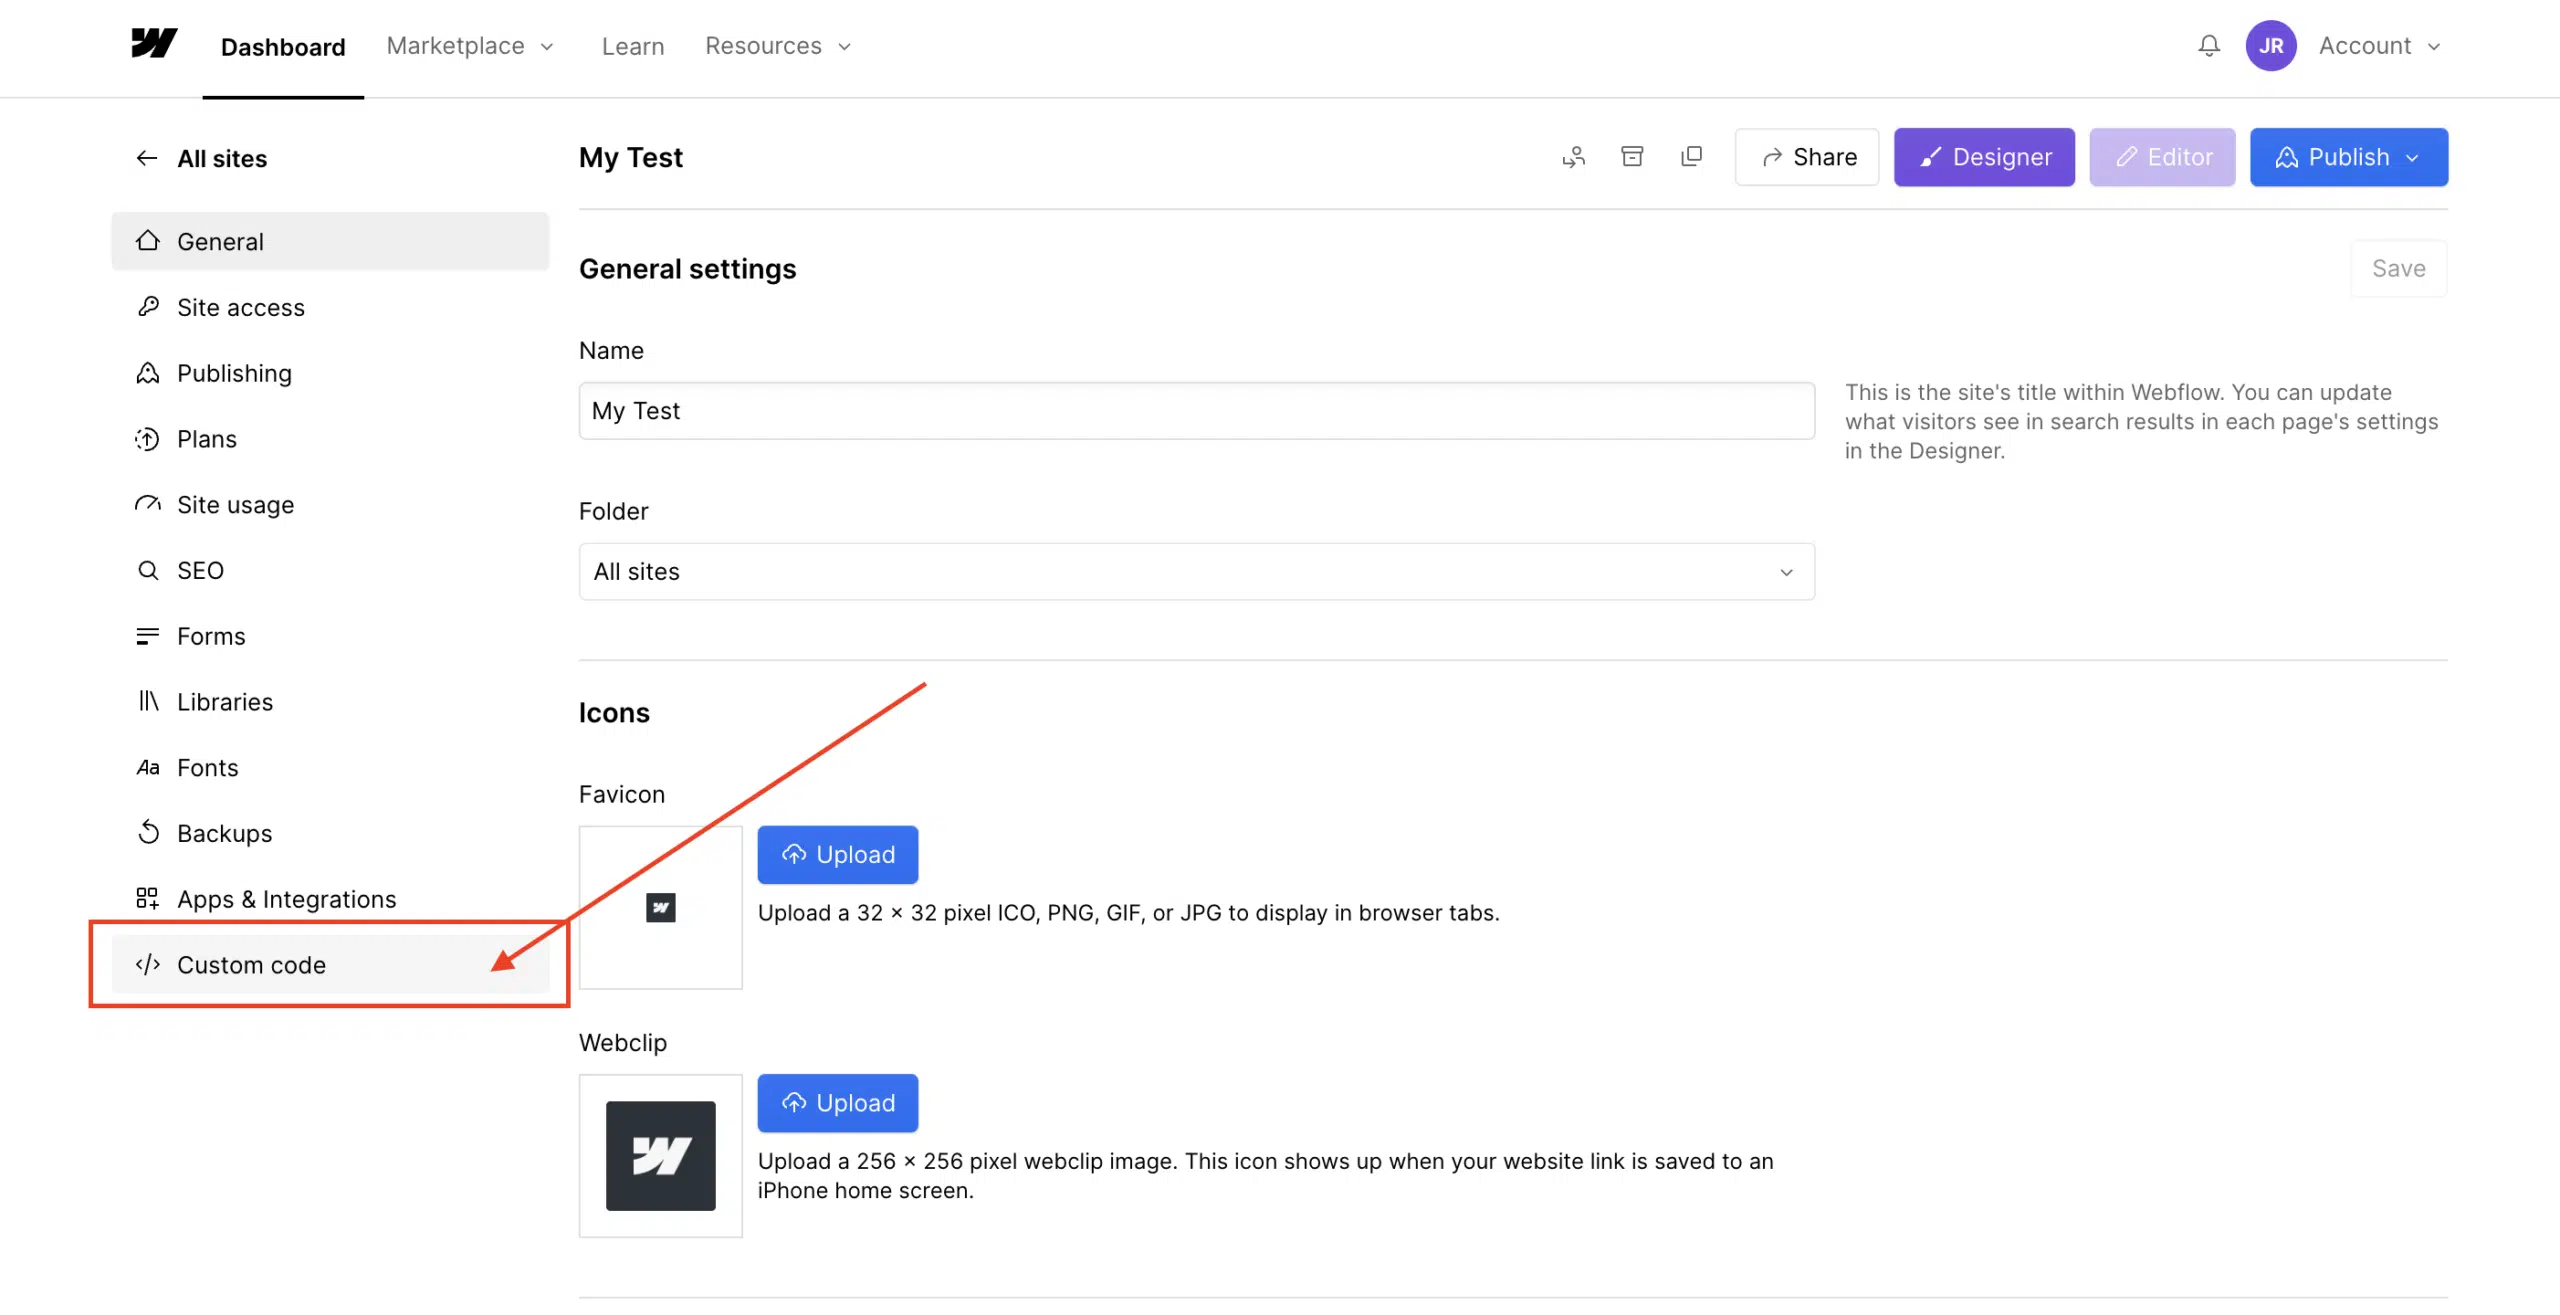
Now go to your Webflow dashboard and select your project’s Site Settings.
Click on the Custom Code tab.
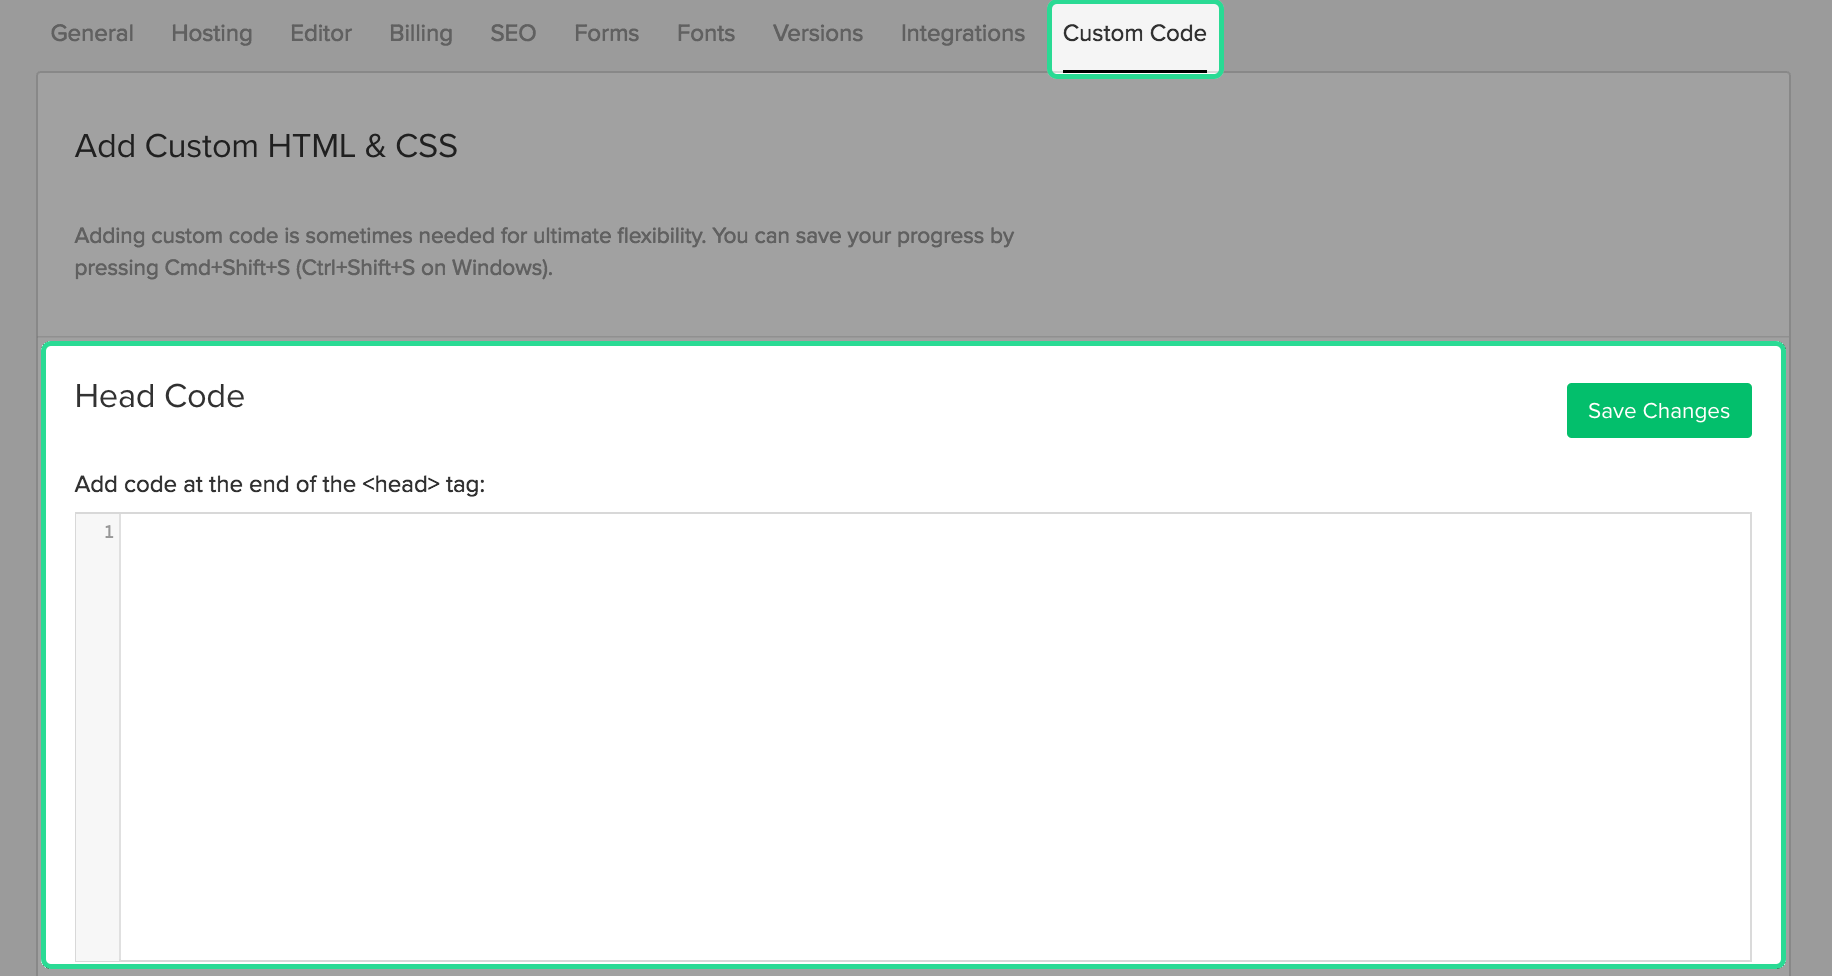
Paste your Privacy Controls and Cookie Solution code snippet in the Head Code section and click on Save Changes.
Publish your site and you’re done.
3. Set up prior blocking of cookie scripts
Few categories of cookies are exempt from the consent requirement. Therefore, almost all scripts that install or can install cookies must be blocked before consent is obtained.
Simplify your cookie-blocking process with auto-blocking
There’s a simpler option available for the prior blocking of cookies and trackers. Our auto-blocking feature automates the process, saving you time and effort.
If you prefer to manually tag your scripts, see our guide on blocking via manual tagging or explore other methods in our general introduction to the prior blocking of cookies.
Using Google Tag Manager with Webflow
If you manage third-party scripts through Google Tag Manager (GTM), you can use iubenda’s GTM template for more granular control over consent-based script firing. This approach works well for Webflow sites with complex tracking setups.
Good to know: Webflow-specific considerations
Keep these points in mind when using Privacy Controls and Cookie Solution on Webflow:
- Paid plan required. Custom code injection (needed for the cookie banner and consent management) requires a paid Webflow Site plan (Basic or above). On the free Starter plan, you can only link to your iubenda-hosted policy page.
- Multilingual setups. If you use a third-party translation tool like Weglot, the cookie policy language may not switch automatically when the site language changes. Test your multilingual setup to confirm the correct language is displayed.
- Auto-blocking coverage. Auto-blocking works at the JavaScript level and handles most third-party scripts. For scripts not automatically detected, use the manual tagging method or route scripts through Google Tag Manager for more control.