I integrated my Terms and Conditions on Webflow thanks to iubenda’s simple and easy-to-follow guide!
Need to add terms and conditions on Webflow? Stick around to find out what to include in your Webflow terms and conditions, and how to generate and integrate terms and conditions into your Webflow site.
→ Already generated your terms and conditions? Jump on How to add Terms and Conditions to Webflow.
While it’s often the least interesting page on a website, Terms and Conditions are pretty vital as they allow to set the rules for using your website. While Terms and Conditions may not always be required by law, having Terms and Conditions protect you and your business from liabilities and more – so it’s always a smart thing to include.
If you’re running an e-commerce site, please note that having terms and conditions may be mandatory as they typically contain legally mandatory information like warranty and withdrawal information.
NOTE: If you are processing personal data in any way, you are required by law to have a formal Privacy Policy in place.
As your Webflow is unique to your activities and services what you need to include in your Terms and Conditions may differ from another’s. However, it is important to note that there are a number of clauses that are standard for almost every website’s terms and conditions.
- Identification and description of your business
- User guidelines that clearly state what is acceptable use while visiting the website
- Disclaimers and limitation of liability statements
Please see here for what basic terms and conditions should include.
Our Terms and Condition Generator is optimized for Webflow. Start generating your Terms and Conditions now.
How to add iubenda’s Terms and Conditions on Webflow
Once you’ve generated your Terms and Conditions with iubenda, there are three ways to integrate it on your Webflow website. You can either:
- Use our widget. This method requires a Webflow paid plan.
- Add a direct link to your site that will then lead your users to your iubenda Terms and Conditions document; or
- Directly embed the Terms and Conditions into your website. This method requires a Webflow paid plan.
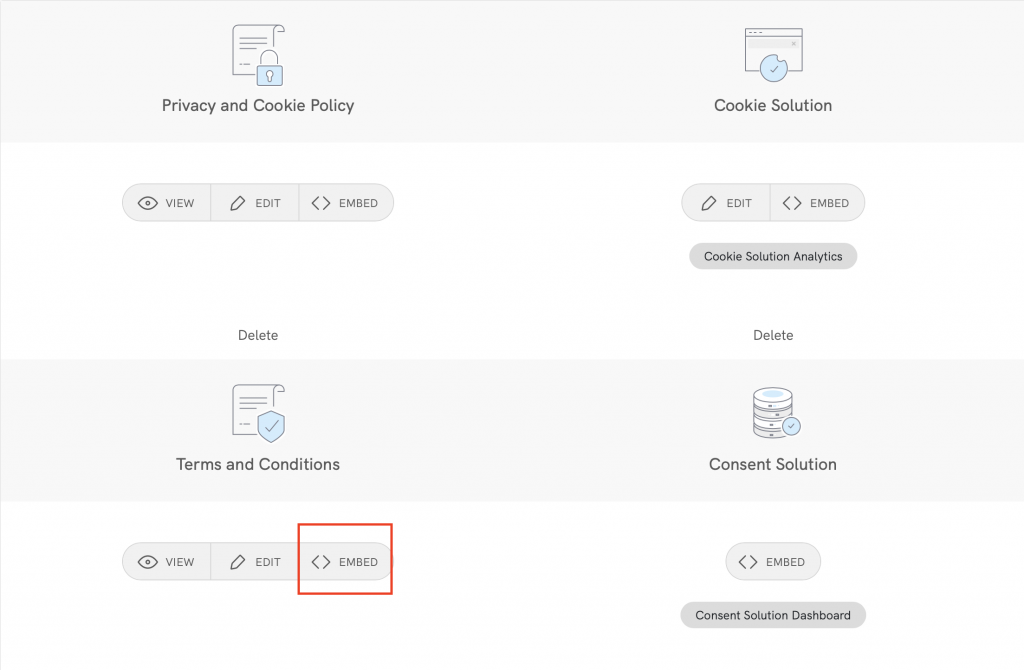
To get started first head over to your iubenda dashboard, click on [Your website] > Terms and Conditions > Embed.
Method 1 – Widget
Please note: You’ll need a Webflow paid plan to include HTML code into your footer. For integration methods that can work on free webflow plans, please see the direct link method.
The widget is typically placed in the footer of your Webflow site and displays either a text link or button. When clicked, it opens a lightbox-style modal window to display your terms and conditions document.
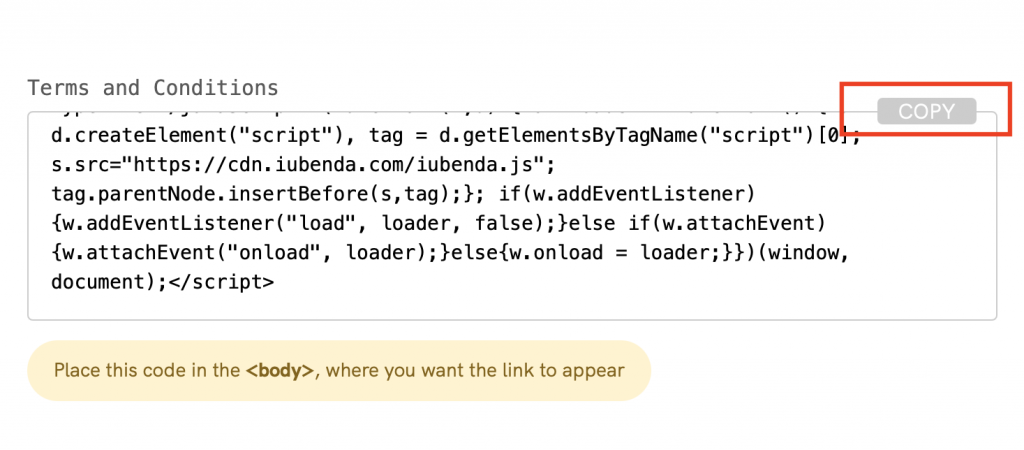
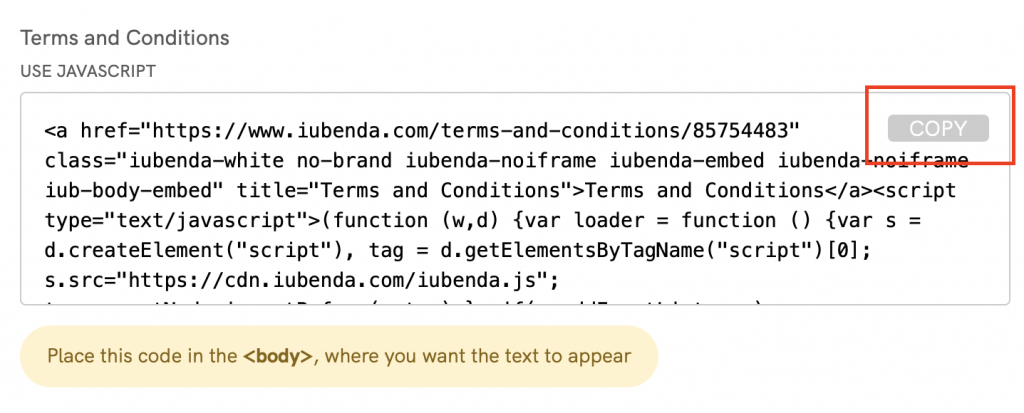
In the embed section, click on Add a widget to the footer scroll down to Terms and Conditions and click on COPY.
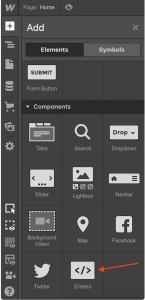
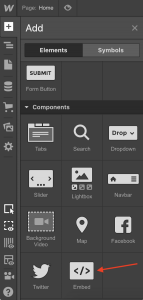
Next, access your Webflow project and add an Embedded element to your footer by clicking on Embed.
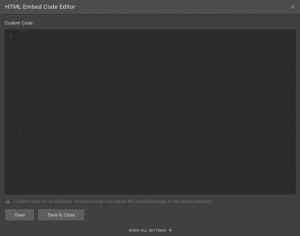
Next, you need to paste your iubenda code inside the “HTML embed code editor”, click Save & Close, and you’re done!
Here is an example. Click on the button to open terms and conditions:
Method 2 – Direct link
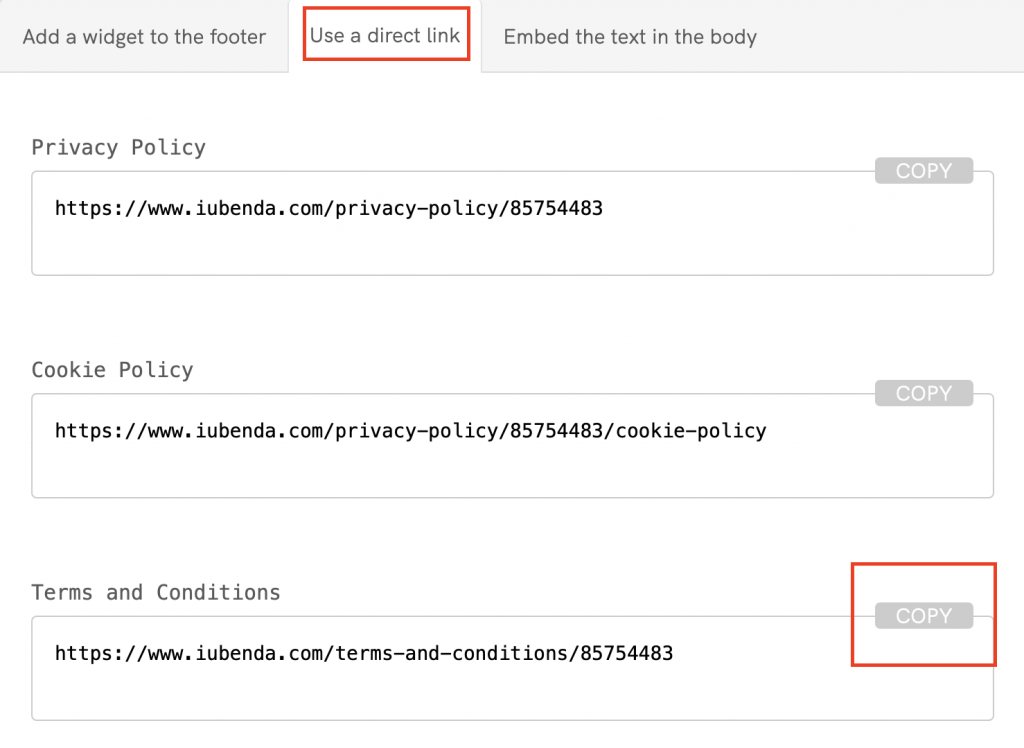
To add a direct link click on Use a direct link, look for Terms and Conditions section and click on the COPY button to copy the link to your clipboard.
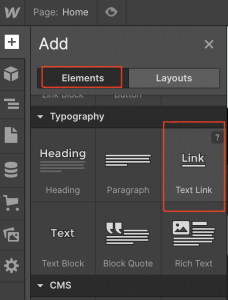
Next, head over to your Webflow project, add a Text Link to your footer (or edit an existing one), then name it “Terms and Conditions”.
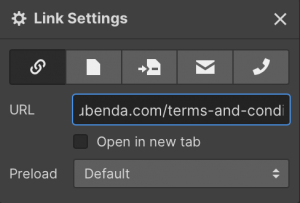
Paste the Terms and Conditions URL you copied in the previous step into the link settings URL field and you’re done!
Method 3 – Embedded Text
Please note: This method requires a Webflow paid plan. For integration methods that can work on free Webflow plans, please see the direct link method.
The direct text embedding option makes your Terms and Conditions Document look as if it is a part of your own site. For direct text embedding you’ll need to create an empty page in Webflow, and paste your code there).
Click on Embed the text in the body scroll down to Terms and Conditions and click on COPY.
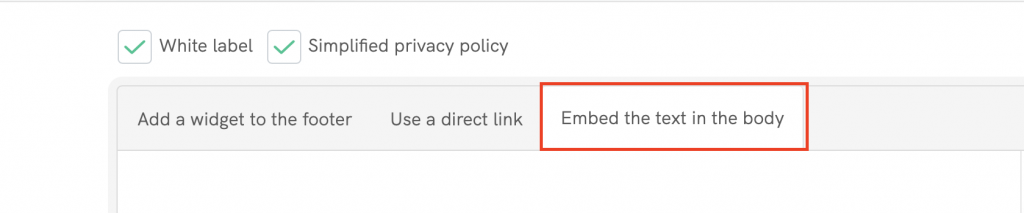
Copying the code directly will still apply iubenda styling (fonts etc.) to your document. If you’d like the document to take the styling directly from your website, select the white label option here.
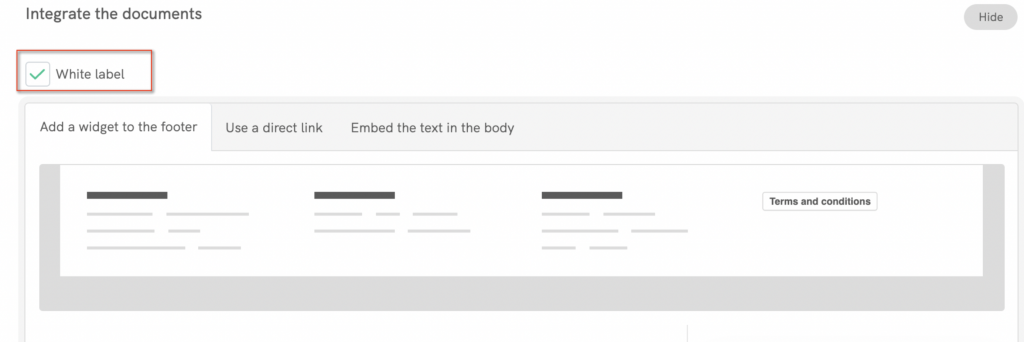
This will strip all iubenda styling from your document.
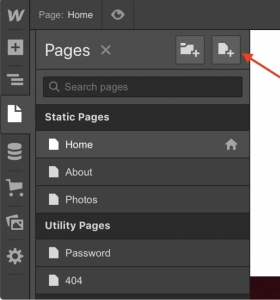
Next, go to your Webflow project, add a new page and name it “Terms and Conditions”.
Then, add an embed element to your Terms and Conditions page by clicking on Embed.
Lastly, paste your iubenda code inside the Webflow embed code editor.

Now click on Save & Close, and you’re done! Your terms and conditions will appear on your chosen page. Simply link to it from your footer or main menu.
💡Not sure what privacy documents you need for your Webflow website? Do this quick quiz to see which laws apply to you and your business.
See also
- How to Generate Terms and Conditions
- What should basic Terms and Condition include
- How to Add Another Language to Your Documents