

Built your website on HubSpot and need to manage cookies? In this guide, you’ll learn when you need a cookie policy or consent management platform (CMP) for HubSpot and how to add iubenda’s Privacy Controls and Cookie Solution to your HubSpot site.
Jump directly to How to add iubenda’s Privacy Controls and Cookie Solution to your HubSpot site.
Do I need a cookie policy for HubSpot?
Yes, and here’s why.
If you have EU-based users and your website uses cookies (which it most likely does), you need to manage cookie consents according to the ePrivacy Directive and GDPR. This means you need to block cookie scripts and similar technologies until the user gives consent.
Also, for the consent to be considered valid, you need to make certain disclosures via a cookie banner and link to a more detailed cookie policy. See our getting started guide.
Need to add a privacy policy to your HubSpot site? See the HubSpot privacy policy integration guide.
The integration on HubSpot works by creating a JavaScript file in HubSpot’s Design Tools, then attaching it to your site template so it loads on every page.
What the solution supports
When you embed the Privacy Controls and Cookie Solution on your HubSpot site, you get access to the full feature set of the iubenda cookie management platform:
- Fully customizable cookie banner with options to match your site’s branding and colors
- Automatic cookie policy generation based on the services detected on your site
- Auto-blocking of scripts that install cookies before consent is collected
- Integration with Google Consent Mode v2 (iubenda is a Google-certified CMP)
- Integration with IAB’s Transparency and Consent Framework (TCF 2.3)
- Support for US state privacy laws (CCPA/CPRA, VCDPA, CPA, CTDPA, and others)
- Support for the Swiss Federal Act on Data Protection (FADP)
- Support for Brazil’s LGPD
- Granular, per-category consent (e.g. Functionality, Experience, Marketing)
- Geo-detection to limit consent requests to regions where legally required
- Storage of consent proofs for accountability
1. Generate a cookie policy
Before adding the cookie banner, generate a cookie policy for your HubSpot site. Head over to your iubenda dashboard and click on [Your website] > Privacy and Cookie Policy > Edit. Add each service your site uses (e.g. Google Analytics, embedded videos, HubSpot forms, social buttons) so that your cookie policy accurately reflects your data processing activities.
Once your cookie policy is ready, the Privacy Controls and Cookie Solution will automatically link to it from your cookie banner.
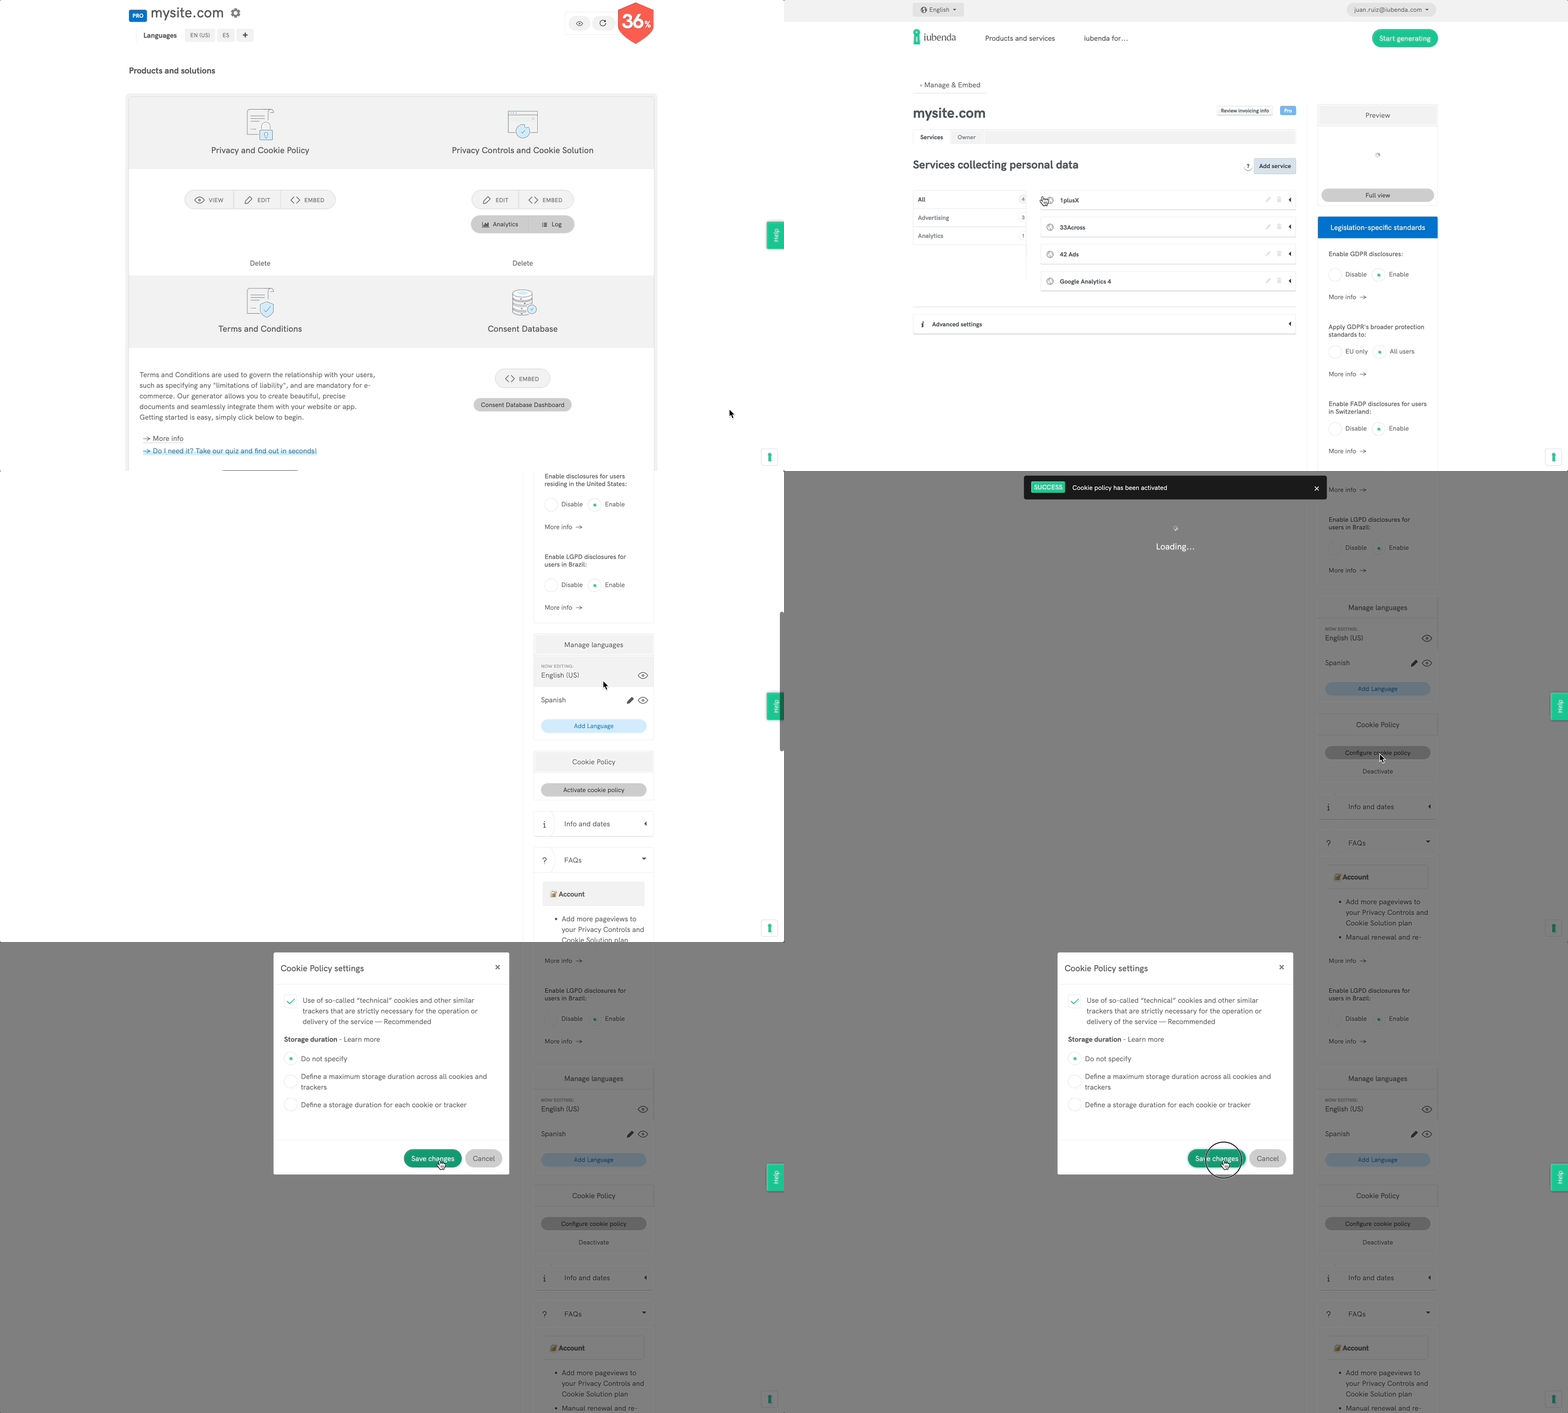
If you already host your cookie policy at a custom URL, you can link to it manually in the Privacy Controls and Cookie Solution settings under Edit > Privacy and cookie policy > Edit > Link your own .
2. How to add the cookie banner to your HubSpot site
Not sure what privacy documents you need for your HubSpot site? Take this quick quiz to see which laws apply to you and your business.
Once you’ve generated and customized your Privacy Controls and Cookie Solution, follow the steps below to integrate it with your HubSpot website.
Step 1: Copy the embed code from iubenda
Go to your iubenda Dashboard and click on [Your website] > Privacy Controls and Cookie Solution > Embed.
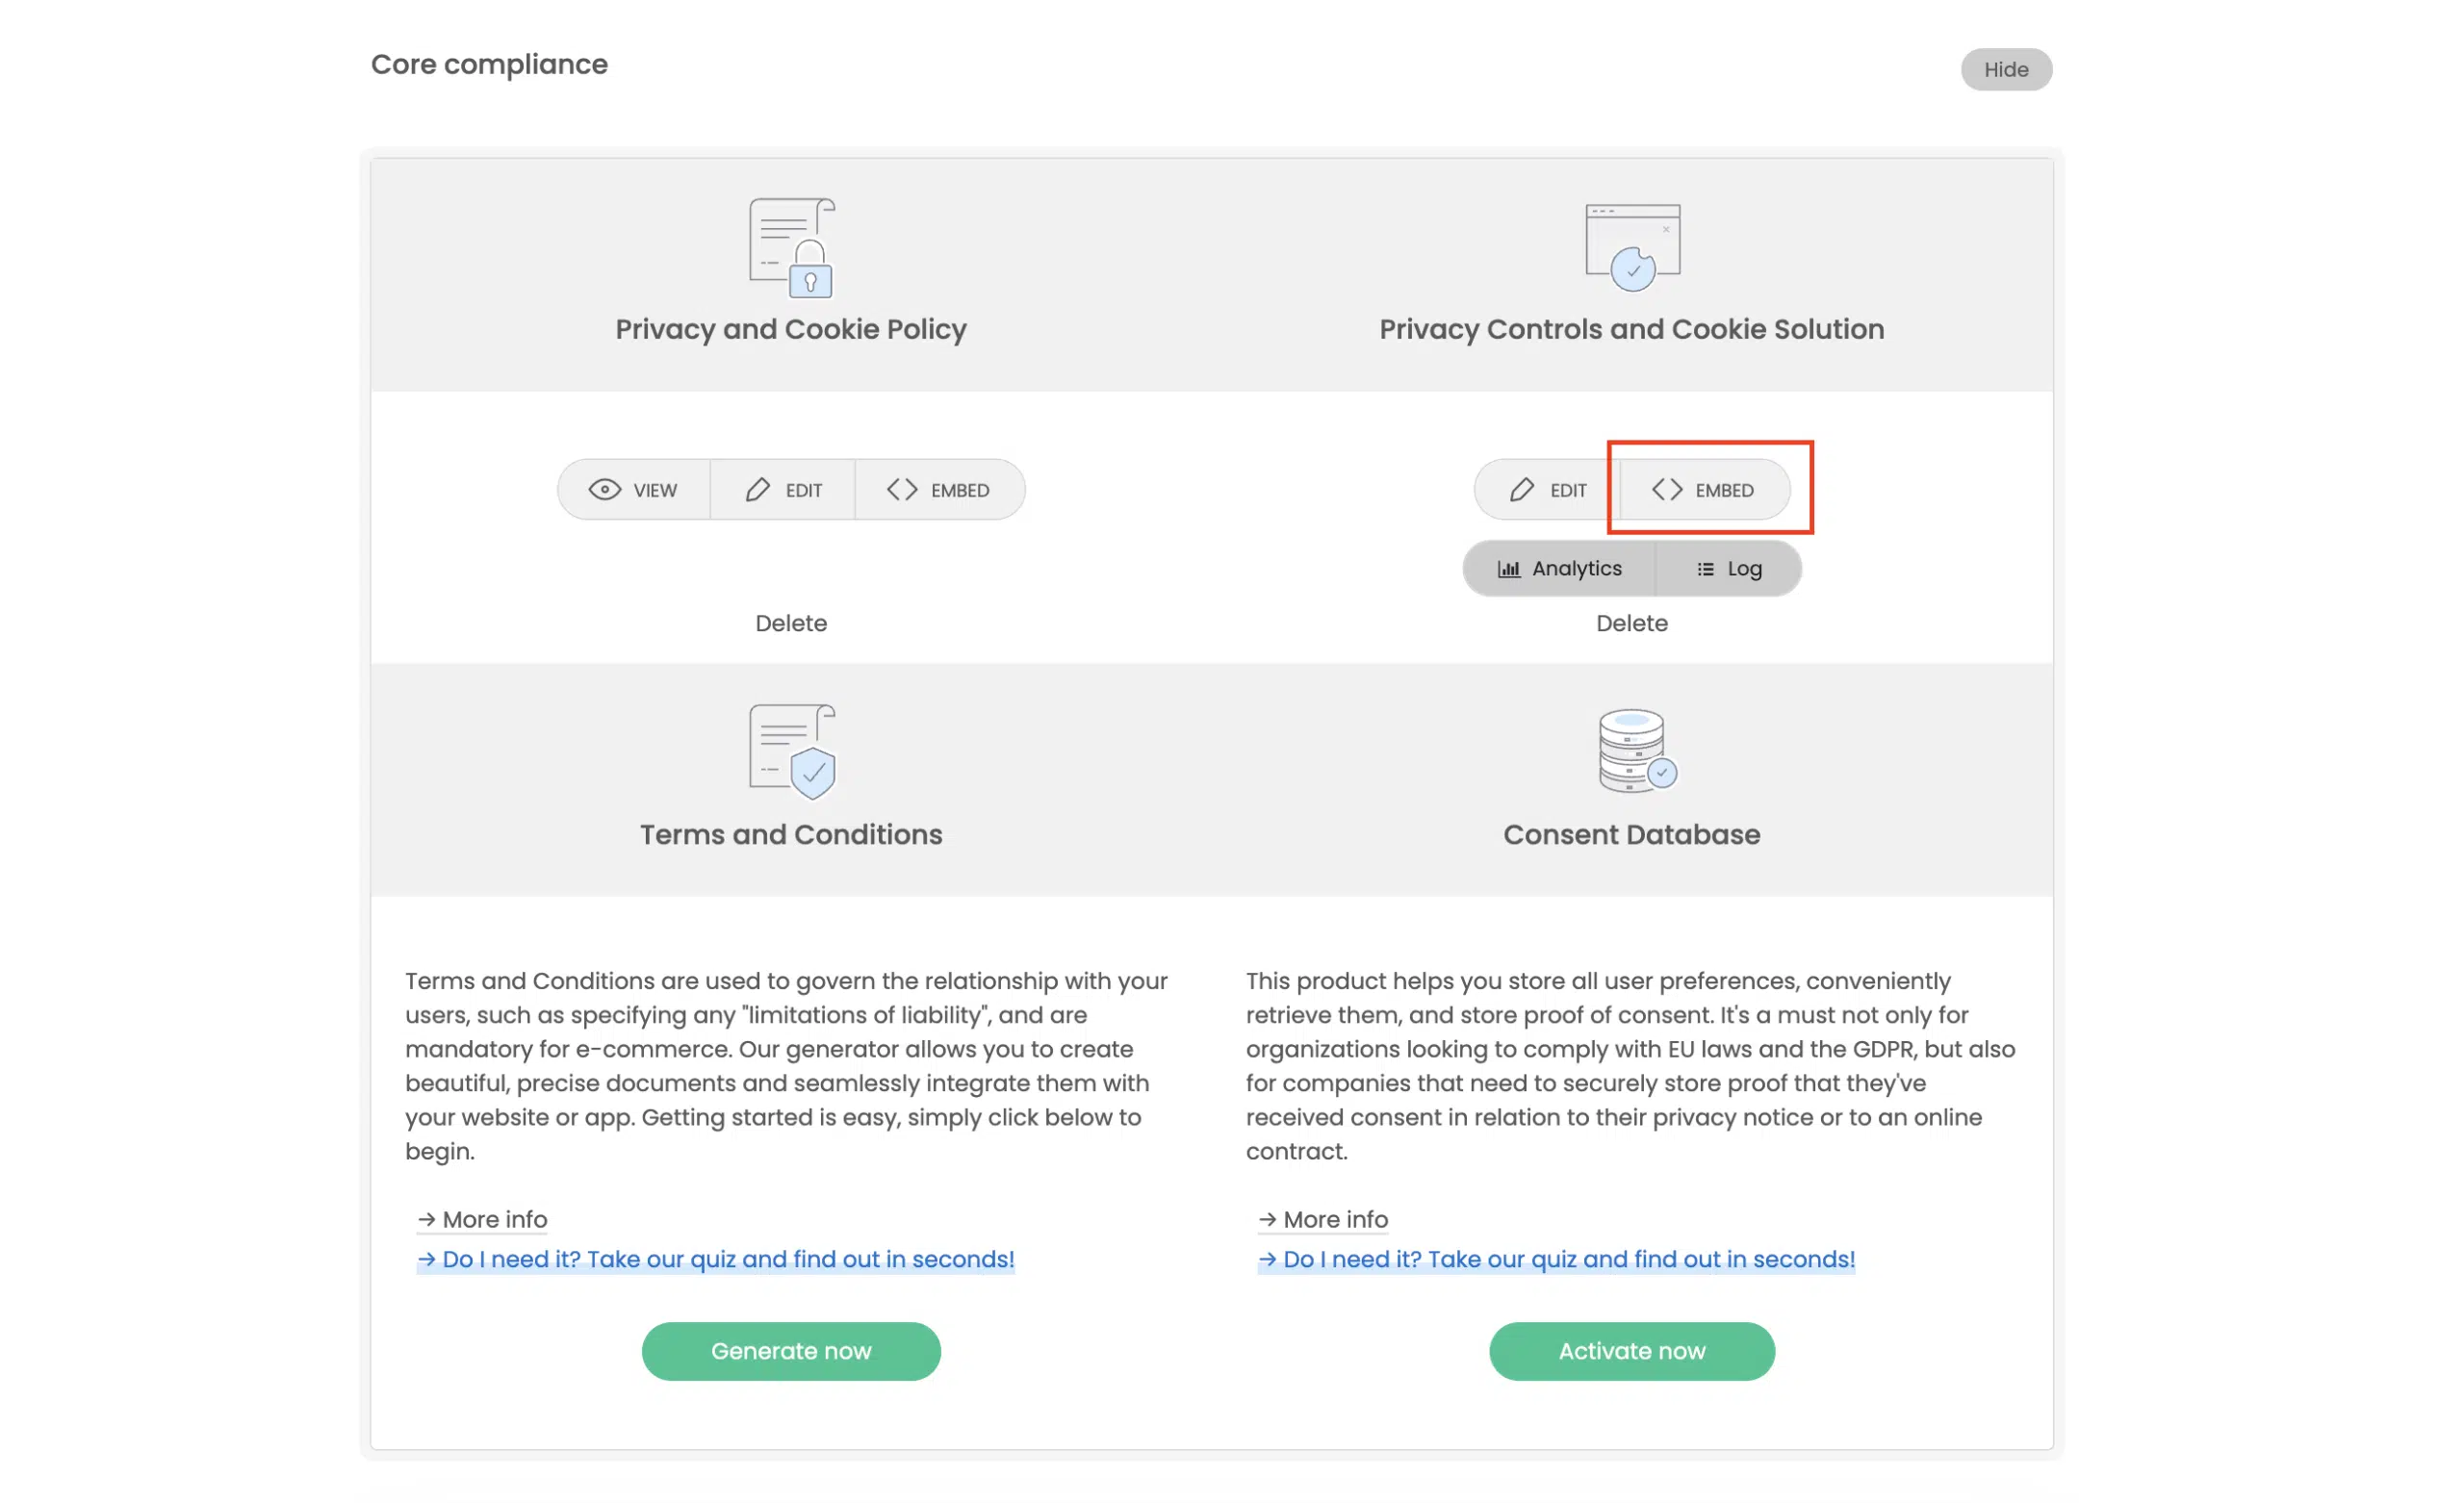
Copy the embed code snippet from the embedding section.
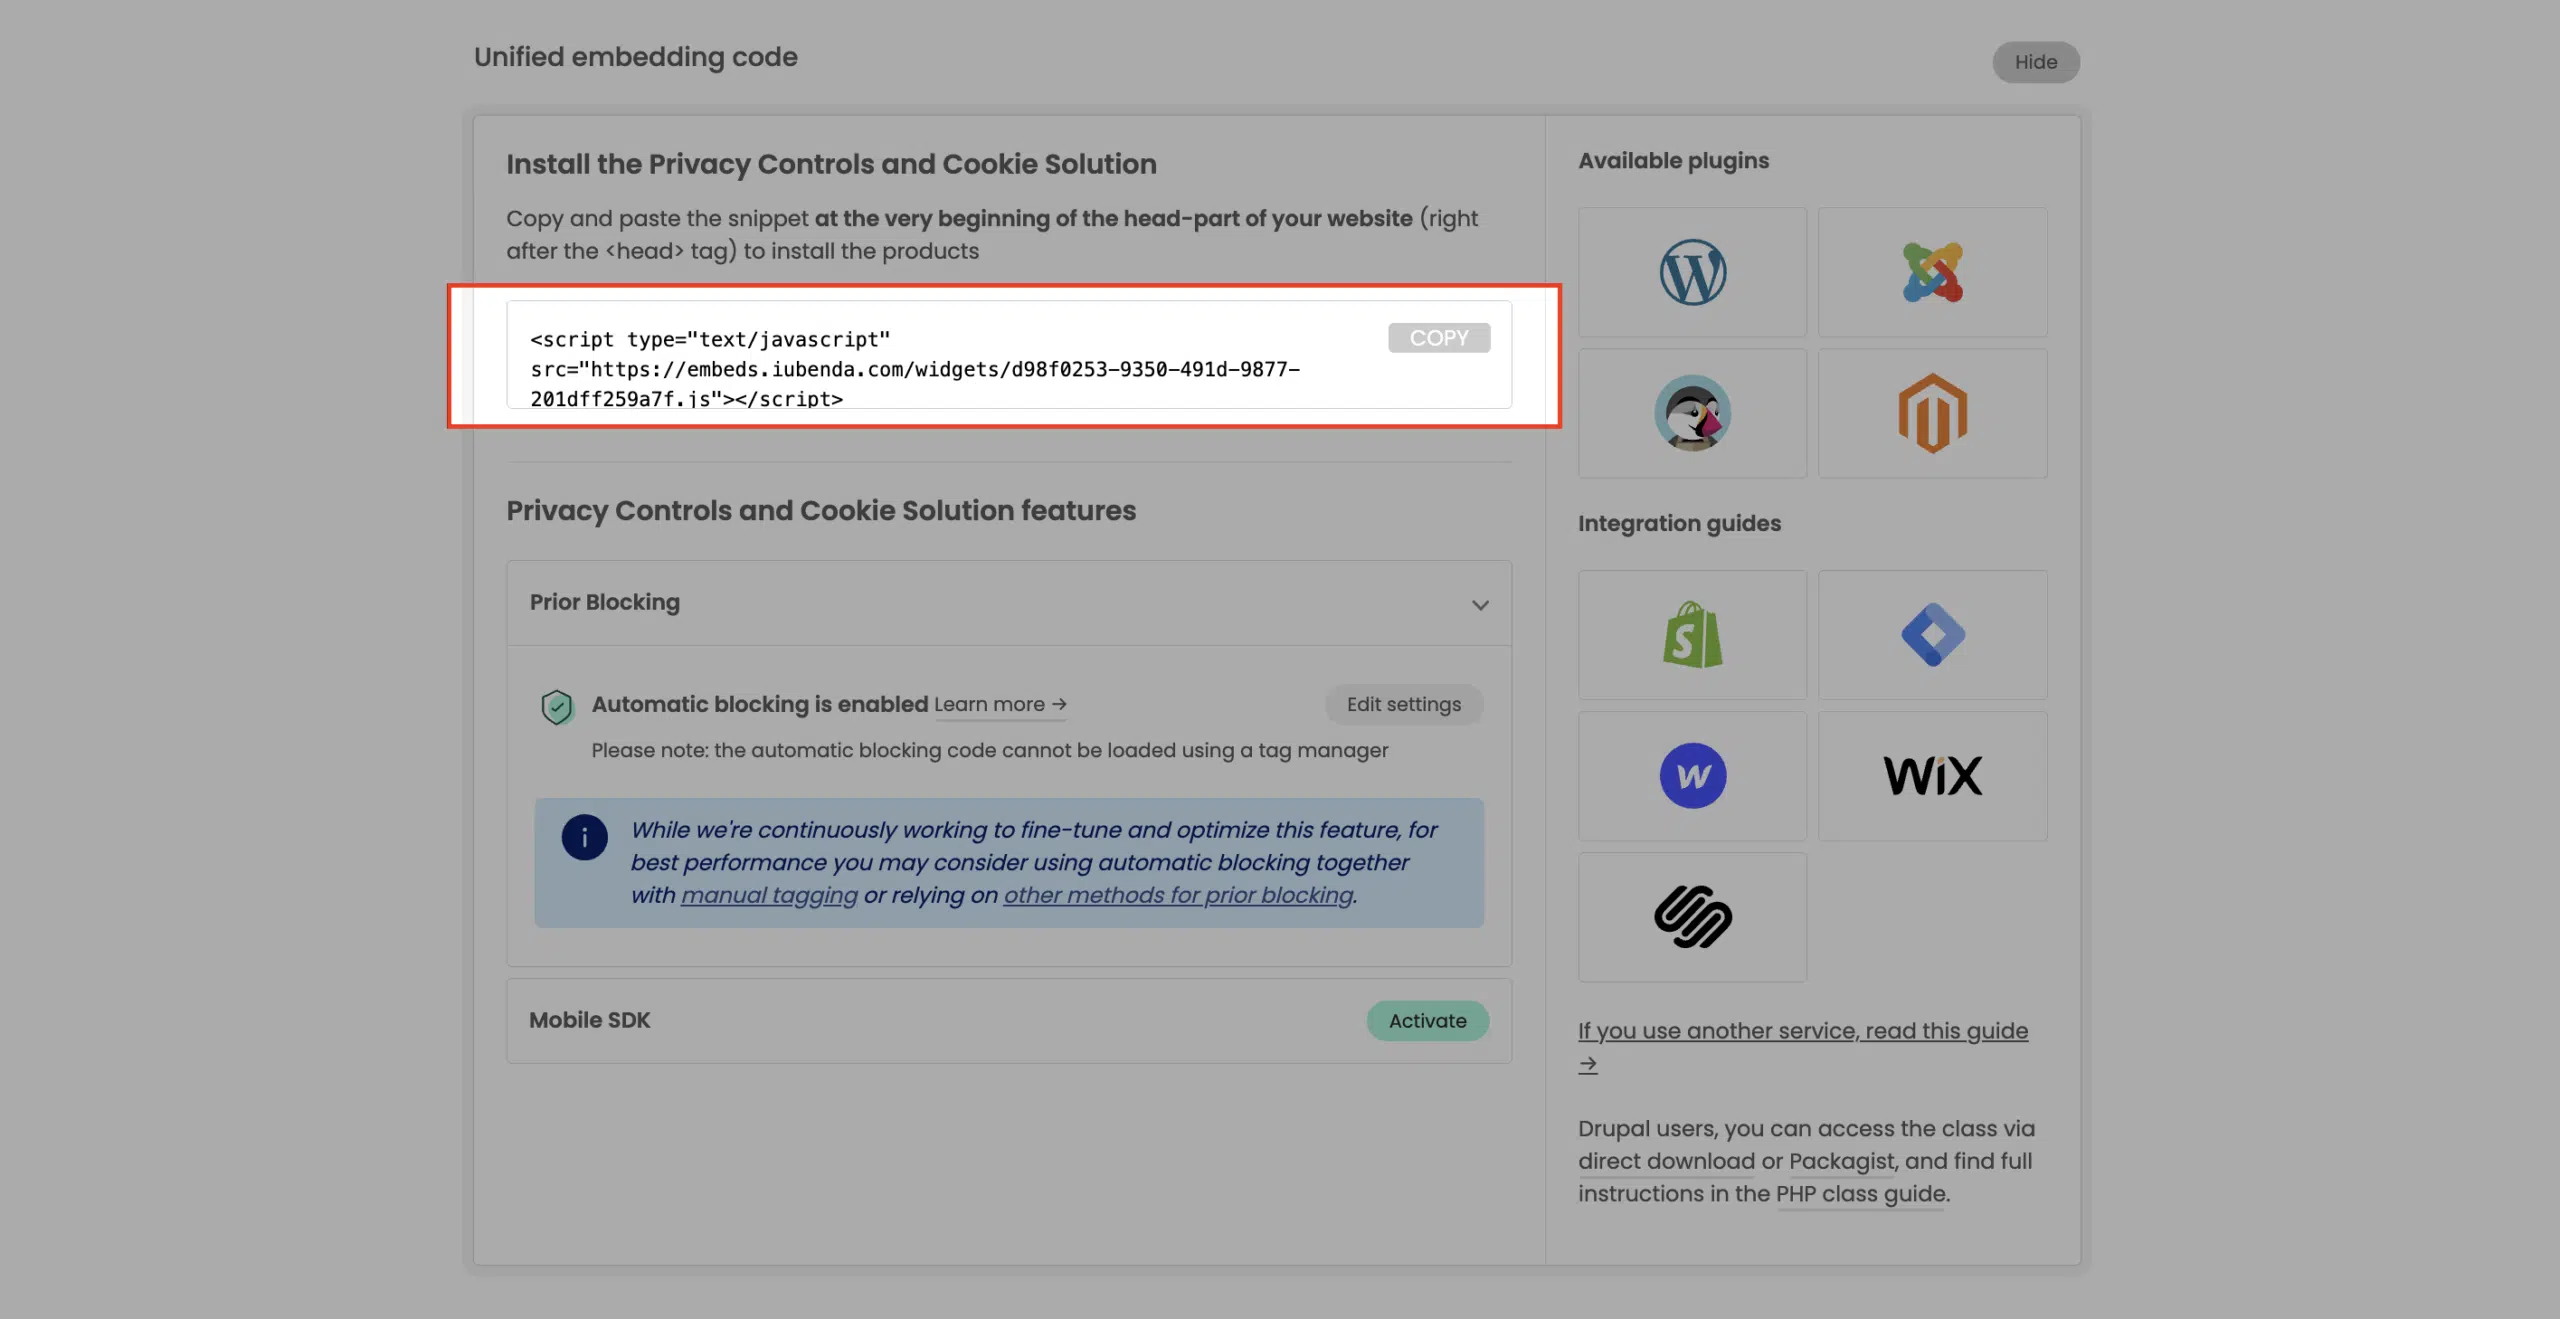
Keep this code handy. You’ll paste it into a JavaScript file in the next step.
Step 2: Create a JavaScript file in HubSpot Design Tools
- In your HubSpot account, go to Marketing > Design Tools.
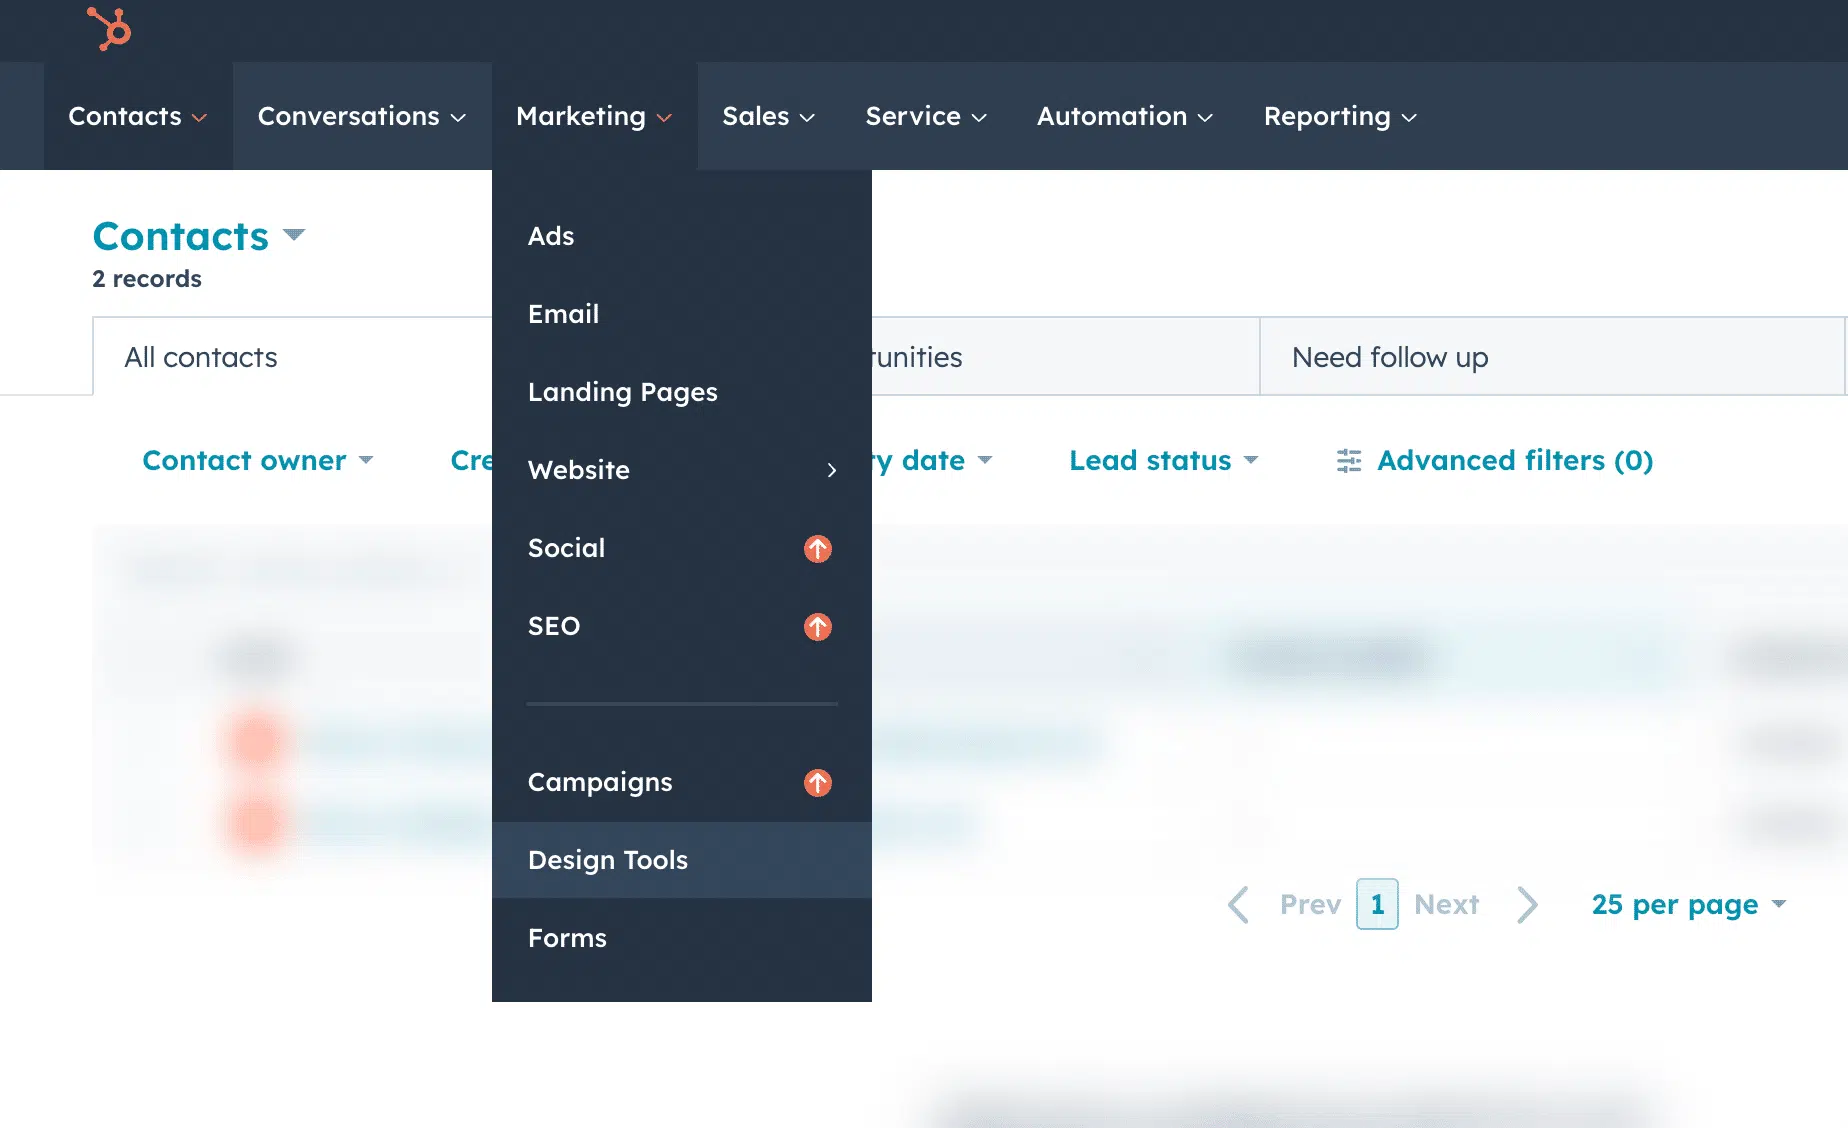
- In the sidebar, click File > New file. (You may need to click the folder icon first.)
- Select JavaScript from the “What would you like to build today?” dropdown, then click Next.
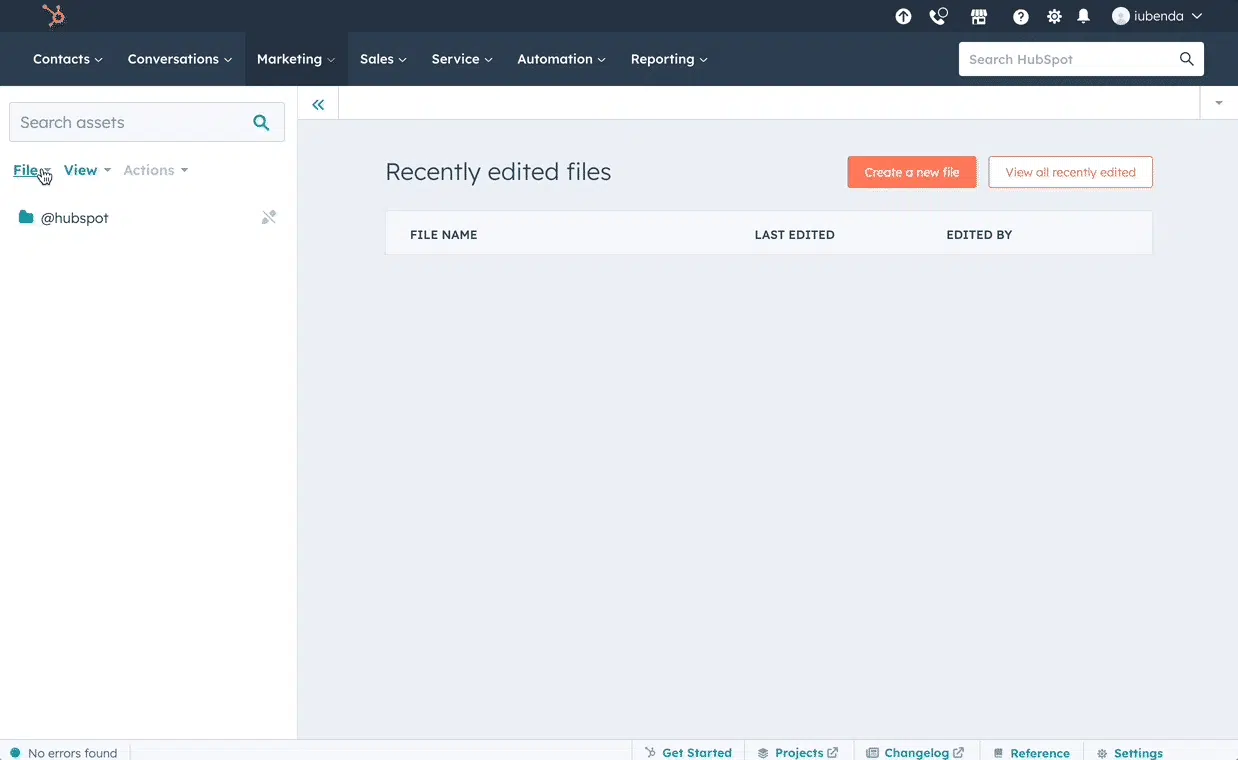
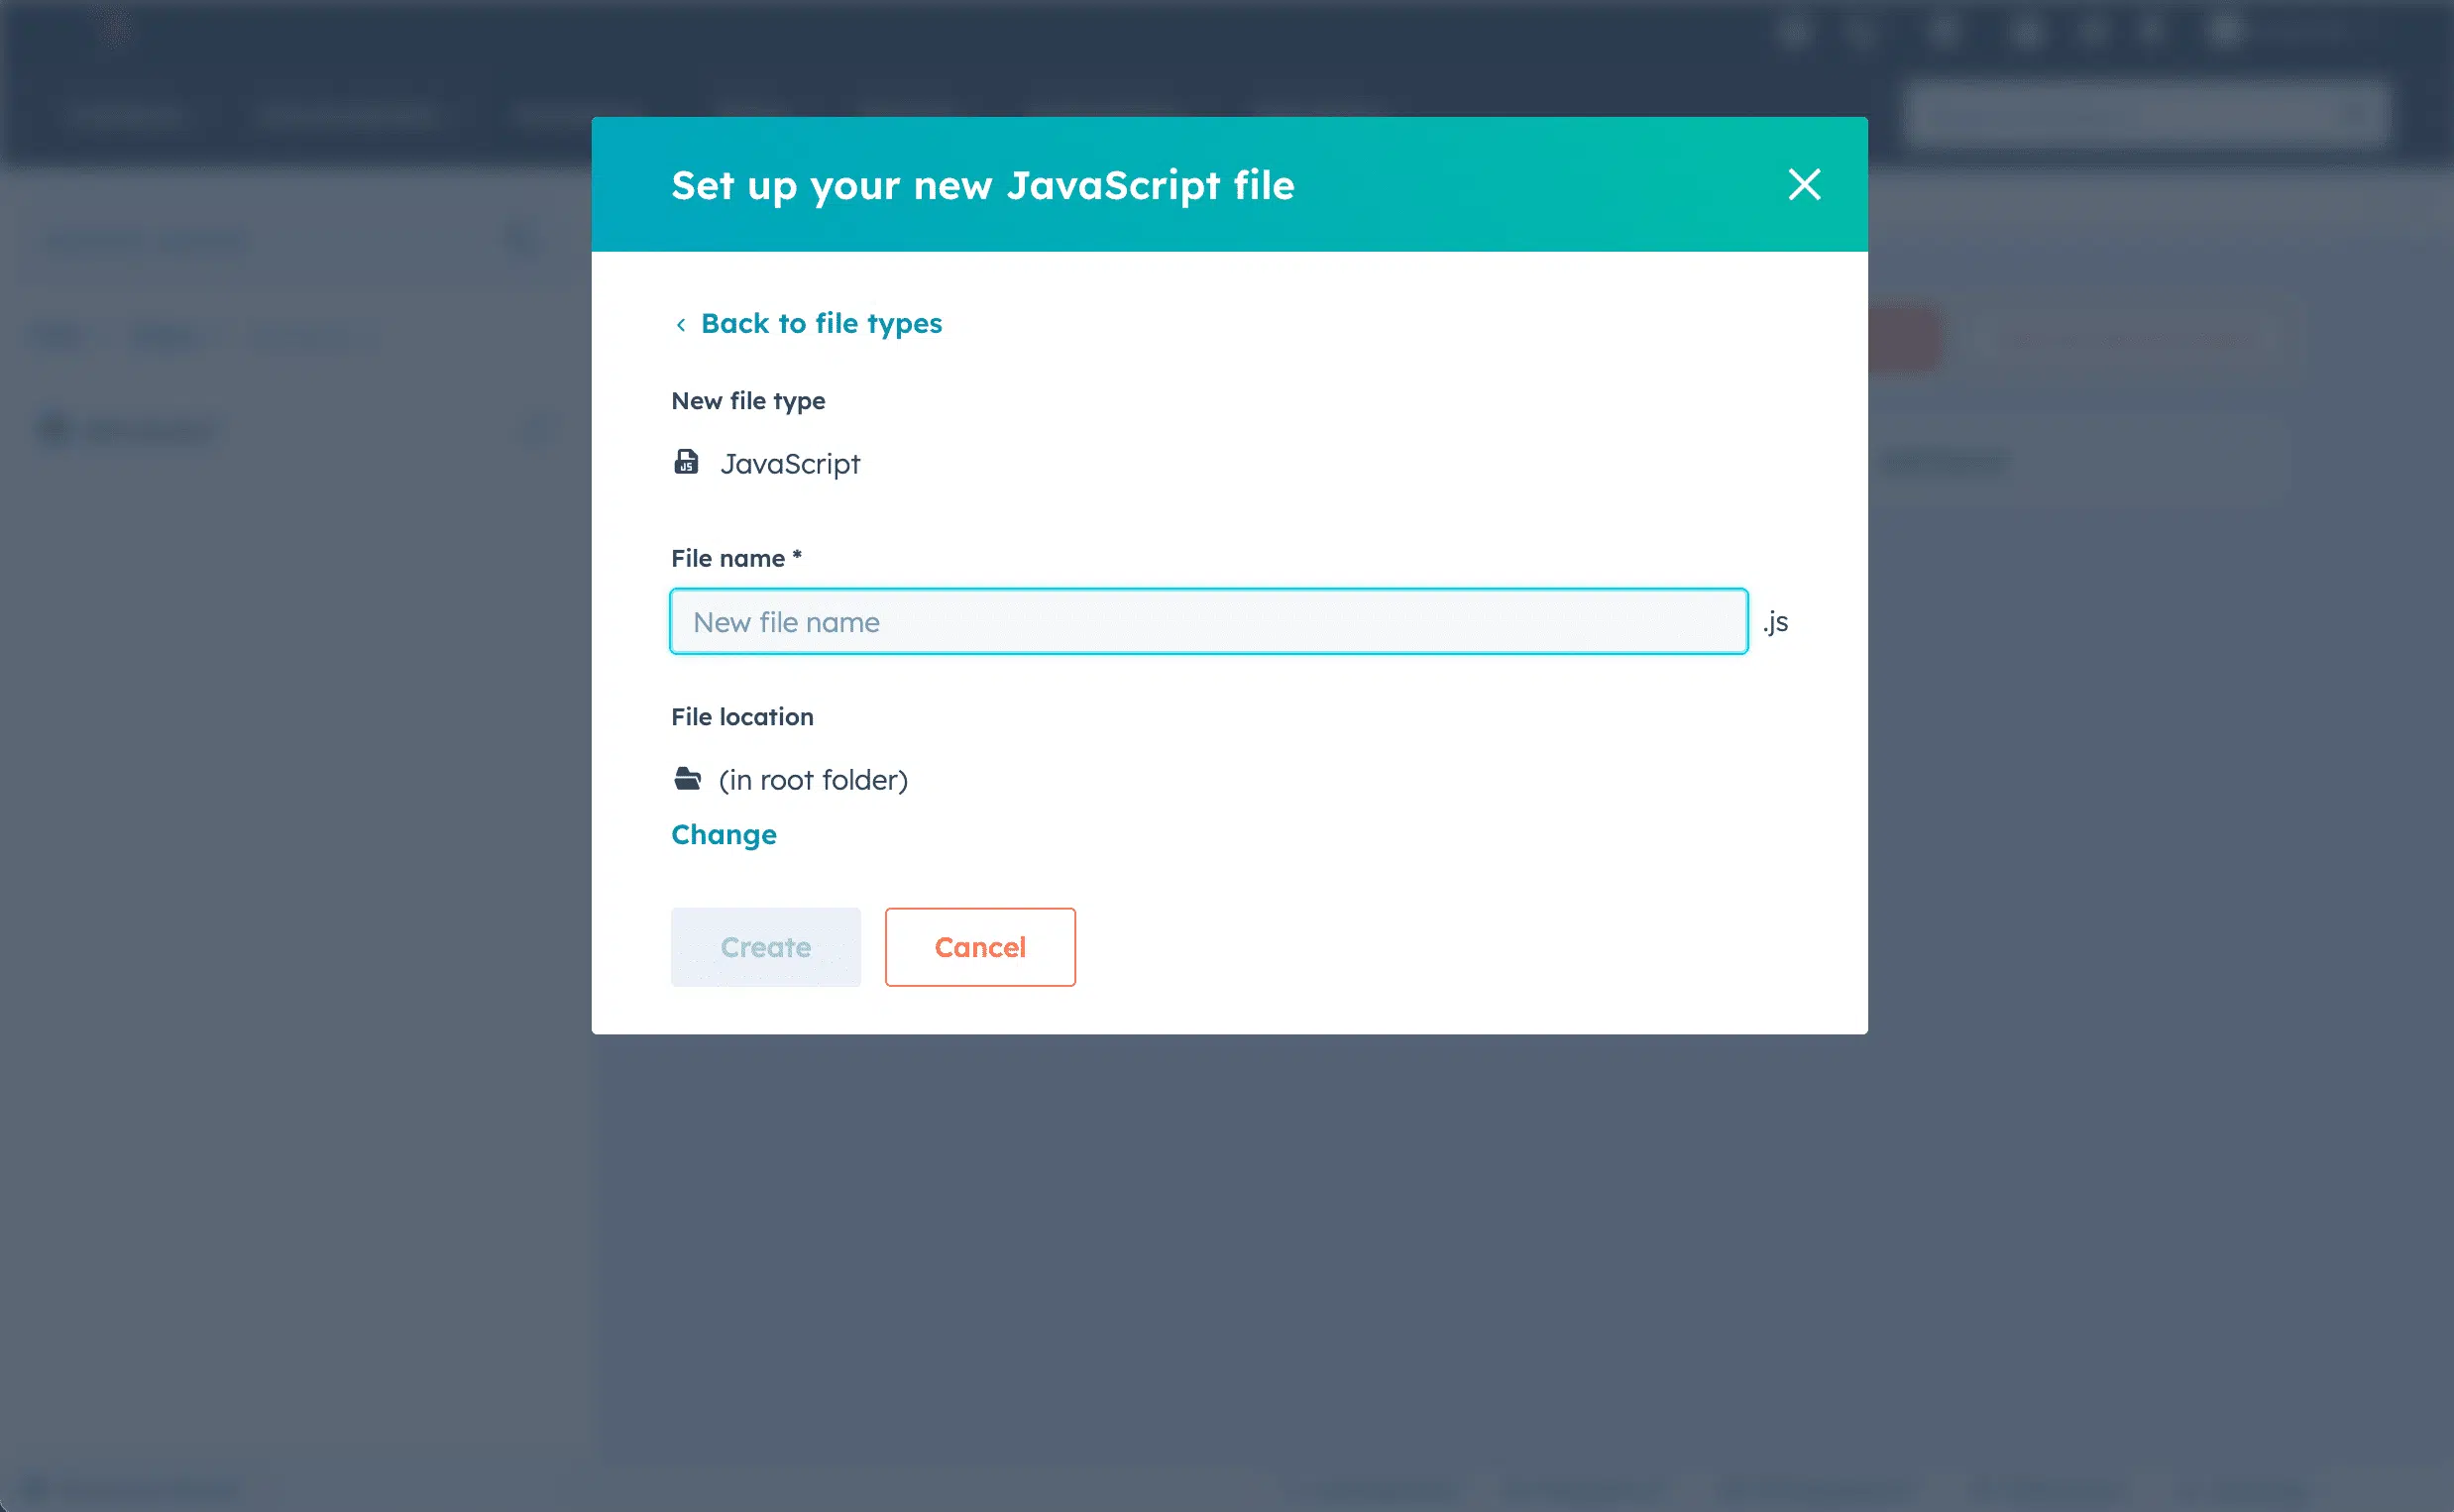
- Enter a name for your script in the File name field (e.g. “iubenda-cookie-solution”).
- Click Change in the File location section and choose a folder.
- Click Create.
Step 3: Paste the iubenda code into the JavaScript file
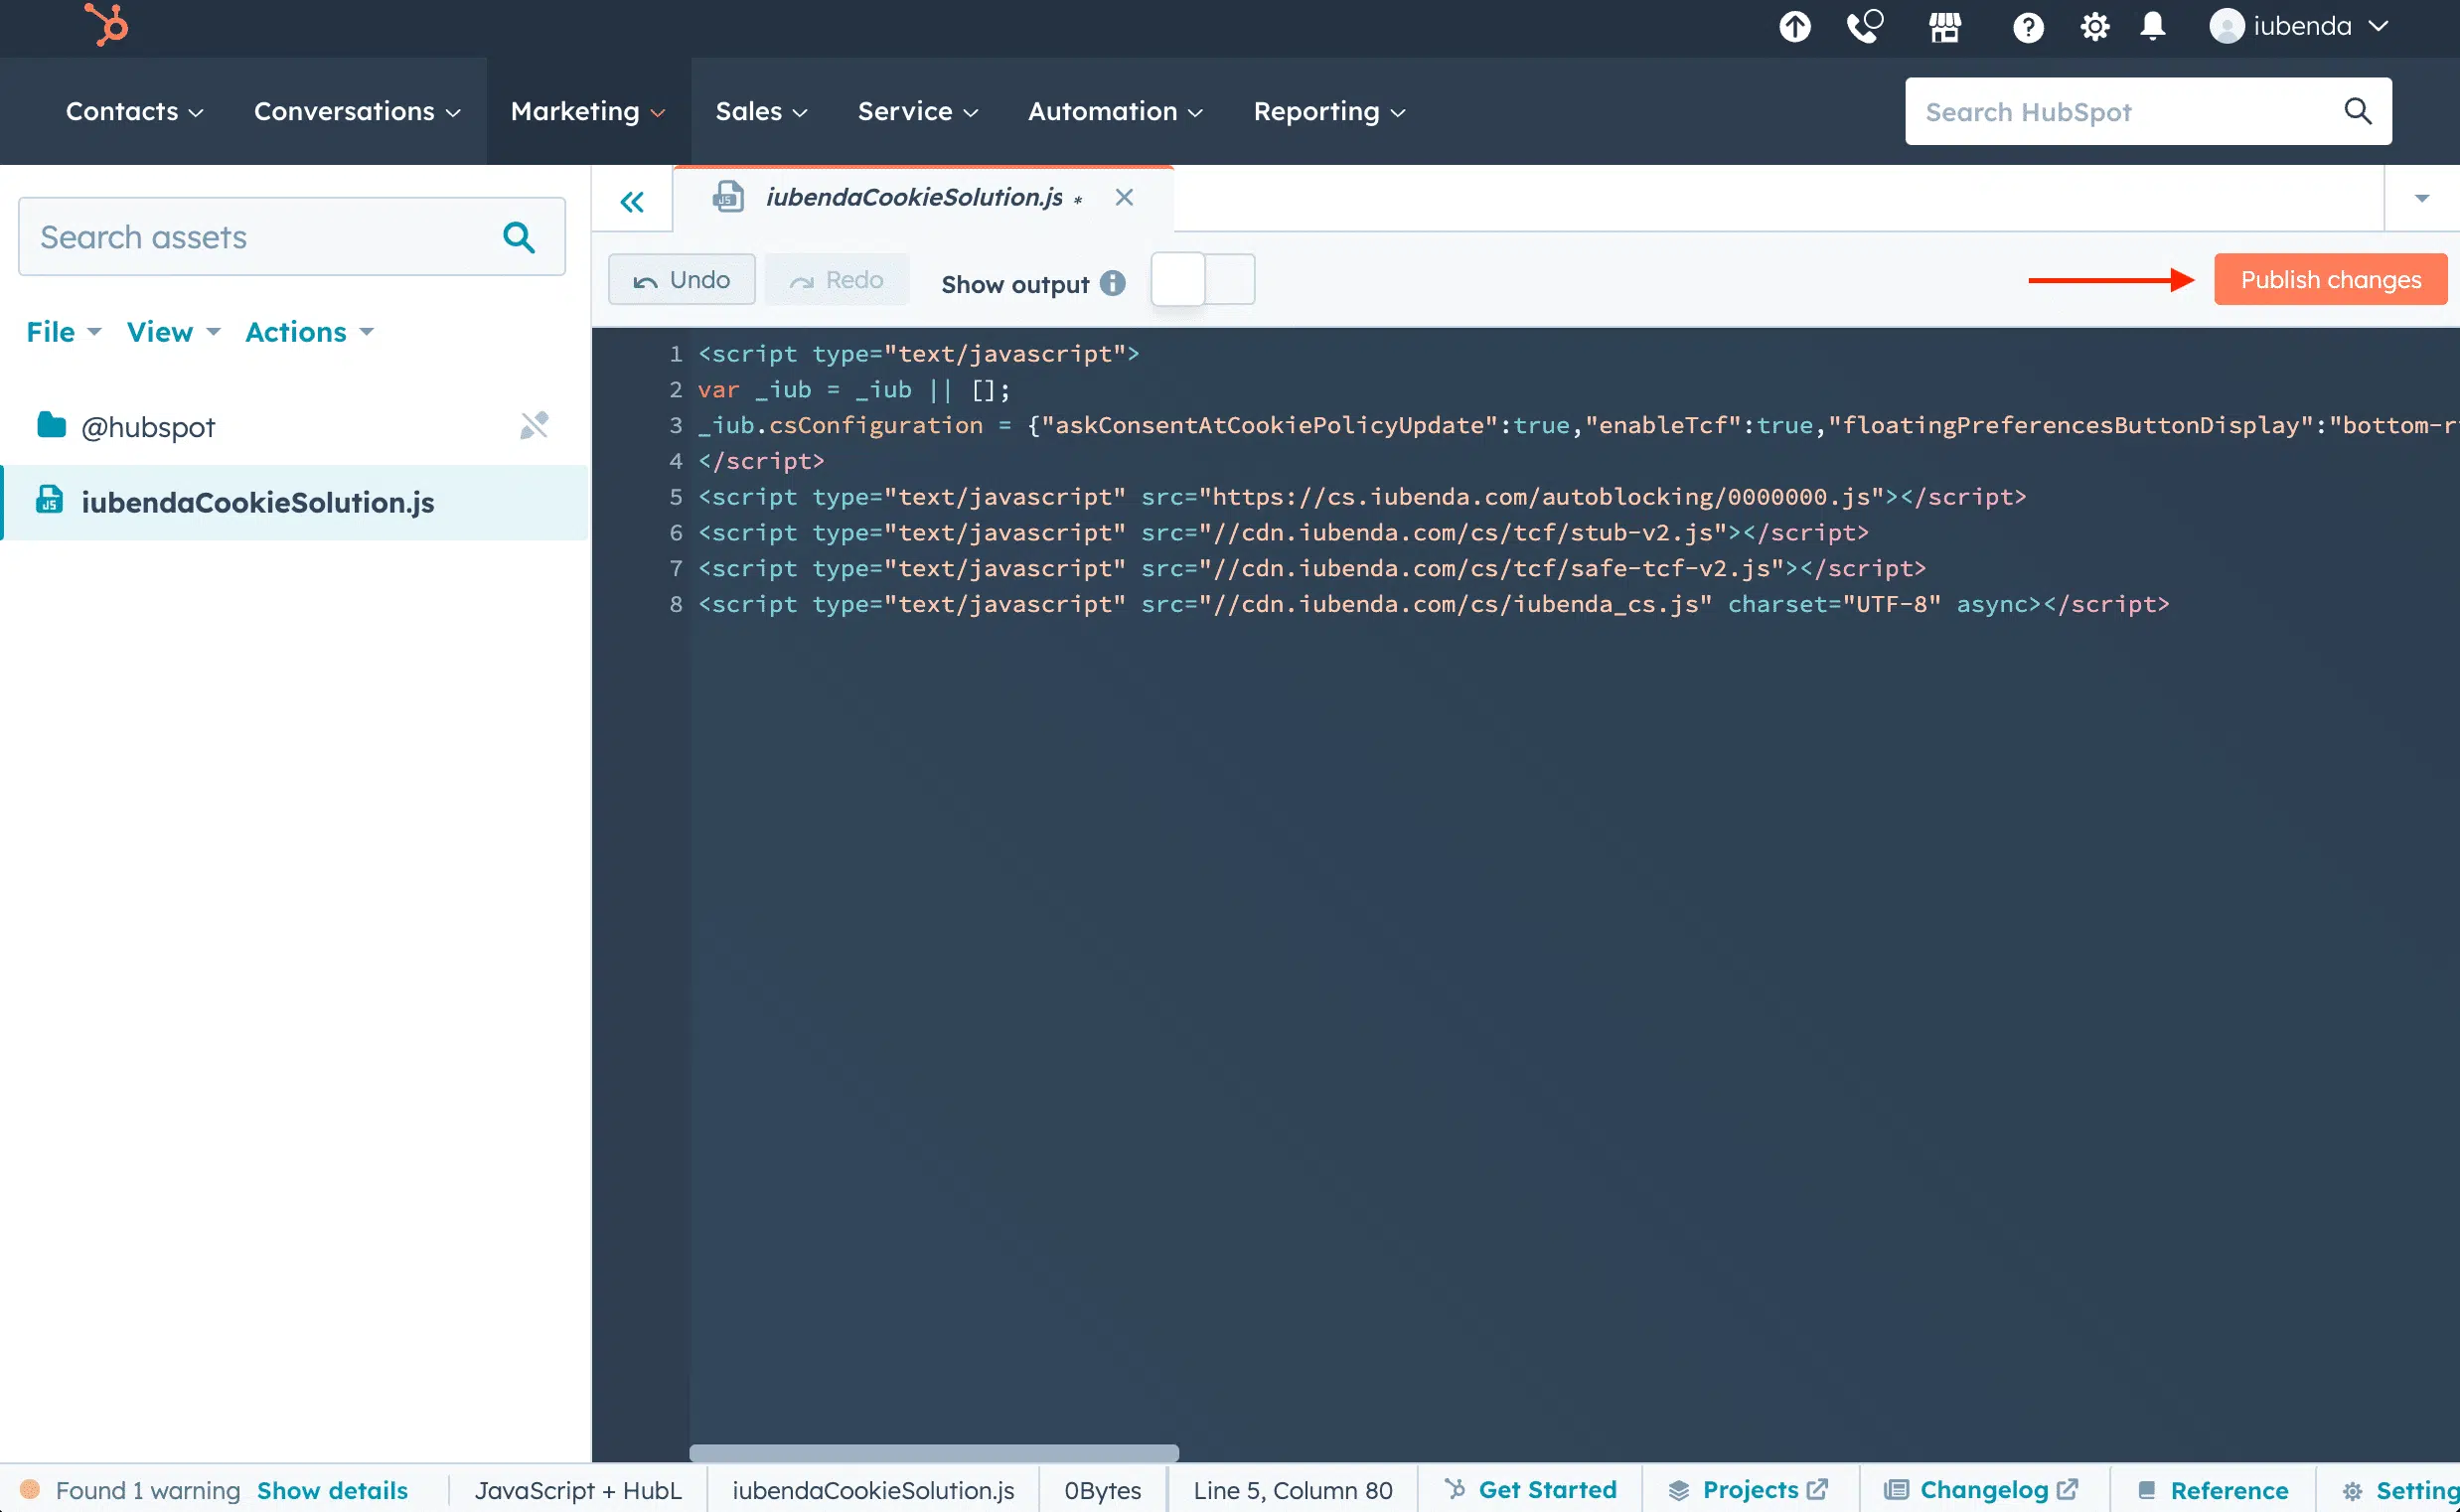
- Paste the Privacy Controls and Cookie Solution embed code (copied in Step 1) into the editor.
- If ESLint shows warnings or errors, use the Show output toggle to review them. These warnings typically do not prevent the code from working.
- Click Publish changes in the top right.
Step 4: Attach the script to your site template
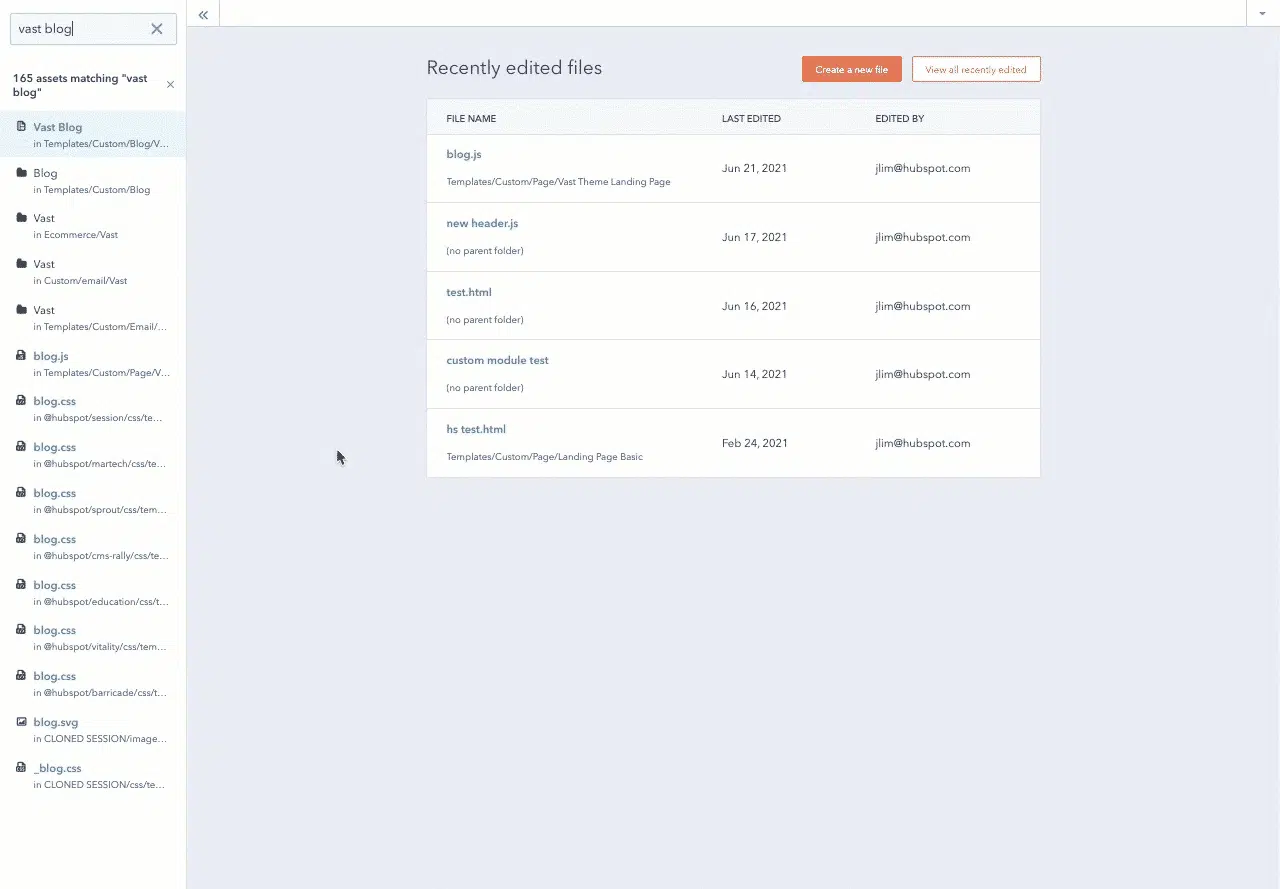
- In the Design Tools sidebar, find the template you want to update.
- In the inspector on the right, click the Edit tab.
- Under Linked JavaScript files, click Add and select the iubenda script you just created.
- Click Publish changes.
Repeat this for each template that your pages use, so the cookie banner appears across your entire site.
Step 5: Include the Privacy Controls and Cookie Solution script on your HubSpot pages
You can add the script to all pages on a domain at once, or to individual pages. Choose the method that works best for your setup.
Option A: Add the script to all pages on a domain
- In the Design Tools sidebar, right-click your script file and choose Actions > Copy public URL.
- Go to Settings (the gear icon in the main navigation bar).
- Navigate to Website > Pages in the left sidebar.
- Use the dropdown to select a specific domain, or apply the script to all domains.
- In the Site footer HTML field, paste the following code (replacing the placeholder with your public URL):
<!-- start iubendaCookieSolution.js -->
<script src="YOUR_FILE_PUBLIC_URL_HERE"></script>
<!-- end iubendaCookieSolution.js -->- Click Save.
Option B: Add the script to an individual page
- Go to Marketing > Website > Website Pages (or Landing Pages). Hover over the page you want to edit and click Edit.
- Click the Settings tab, then expand Advanced options.
- In the Footer HTML field, paste the following code (replacing the placeholder with your public URL):
<!-- start iubendaCookieSolution.js -->
<script src="YOUR_FILE_PUBLIC_URL_HERE"></script>
<!-- end iubendaCookieSolution.js -->- Click Update in the top right to apply your changes.
3. Set up prior blocking of cookie scripts
Few categories of cookies are exempt from the consent requirement. Therefore, almost all scripts that install or can install cookies must be blocked before consent is obtained.
Simplify your cookie-blocking process with auto-blocking
There’s a simpler option available for the prior blocking of cookies and trackers. Our auto-blocking feature automates the process, saving you time and effort.
If you prefer to manually tag your scripts that install or may install cookies, you can still follow the process below for step-by-step instructions and practical examples. However, we highly recommend considering the auto-blocking feature for a more streamlined approach.
Learn more about auto-blocking and how it can simplify your cookie-blocking process.
How to implement prior blocking via manual tagging on your HubSpot site
Manual tagging is the method of prior blocking we’ll be using for the tutorial below. You can view other methods here.
To set up prior blocking, you need to make some minor changes to your site’s scripts. Here’s what to do:
- Identify the script/iframe for any additional services running on your website (e.g., a Twitter follow button embedded in a HubSpot module)
- Add some simple text to the HTML code (we’ll show you how below)
- Save
In this tutorial, we are going to block a Twitter follow button.
Not sure which services you need to block? If you’re using a cookie policy generated by iubenda, the services listed in your cookie policy are most likely the ones you need to modify now.
Step 1: Identify the script
In your HubSpot dashboard, go to Marketing > Design Tools and open the template, module, or custom HTML block that contains the script you need to modify (search for the service you want to block, in this case, the Twitter follow button).
Click the script to open the code editor.
Step 2: Modify your script
Now, we’re going to change the script. To do this, we will make 3 simple changes:
- Add this class:
_iub_cs_activateto the script tags, and change the “type” attribute fromtext/javascripttotext/plain - Replace the src with
data-suppressedsrcorsuppressedsrc - Specify the categories of the scripts/iframes with a special comma-separated
data-iub-purposesattribute, e.g.data-iub-purposes="2"ordata-iub-purposes="2, 3"
More about categories and purposes
Purposes are your legal reasons for processing the particular type of user data. Different scripts on your site will fall into different categories and serve different purposes. For example, Google Analytics may be used for Measurement, while the Pinterest button may be used for Experience (Purpose 3 below). Purposes are grouped into 5 categories, each with an id (1, 2, 3, 4, and 5):
- Necessary (id:
1) - Functionality (id:
2) - Experience (id:
3) - Measurement (id:
4) - Marketing (id:
5)
For even more detailed info on categories and purposes, see our guide here.
Let’s take the Twitter follow button as an example:
We need to 1. Add the class and change the “type” attribute, 2. replace the src and 3. specify the categories.
The code structure should look like this:
<p>Twitter follow button:</p>

        <!-- please note type="text/plain" class="_iub_cs_activate" data-suppressedsrc="..." (manual tagging) and data-iub-purposes="3" (per-category consent) -->
<a href="https://twitter.com/iubenda" class="twitter-follow-button" data-show-count="false">Follow @iubenda</a>
  <script async type="text/plain" class="_iub_cs_activate" data-suppressedsrc="https://platform.twitter.com/widgets.js" data-iub-purposes="3" charset="utf-8"></script>
Step 3: Save
Now that you’ve made your changes, publish the template or module in HubSpot, and you’re done.
Not sure if you’ve set up correctly? Check out the live example and FAQs below.
Live example
This is an example that shows everything we have described above. You can use this CodePen as a guide to see what happens before and after blocking scripts via manual tagging.
To demonstrate the cookie blocking feature, we’ve embedded a YouTube video and a Twitter follow button:
Follow @iubenda
Both scripts are blocked through manual tagging. Since both the YouTube video widget and the Twitter follow button are part of the Experience purpose (id 3), we’ve added data-iub-purposes="3" to their scripts so that the Privacy Controls and Cookie Solution can properly identify them for release.
Click on the Accept button, or just activate the “Experience” toggle, to release these scripts (refresh the page to return to the starting point).
How can I tell if I’ve set prior blocking up properly?
As you can see in the CodePen example, the YouTube and Twitter scripts do not load if you do not consent. (You can test this again by opening this link in incognito mode in your browser.)
After you have published your template in HubSpot, open your site in incognito mode and check if the scripts you have blocked via manual tagging stay blocked until you consent.
For other blocking options, see Google Consent Mode as an alternative to prior blocking, Google Tag Manager to simplify the blocking of cookies, or the IAB Transparency & Consent Framework and how to enable it.
Using Google Tag Manager with HubSpot
If you manage third-party scripts through Google Tag Manager (GTM), you can use iubenda’s GTM template for more granular control over consent-based script firing. This approach works well for HubSpot sites with complex tracking setups.
Good to know: HubSpot-specific considerations
Keep these points in mind when using Privacy Controls and Cookie Solution on HubSpot:
- JavaScript file vs. code injection. The recommended method for HubSpot is to create a dedicated JavaScript file in Design Tools rather than pasting the code directly into the site footer HTML. The JS file approach keeps your code organized and makes it easier to update. However, if you only need the banner on a few pages, using the footer HTML method (Step 5, Option B) is a simpler alternative.
- Google Tag Manager integration. If you already use GTM on your HubSpot site, you can load the iubenda snippet through GTM instead. This gives you centralized control over all your tags and works well with Google Consent Mode.
- Auto-blocking coverage. Auto-blocking works at the JavaScript level and handles most third-party scripts. For scripts not automatically detected, use the manual tagging method or route scripts through Google Tag Manager for more control.