Google Consent Mode v2 is here! The new version of the Consent Mode comes with new features to help advertisers get better data from their campaigns, while still preserving users’ privacy. But that’s not all: from now on, to enable the Google Consent Mode v2, Google highly recommends the use of a Google-certified consent management platform (CMP).
In this guide, we’ll explain how to integrate a Google-certified CMP on a WordPress website – both manually and via a CMP WordPress plugin – and how to enable Google Consent Mode v2.
In this guide
How do I set up Google Consent Mode in WordPress?
Before explaining how to set up Google Consent Mode in WordPress, you need to understand that 3 factors guarantee a successful implementation of the Consent Mode:
- you are an advertiser who targets users in the European Economic Area and the UK;
- you have already implemented a consent banner, via a Consent Management Platform or an in-house solution;
- you are using Google Tags, Google Tag Manager, or Google Analytics.
From March 2024, advertisers who target EEA users will be required to enable the Google Consent Mode v2. Those who don’t have Consent Mode enabled won’t be able to capture new EEA users in their audiences or gather new measurements.
With that said, you have two main options to implement Google Consent Mode v2 in your WordPress website: you can either use a Google-certified CMP, or an in-house solution with Google Tag Manager or Google Tag. Let’s go through each one of them.
Implement Google Consent Mode with a Partner CMP (recommended approach)
This is the recommended approach by Google, which created the Partner Program especially to make it easier for advertisers to enable the Consent Mode. A Google-certified CMP makes the implementation faster, easier, and provides all the necessary technical support.
Moreover, it ensures more flexibility for the future, because upgrades will happen automatically or with very low effort on your side.
👉 To see the detailed steps on how to integrate a certified CMP and activate Google Consent Mode, click here.
In-house solution (Google Tag Manager, Google Tags, Google Analytics)
If you don’t want to use a Consent Management Platform, you can also choose to implement Google Consent Mode manually.
You can either:
- Use Google Tag Manager and implement the Consent Mode through a template.
- Use Google Tags or SDK and manually add the consent code to each page of your website or app.
Why do I need a Google-certified CMP?
It’s a requirement by Google. Previously, in May 2023, Google announced its integration with IAB’s Transparency and Consent Framework and started requiring that all publishers serving ads in the European Economic Area and UK use a certified CMP that integrates with the TCF.
Additionally, from March 2024, advertisers who target audiences in the EEA will be required to enable the Google Consent Mode v2. Without the Consent Mode, you won’t be able to capture new EEA users in your audiences or gather new measurements. Since Google Consent Mode relies on consent data to determine the behavior of Google tags, Google highly recommends the use of a partner CMP.
🚀 iubenda is a Google-certified CMP and has been a trusted Google CMP Partner with Google Consent Mode support for some time, well before this new requirement was introduced.
What is the best CMP plugin for WordPress?
While there are many CMP WordPress plugins, but iubenda is the most complete. Besides being a Google-certified CMP, iubenda’s All-in-one Compliance – WordPress plugin allows you to more completely meet your legal obligations. With the iubenda plugin, you can:
- Align with the latest Google’s requirements, like the TCF integration and Google Consent Mode support.
- Manage all cookie consent requirements.
- Keep a record of consent for both cookies and marketing activities.
- Create all your legal documents (privacy policy, cookie policy, Terms and Conditions).
- Run a scan to check your compliance score and avoid leaving yourself open to risk.
Our plugin is also available in more than 8 languages and is updated any time legal and technical requirements change.
How do you use a CMP in WordPress?
It’s easy. Most popular CMPs have WordPress plugins available. So you’ll install and activate it as with any other plugin, then adjust the CMP settings to align with the laws that apply to you.
Once the CMP is correctly installed, cookies running on your site should be blocked by default. A cookie consent banner will be shown to your users on their first visit to your website, allowing them to express their consent preferences and allowing you to collect consent data.
If Google Consent Mode has been enabled, you will also get analytics and conversion measurements, based on the user’s consent choice or conversion modeling.
Let’s go through how to do this step by step using the iubenda plugin.
How to integrate a certified CMP and activate Google Consent Mode
Setting up a CMP on your site can vary depending on the plugin you choose. In the example below, we’ll walk you through the process using iubenda’s certified CMP.
🚀 If you’ve chosen iubenda’s CMP as your Google-certified CMP, congrats, you’re in wonderful company! Over 400,000 websites use iubenda to navigate data laws all over the world.
Now let’s jump into how to integrate your CMP on a WordPress website and how to enable Google Consent Mode.
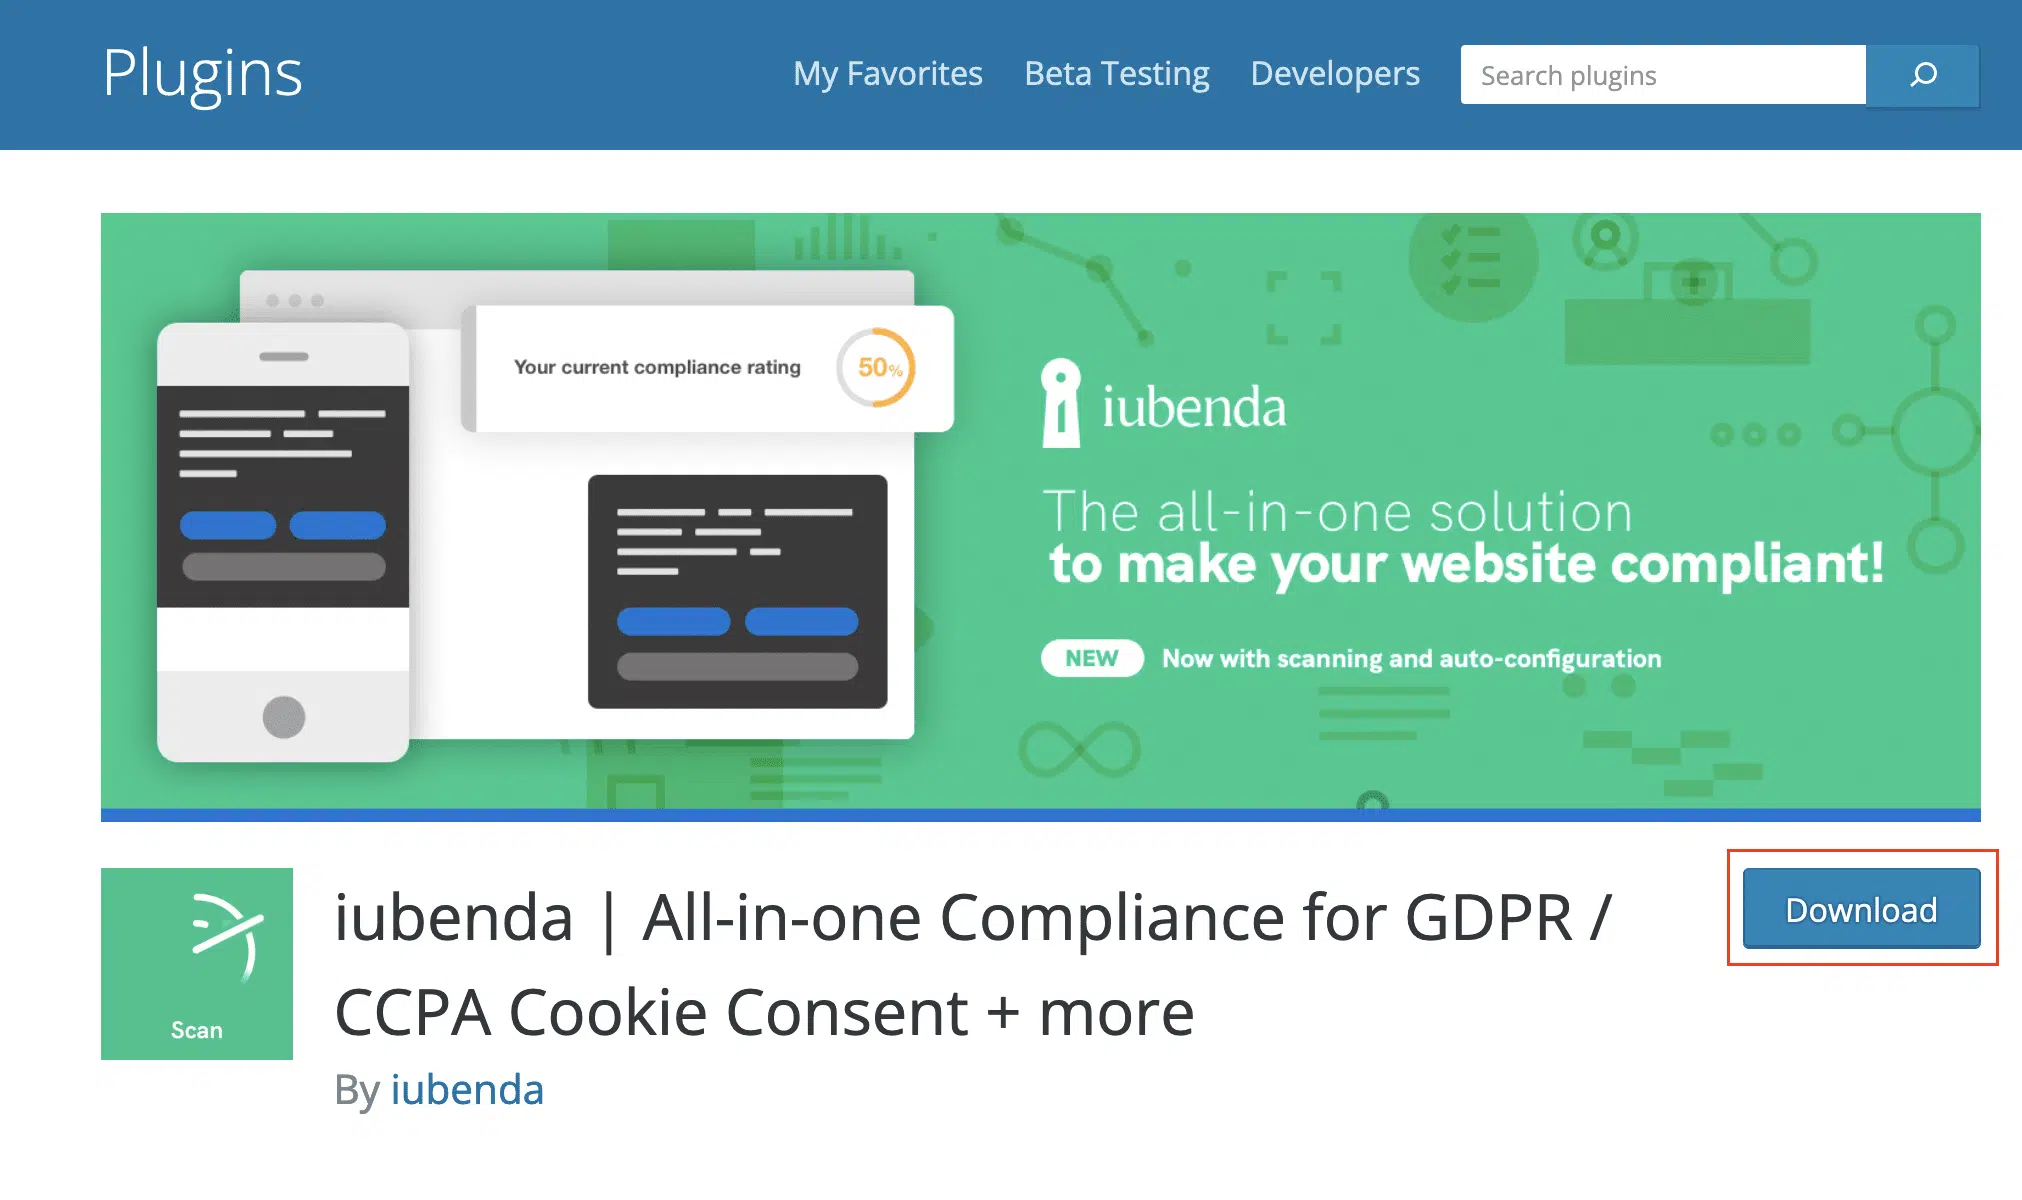
1. Download our WordPress plugin and activate it
Go to the WordPress plugin repository, download iubenda’s plugin and activate it.
- If you are already a iubenda user, you’ll just need to paste the Privacy Controls and Cookie Solution embedding code into the specific section, then our plugin will automatically synchronize your products within your WordPress website.
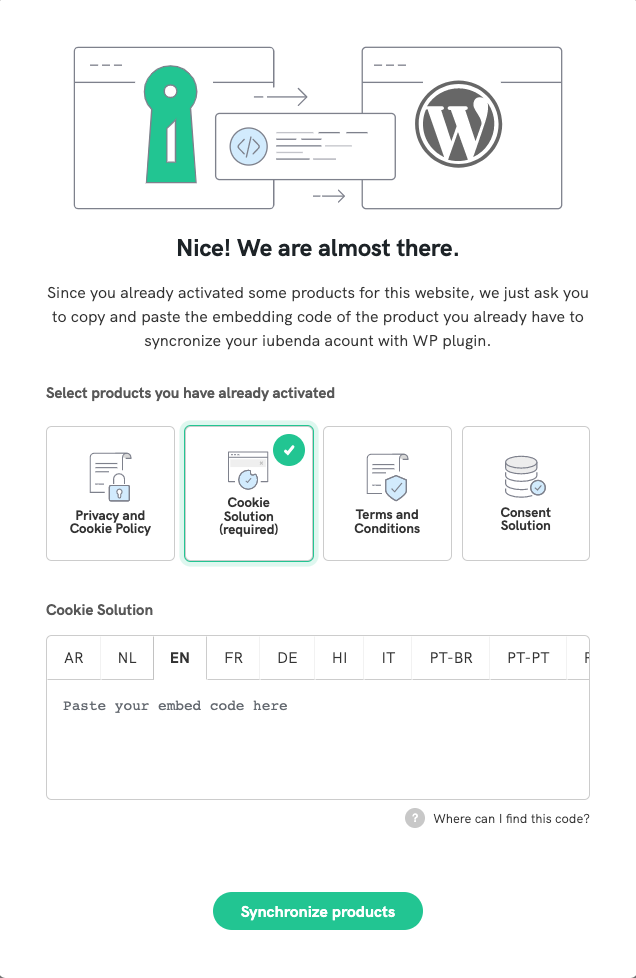
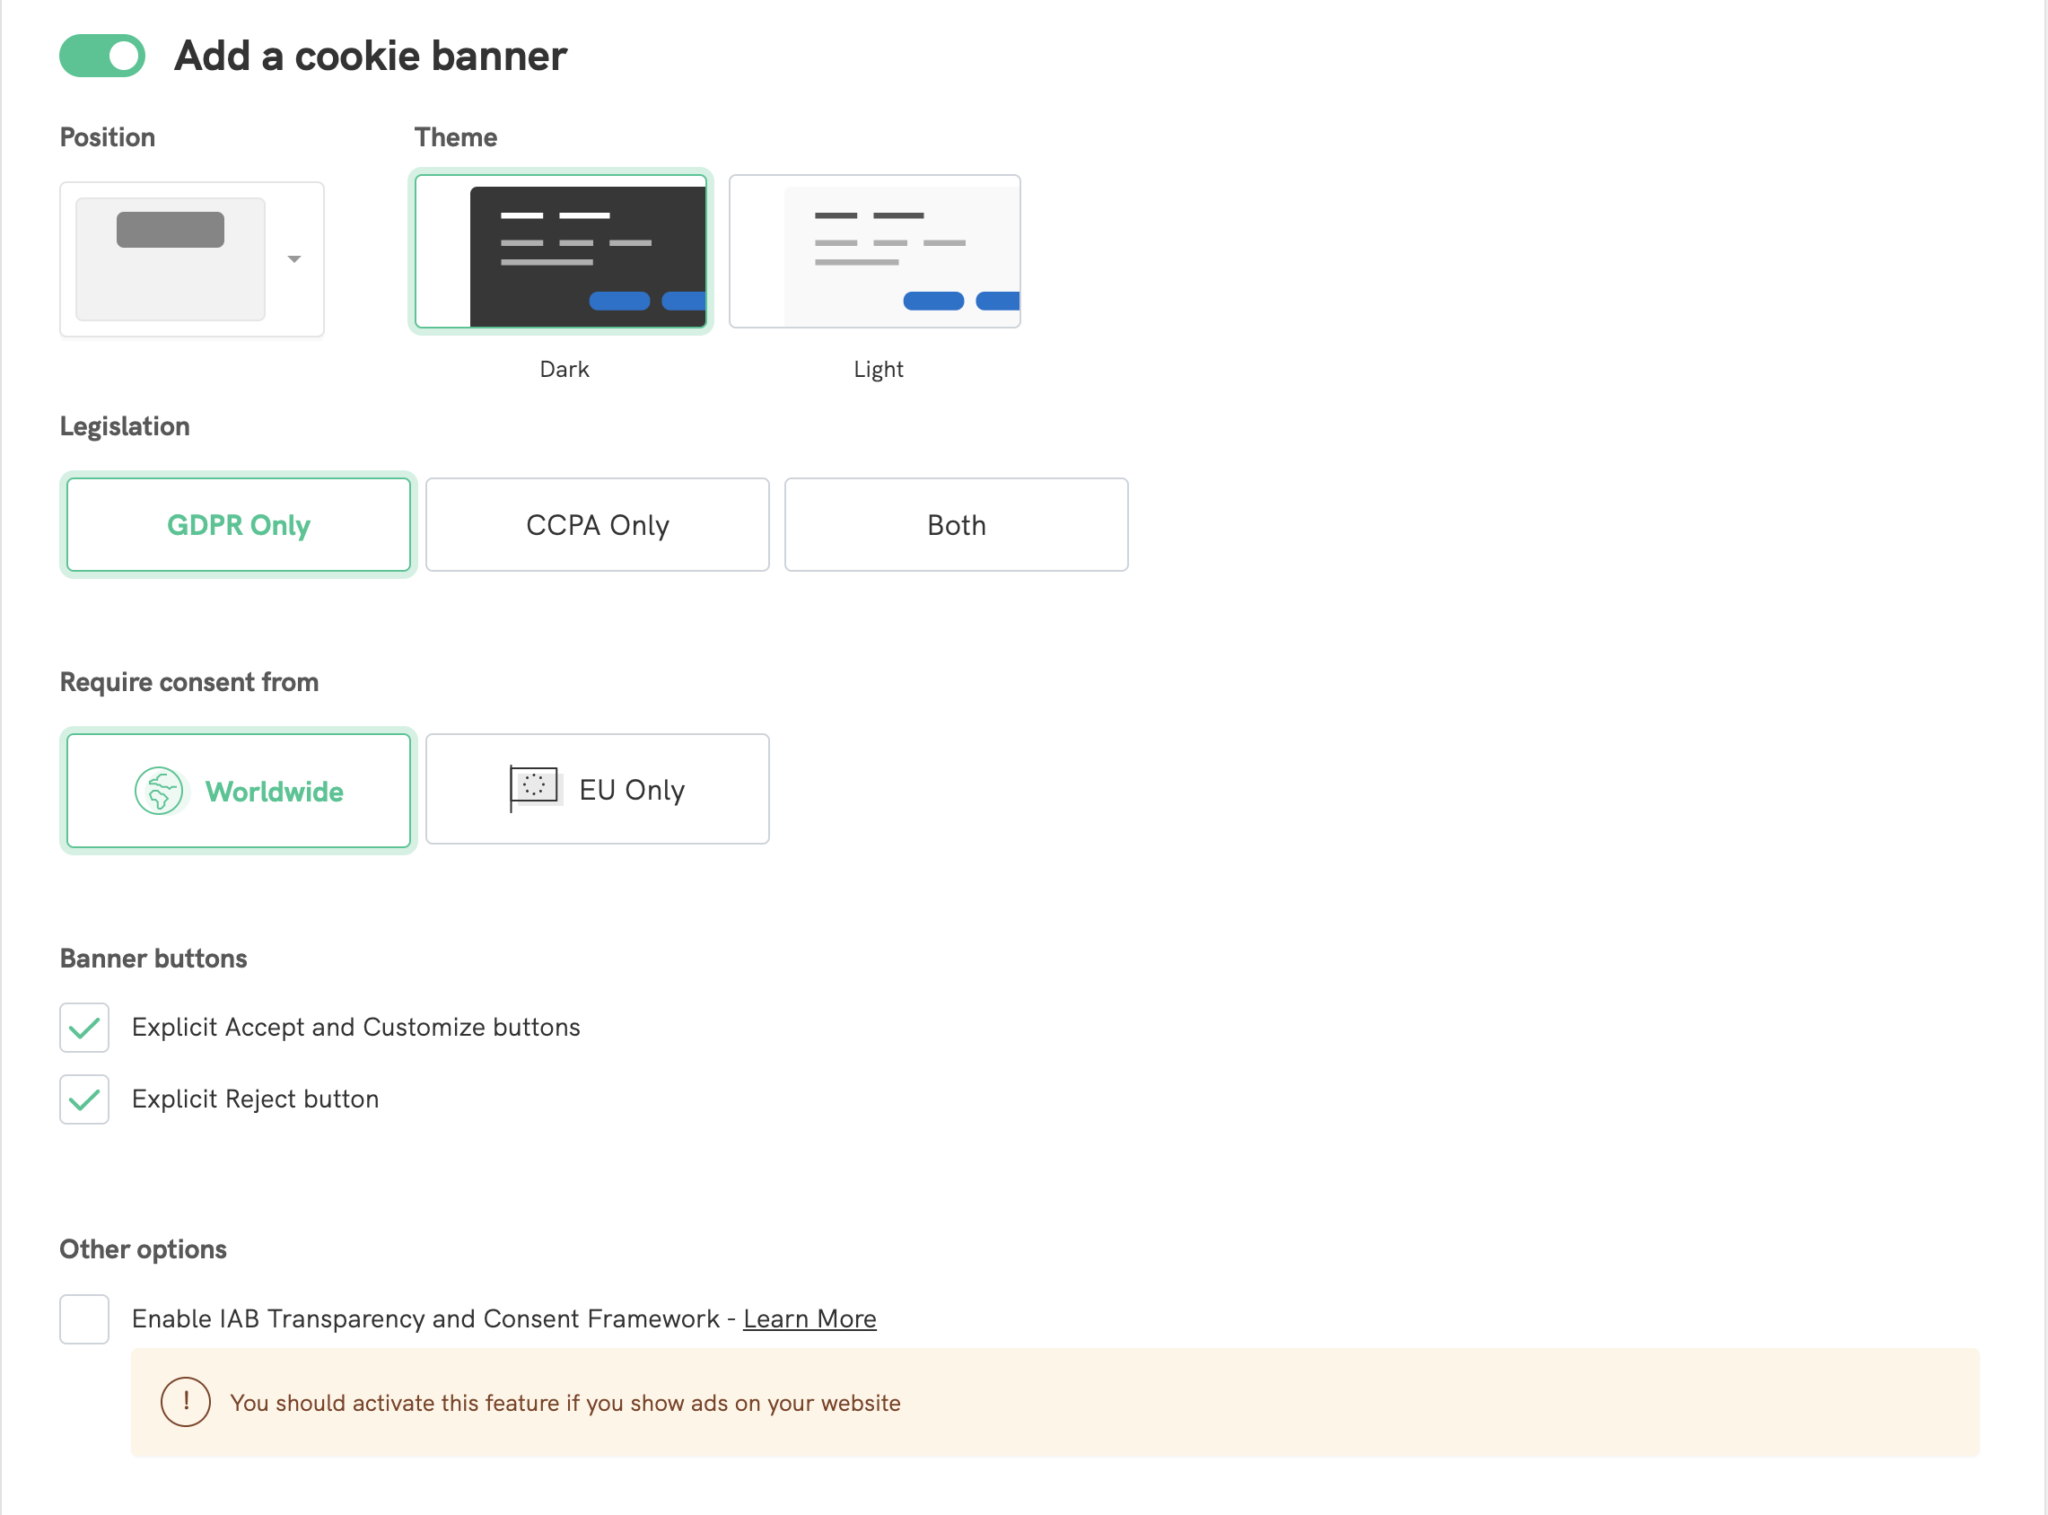
- If, instead, you’re using iubenda for the first time, you’ll need to set up the CMP and the cookie consent banner. It’s quite easy: you can find a step-by-step guide here.
2. Enable Google Consent Mode support
Now it’s time to enable Google Consent Mode support. iubenda’s CMP allows three different integration methods:
- Autoblocking (preferred method): by enabling the autoblocking of cookie scripts, Google Consent Mode support will be automatically activated. That’s it!
- Google Tag Manager template: As a CMP Partner, iubenda also provides a Google Tag Manager. The process is quite simple. You need to add the template to your GTM installation, configure the tags, and embed it.
- Manual tagging: If you’re using the old iubenda Cookie Solution script and relying on manual tagging for prior blocking, you need some extra coding to enable Google Consent Mode. Check the steps here.
Note ⚠️
Google Consent Mode only works for Google scripts. If you are also using other analytics or advertising scripts (for example, the Facebook pixel), you will still need to block them before users give their consent. But don’t worry: our WordPress plugin simplifies the process of prior blocking.
3. You’re done!
If you’re using our CMP WordPress plugin, you’re done, there’s no extra step. Once the settings are saved, the plugin will activate the CMP and Google Consent Mode, and you’ll start receiving consent data and insights, also through modeled conversions.
Without the plugin, the last step would be to paste the embedding code of iubenda’s Privacy Controls and Cookie Solution at the end of the HEAD tag of your site pages.
iubenda: Google Certified CMP for WordPress
Now more than ever, it’s important to rely on the right tools. iubenda has been a Google CMP Partner for quite some time, and we constantly monitor and update our WordPress plugin to align it with the latest requirements.
Our Google-certified CMP simplifies consent practices, helping you to stay on the right side of the law while maximizing the performance of your WordPress website.