Have you generated a website using Elementor and need to meet GDPR consent requirements?
Well, you’re in the right place. In this guide, we’ll take a look at GDPR consent proof requirements and how to add iubenda’s Consent Database to your Elementor site.
→ Jump to How to add the Consent Database to Elementor
Why do I need GDPR proof of consent
Consent records are specifically required under the GDPR. Keeping a complete and thorough record of consent is required and is an essential part of privacy compliance. The records of proof are managed by you, the Data Controller. As a result, the GDPR requires you to keep “proofs” or records of consent that contain specific details that might prove that the consent received is genuine and therefore valid under the GDPR. Consent must be explicit, freely provided, and verifiable under the GDPR. You can read up more on iubenda’s Consent Database here.
What must GDPR consent records contain
These records should include a way of identifying the user, proof of consent, record of the consenting action, and the legal documents available to the user at the time of consent, among other things.
The following information should be recorded:
- who provided the consent;
- when and how consent was obtained from the particular user;
- the consent collecting form they were presented with at the time of collection; and
- whatever conditions and legal documents were in effect at the time the consent was obtained.
You can read about the full requirements here.
iubenda’s Consent Database automatically records and manages GDPR & LGPD consent and privacy preferences for each of your users. You can read up more on iubenda’s Consent Database here.
How to add iubenda’s Consent Database on Elementor
📌 Plug-in method
Installation and configuration
Once you’ve installed our Cookie and Consent Database Plugin for the GDPR & ePrivacy, you can start configuring it.
Please note that with the actual configuration of the plugin, some integrations requires the Privacy Controls and Cookie Solution code at a minimum. This means that if you want to use the Consent Database only – but not the Privacy Controls and Cookie Solution you have these following options:
- If you already have a iubenda account and a Consent Database API to synchronize, temporarily activate the Privacy Controls and Cookie Solution in your dashboard (it’s free!) → add the Privacy Controls and Cookie Solution code to the plugin console → add your Consent Database code → sync → then deactivate the Privacy Controls and Cookie Solution.
- If you are starting from scratch with the plugin, after creating the account, turn off the toggles regarding the basic configuration of the cookie banner and privacy policy button and proceed by clicking Integrate. once in the plugin dashboard, you can enable the Consent Database
Unlike when using the JavaScript method, there’s no need to include the Consent Database code in your head, or to provide a script with a load/submit function: the plugin will take care of it.
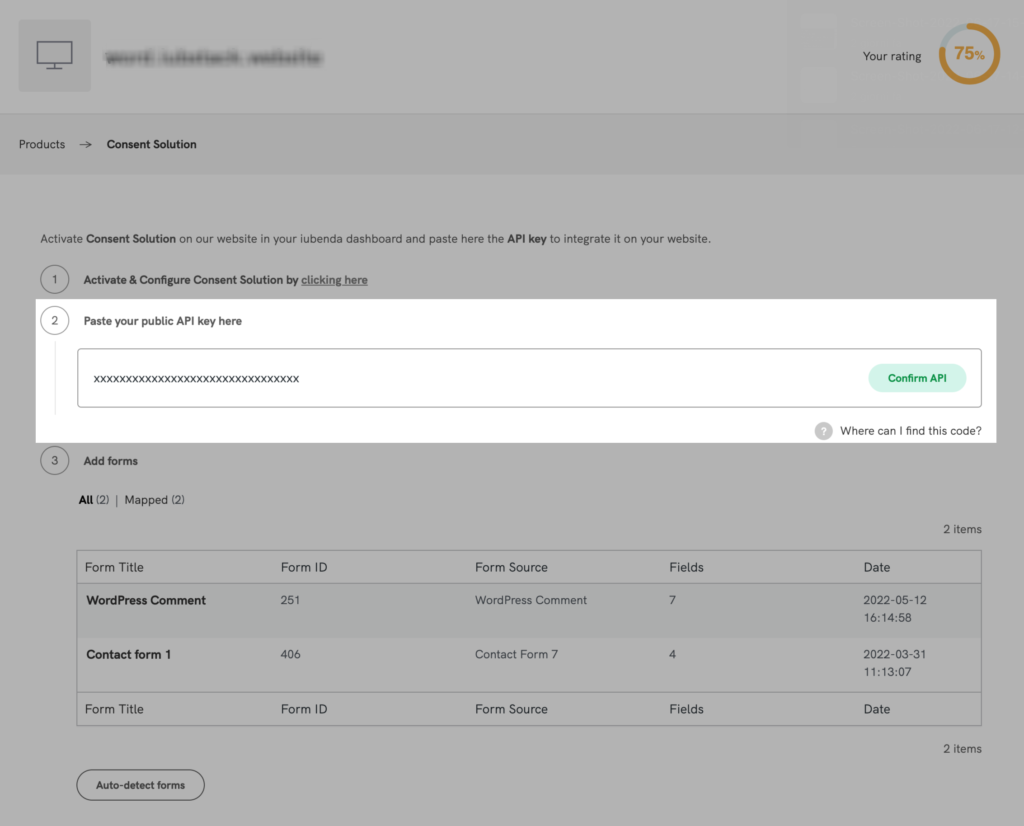
Input the API key
Select the Consent Database tab and input the Public API key ( you can find this in your iubenda dashboard > [Your website] > Consent Database > Embed).
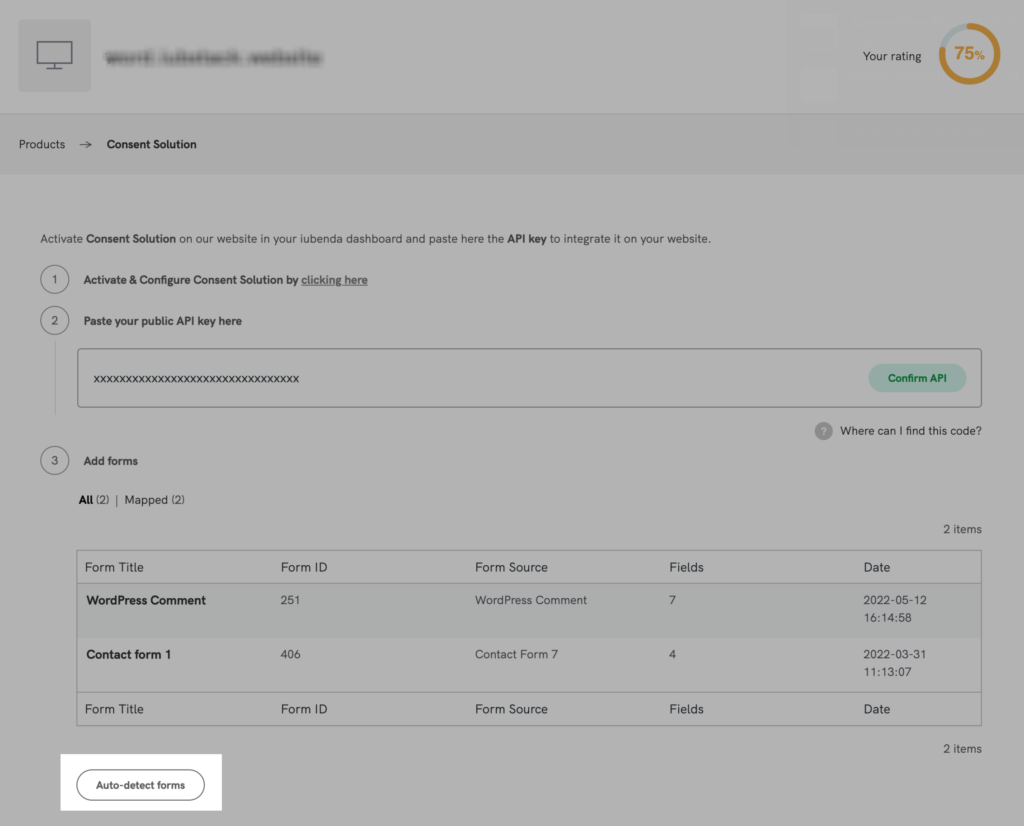
Detect your forms
Once clicked on Autodetect Forms, the plugin will show all supported forms installed on your site, listing them either under “All“, “Mapped” and “To Map“.
Caution
If you add a new form or modify the structure of a form, (e.g by adding a new field), you’ll need to click on the auto-detect button again in order to display the most updated version of the form within the plugin interface.
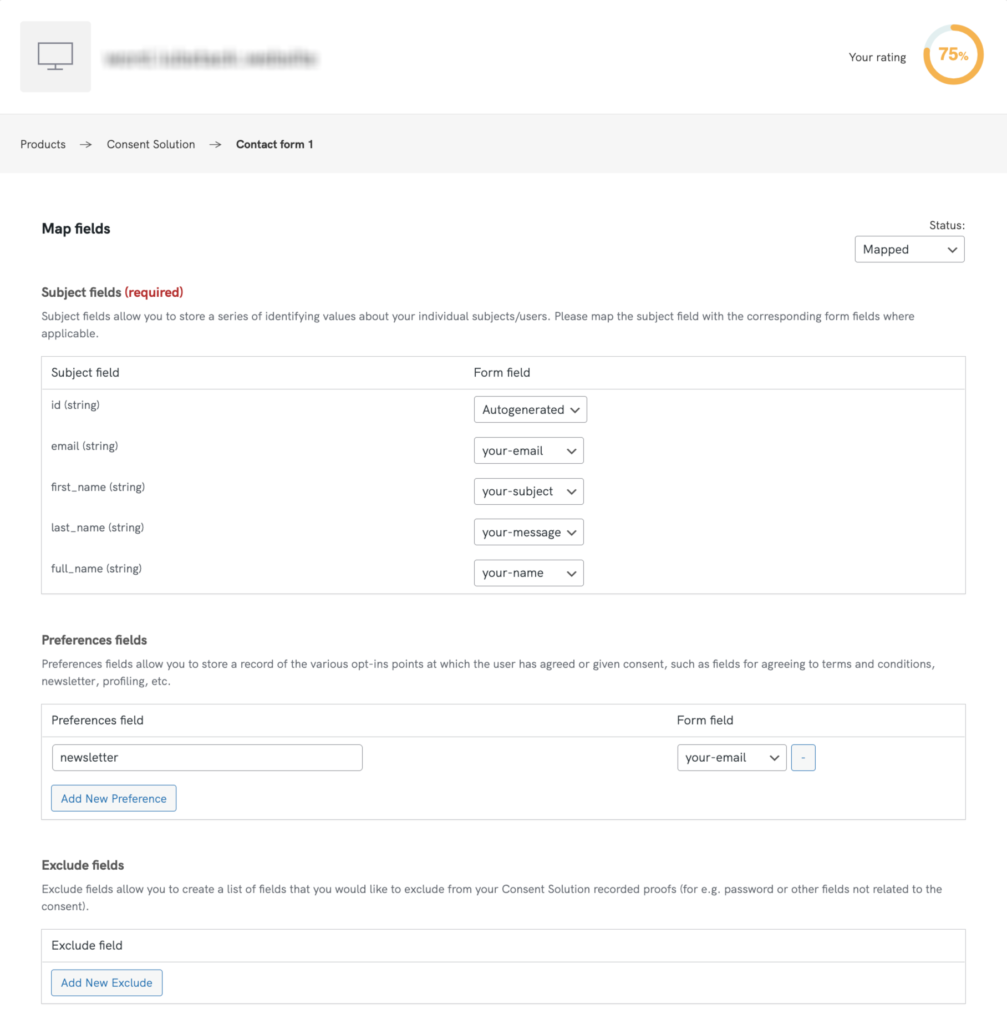
Map your forms
To map a form, simply click on the form title to open up the Mapping window and select the fields that you’d like the Consent Database to record the data from.
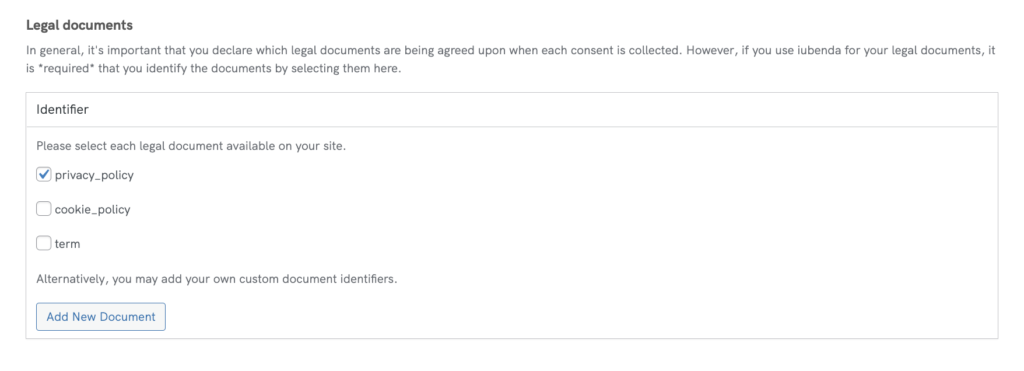
Indicate your legal documents
The plugin also lets you indicate your legal documents, including privacy policies, cookie policies, terms and conditions, and custom documents.
When you’re done editing, just click on Save Settings at the bottom-right of the page.
Once you’ve collected your consents, you’ll be able to sort and analyze your data in the Consent Dashboard.
📌 Elementor PRO API method
The following method on how to integrate our Consent Database with Elementor PRO is designed specifically for the use of developers. We understand this is a complex method, please use this example as a starting point and talk with your technical team to customize it according to your specific scenario.
In addition to our integration methods using Javascript and the iubenda Plug-in, you can also follow this integration example using Elementor PRO API and our Consent Database API.
To create a consent in Elementor PRO it is necessary to paste in the functions.php file (in the WordPress theme directory) a PHP function named save_consent() and add an action to the form_submitted event.
Please customize private API key and “subject” data sent by a POST request and/or preference name
//SAVE CONSENT ON CONSENT SOLUTION AFTER FORM SUBMISSION
add_action( 'elementor_pro/forms/form_submitted', 'send_consent');
function send_consent() {
$consent_data = array(
"timestamp" => date('Y-m-d H:i:s'),
"subject" => array(
"full_name"=>$_POST["form_fields"]["name"],
"email" =>$_POST["form_fields"]["email"],
),
"legal_notices" => array(
array(
"identifier" => "terms"
),
array(
"identifier" => "privacy_policy"
)
),
"preferences" => array(
"privacy_policy_elementor" => true
),
);
$req = curl_init();
curl_setopt($req, CURLOPT_URL, 'https://consent.iubenda.com/consent');
curl_setopt($req, CURLOPT_RETURNTRANSFER, true);
curl_setopt($req, CURLOPT_HTTPHEADER, array(
'ApiKey:YOUR_PRIVATE_API_KEY',
'Content-Type: application/json'
));
curl_setopt($req, CURLOPT_POST, true);
curl_setopt($req, CURLOPT_POSTFIELDS, json_encode($consent_data));
$response = curl_exec($req);
//echo $response;
}
This function reads consent data coming from Elementor PRO via a POST request.
It contains an array, which is the PHP example you can find here.
What you should customize:
- Subject data: fields accepted are only full_name, last_name, first_name, email
In our PHP function, you will find one or more of these keywords followed by the super global $_POST variable which contains the value of that, so you can create the consent with the values that the user filled in the form.
More info about the $_POST superglobal variable in the official PHP documentation.
For example, suppose that you have created a form using Elementor PRO that has the following HTML:
<form action="/action_page.php"><label for="fname">Full name:</label><br><input type="text" id="fname" name="fname" value="John"><br><label for="lname">Email:</label><br><input type="text" id="lname" name="email" value="Doe"><br><br><input type="submit" value="Submit"></form>
You will customize this part of our example, shown below:
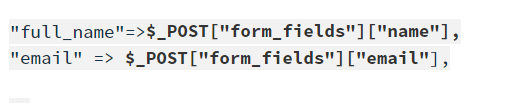
in this way:
"subject" => array("first_name"=>$_POST["fname"],"email" =>$_POST["email"];),
2. Next, add your own Consent Database Private API Key in the following function, specifically here:
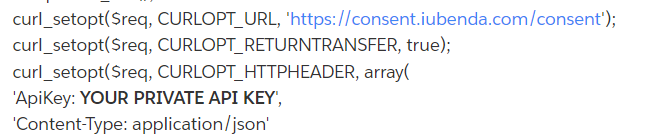
Please note that the Consent Database has 2 different keys, public and private, use always the private since the public one is not going to work with our API.
3. After that, you can also customize the preferences, they usually coincide with the checkbox that the user accepts when sending the form:
"preferences" => array("privacy_policy_elementor" => true)But you can also decide to pass this value using the $_POST variable as we have done within the “subject” if you want to read it dynamically.
4. Now, you can customize the consent, passing also the proofs of consent, as we have done in this example.
"proofs":[{"content":"proof_1","form":"proof_1 form"}]
where “content” can be a recap of values inserted by the user in the form and “form” is the HTML code of the form filled by the user.
5. Lastly, Remember to add add_action( 'elementor_pro/forms/form_submitted', 'send_consent'); so you can launch the function send_consent when the Elementor PRO form is submitted
That’s it. Please use this example as a starting point and talk with your technical team to customize it according to your specific scenario.