Have you generated a website using Shopify and need to meet GDPR consent requirements?
Well, you’re in the right place. In this guide, we’ll take a look at GDPR consent proof requirements and how to add iubenda’s Consent Database to your Shopify site.
→Jump to How to add a Consent Database on Shopify
Why do I need GDPR proof of consent
Consent records are specifically required under the GDPR. Keeping a complete and thorough record of consent is required and is an essential part of privacy compliance. The records of proof are managed by you, the Data Controller. As a result, the GDPR requires you to keep “proofs” or records of consent that contain specific details that might prove that the consent received is genuine and therefore valid under the GDPR. Consent must be explicit, freely provided, and verifiable under the GDPR. You can read up more on iubenda’s Consent Database here.
What must GDPR consent records contain
These records should include a way of identifying the user, proof of consent, record of the consenting action, and the legal documents available to the user at the time of consent, among other things.
The following information should be recorded:
- who provided the consent;
- when and how consent was obtained from the particular user;
- the consent collecting form they were presented with at the time of collection; and
- whatever conditions and legal documents were in effect at the time the consent was obtained.
You can read about the full requirements here.
iubenda’s Consent Database automatically records and manages GDPR & LGPD consent and privacy preferences for each of your users. You can read up more on iubenda’s Consent Database here.
How to add iubenda’s Consent Database
Here’s a quick overview of the steps you’ll need to take to install your iubenda Consent Database on a basic Shopify form:
- Create a contact page;
- Add Javascript script in the <head> tag
- Customize “Load” or “Submit” JS Function and add it after the </form> tag
To get started first head over to your iubenda dashboard, click on [Your website] > Consent Database > Embed.
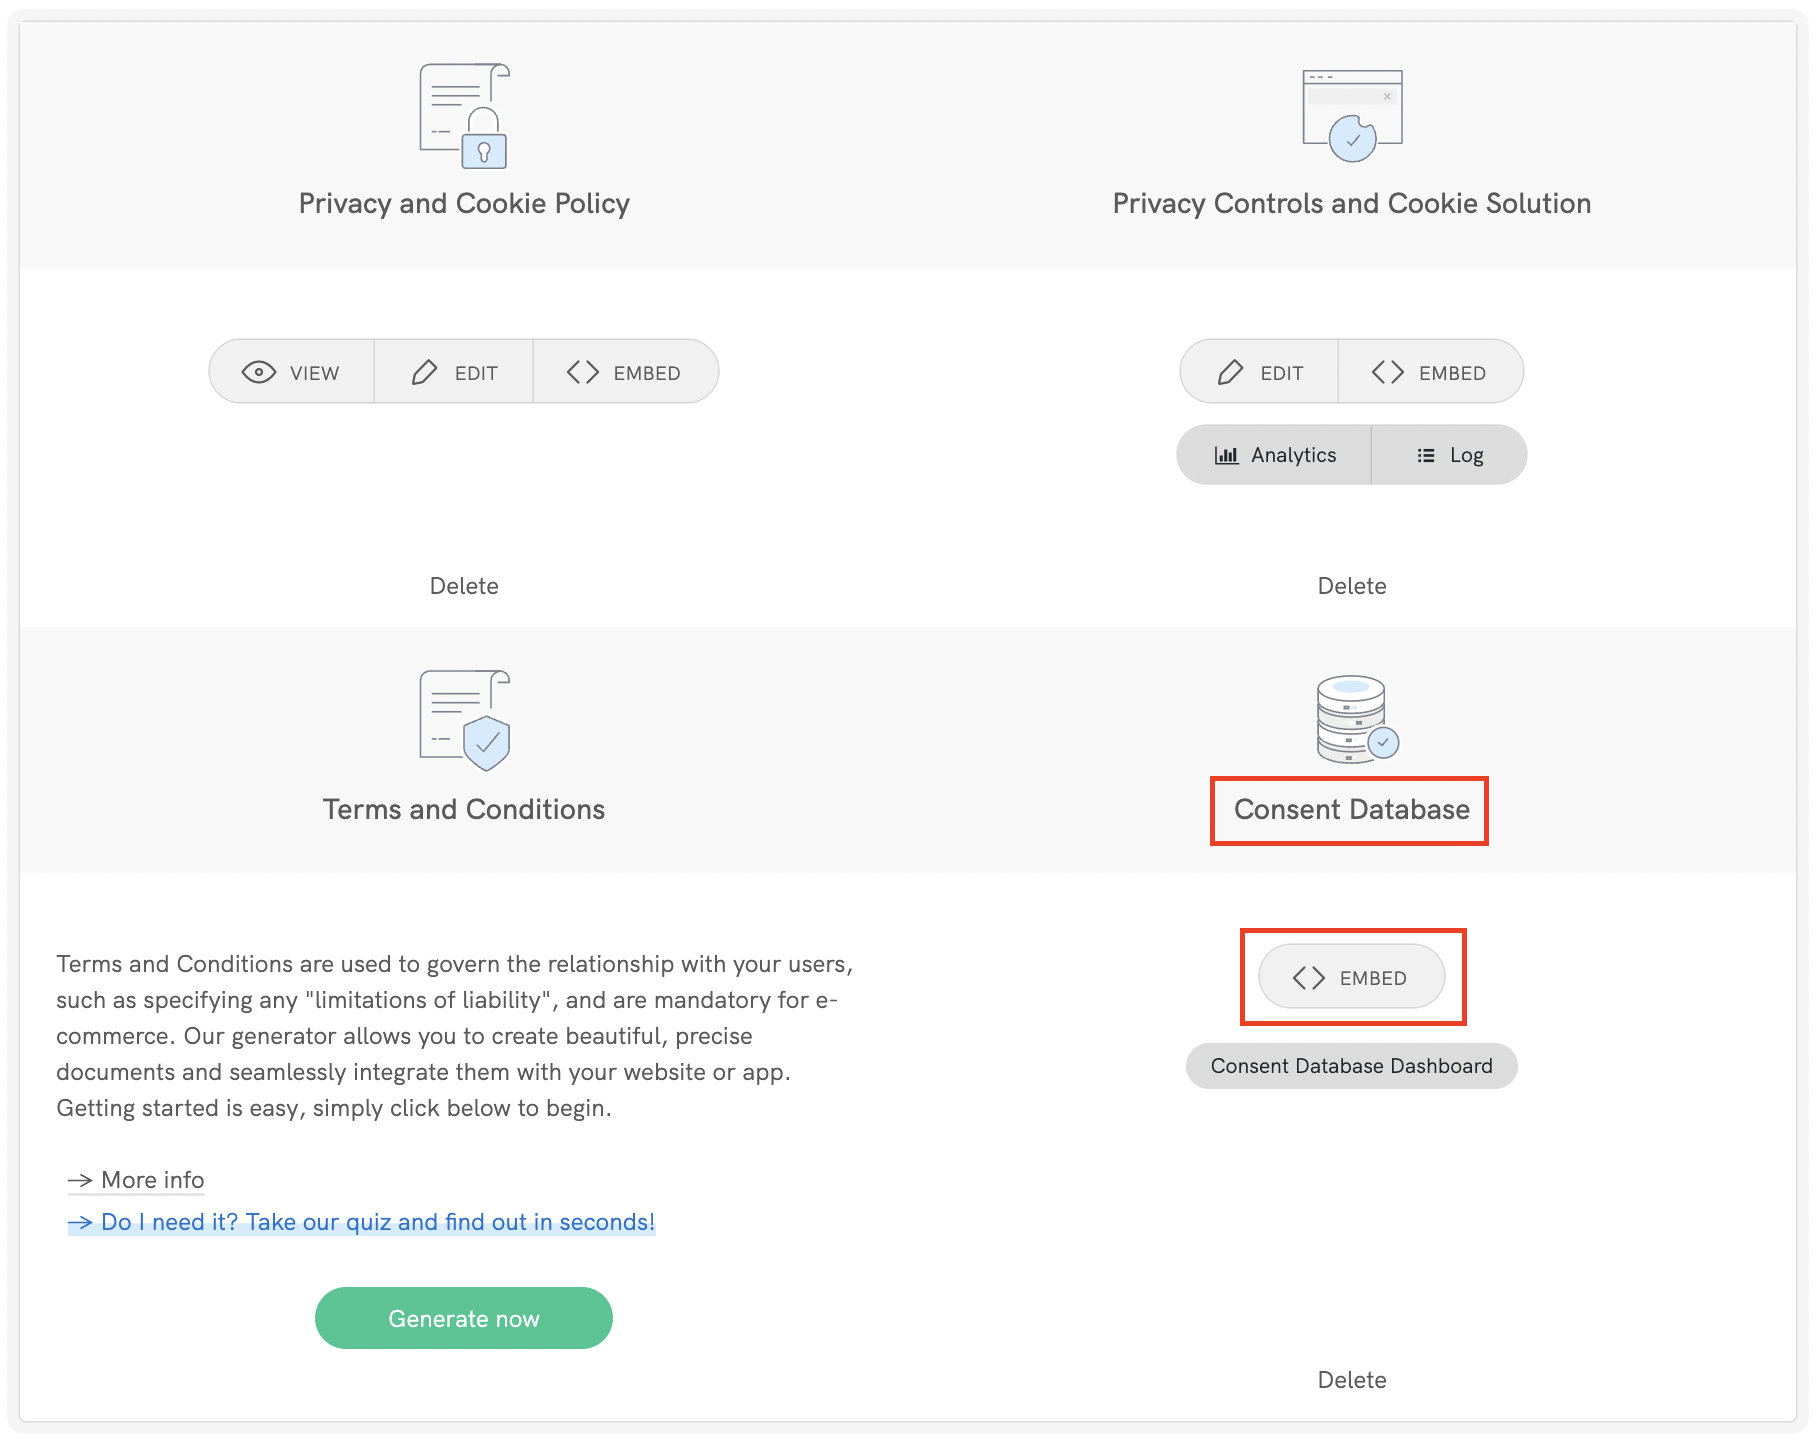
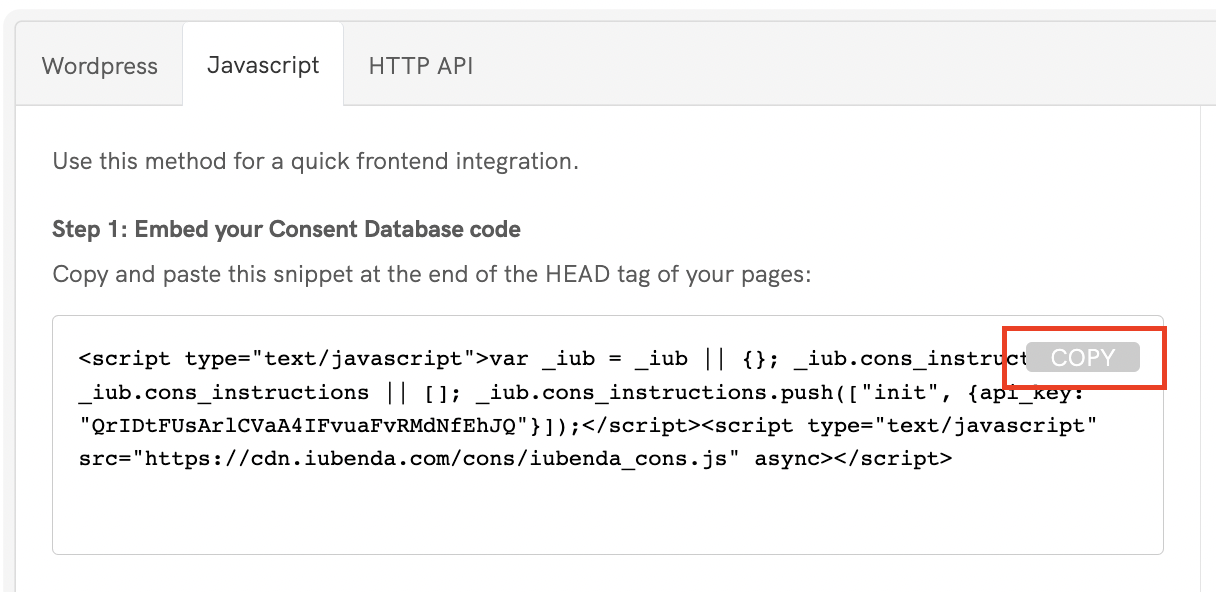
Then copy your iubenda Consent Database code by clicking on COPY.
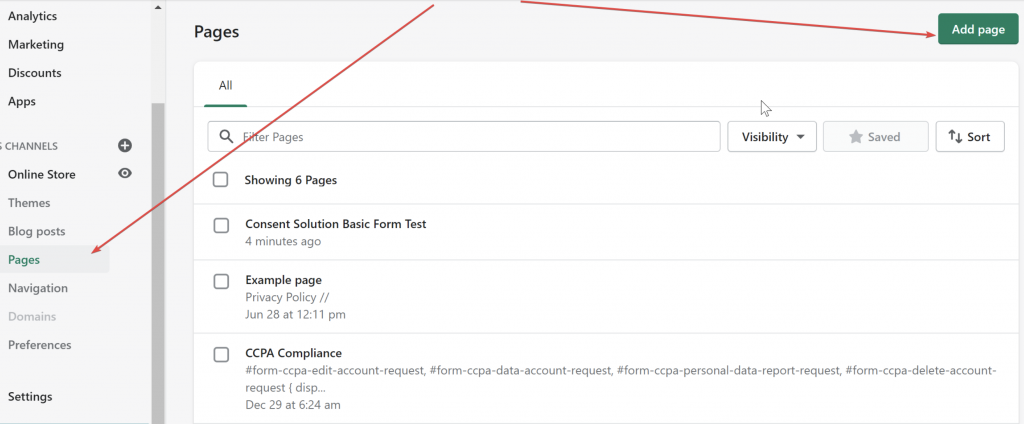
After that, we need to create a Contact Page to do this, head over to your Shopify Dashboard click on Online Store on the menu on the left the select Pages, and click on the Add page button.
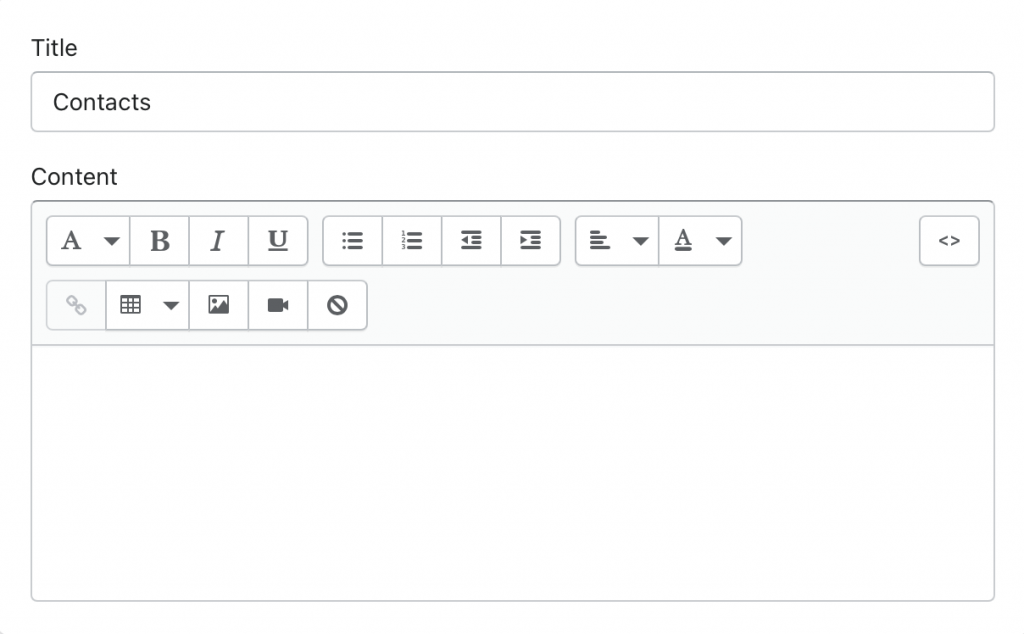
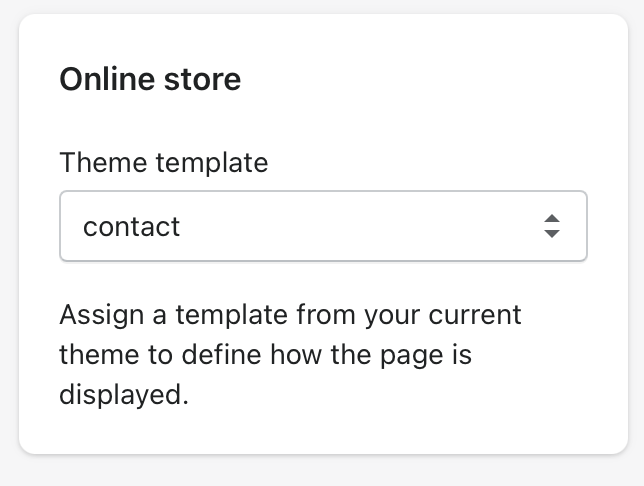
Now, give your page the title “Contacts”.
Please choose “contact” from the Theme template drop-down menu on the right of your screen and click Save. This procedure is explained also here.
After that, you need to create a new snippet in the Snippets folder and name it init_cons_script.liquid to do this:
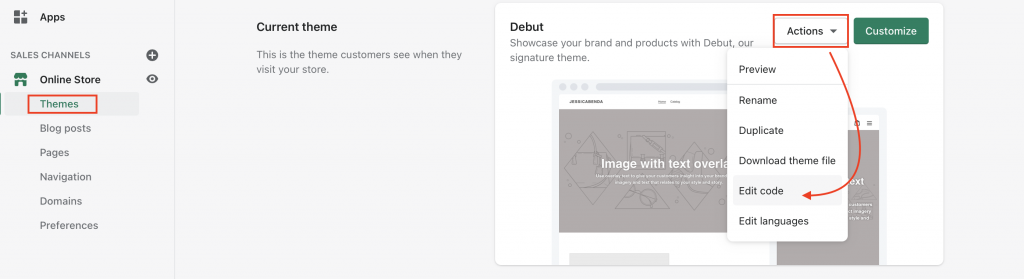
- Access your Shopify store’s admin panel and go to Online Store > Themes. Once there, click on Actions on the right, then Edit Code.
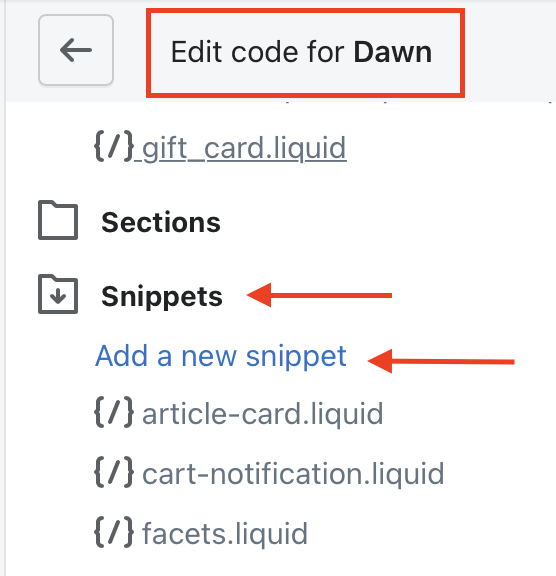
2. Create a new snippet in the Snippets folder by scrolling down the “edit code for Dawn” menu on the left. under the section named ‘Snippets’ select Add a new snippet.
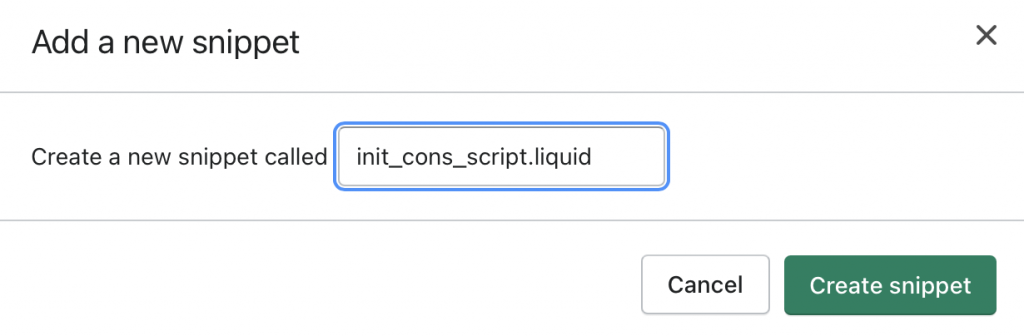
3. Name your new snippet “init_cons_script.liquid” and select Create snippet.
4. Then paste your script from the iubenda Consent Database dashboard and click on Save.
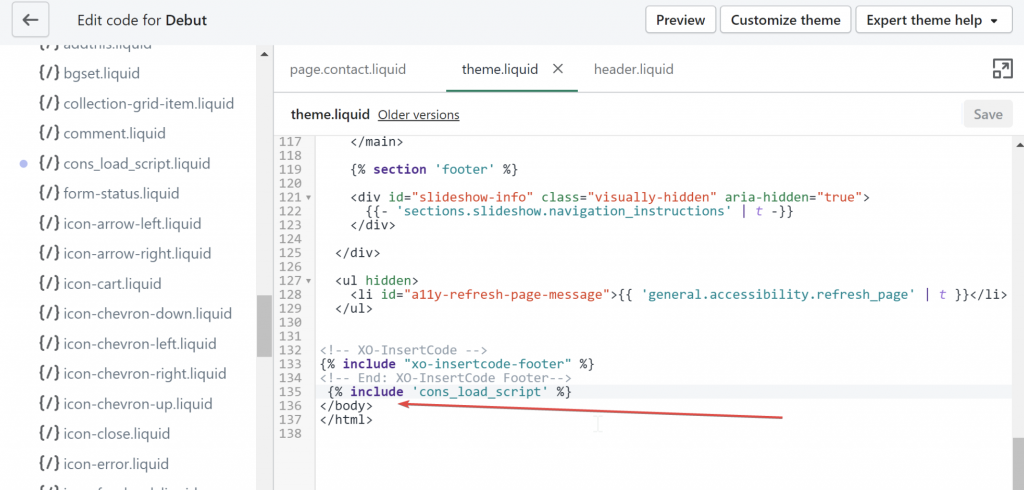
5. Next, open the theme.liquid layout (inside the Layout folder) and add {% include 'init_cons_script' %}between {{ content_for_header }} and </head> closing tag.

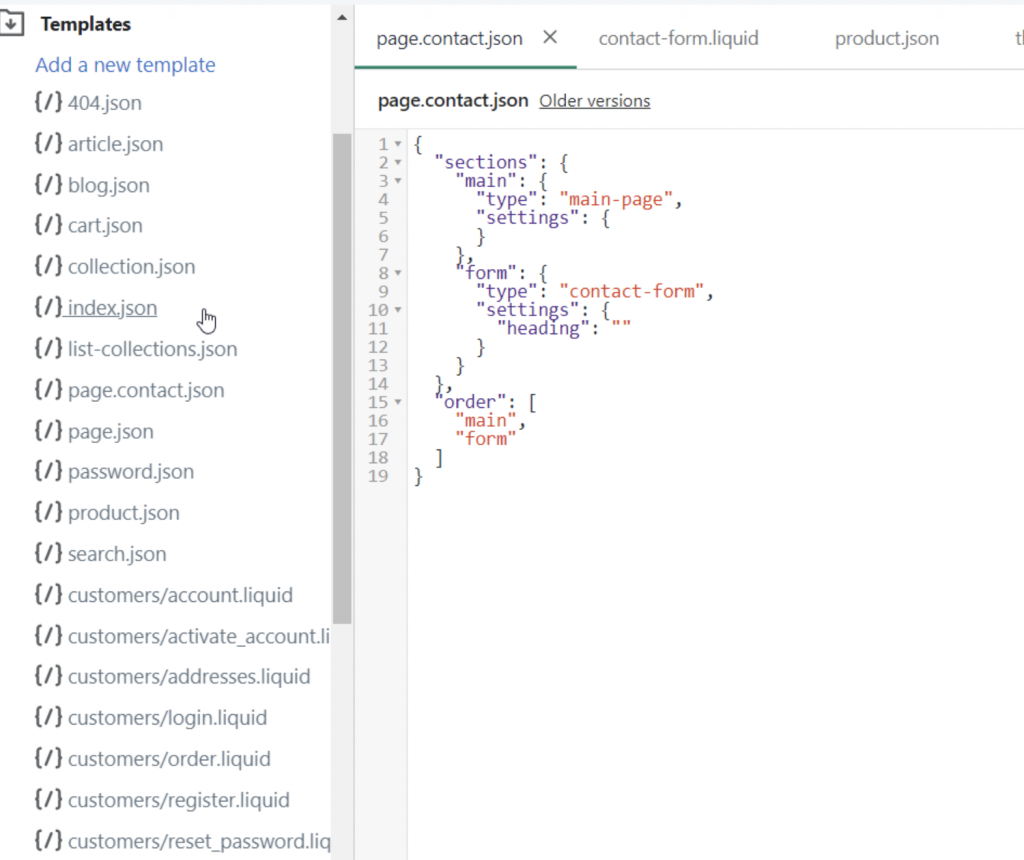
Please note (For step 6): If you are using the OS2 Theme, the page.contact.liquid may not exist.
In this case, you will have a file named page.contact.json, which contains a JSON schema like the following image.
Here, we see “sections” at the top of this snippet.
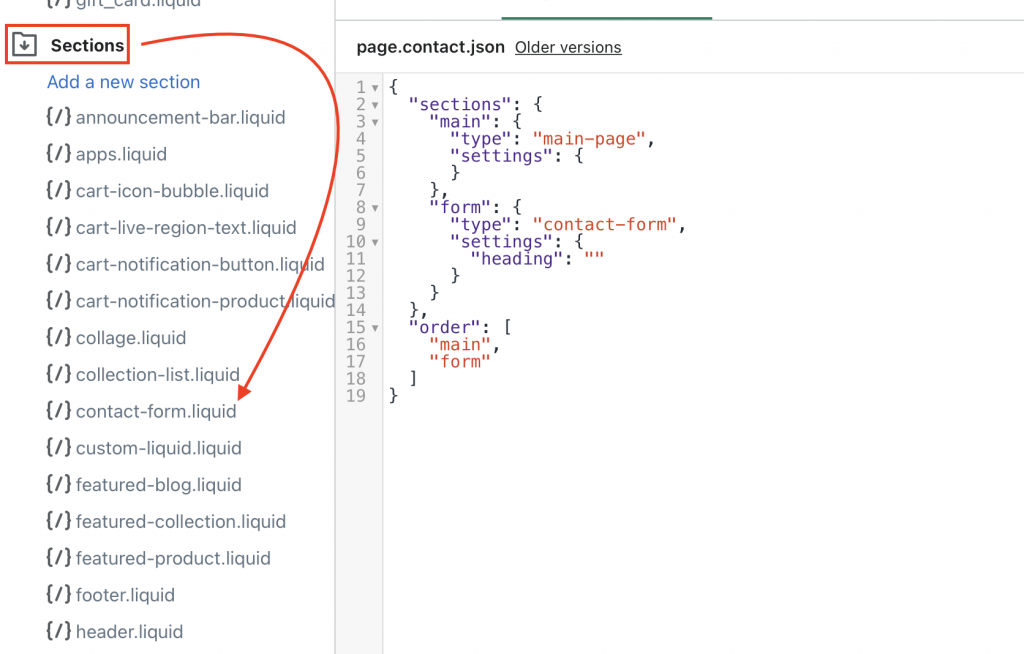
Now, in the menu on the left scroll down until you find the folder “Sections” and here you will find contact-form.liquid. Please continue with step 6.
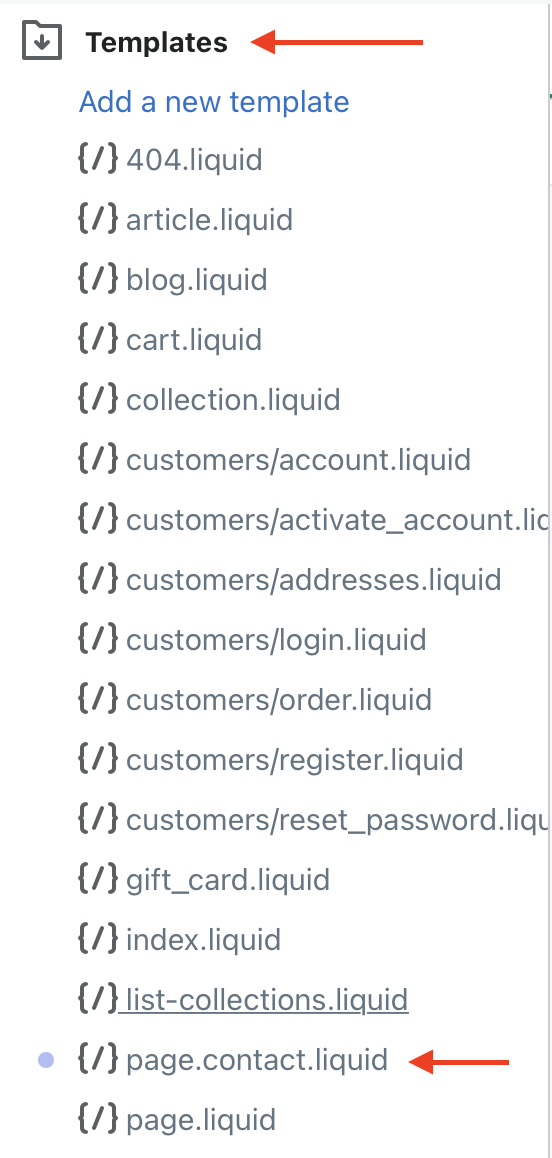
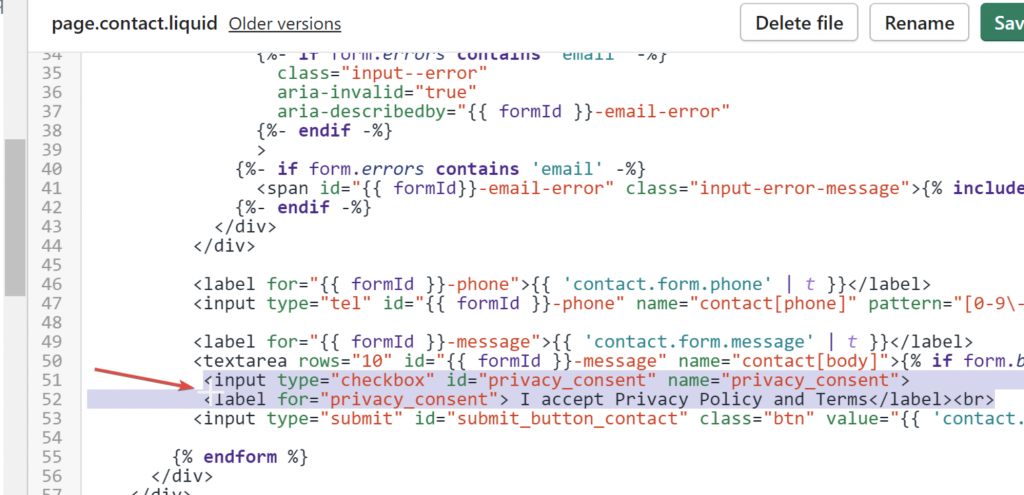
6. After that, we need to add an id attribute to the submit button, open page.contact.liquid (inside the Templates folder)
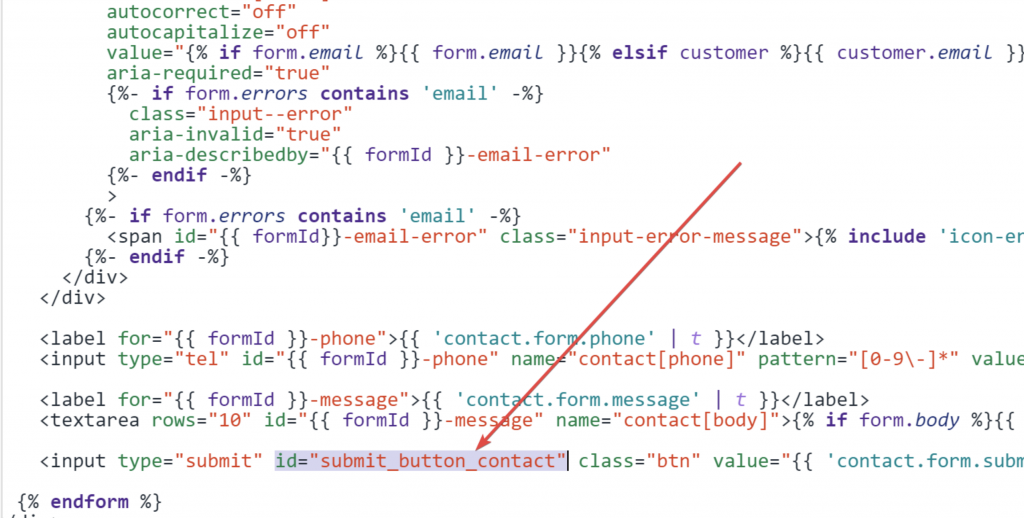
7. Then, add the id="submit_button_contact" after <input type=" submit"
Please note that the code may not be the same in all templates. For example, some templates may use a different code, such as <button type="submit"
Click on save in the top right of your page.
Please note the next step is just an example. For a detailed procedure on customization please refer to our JavaScript installation method.
- For a form with a checkbox to accept the privacy policy & terms please see here (in this case we use the Load function – demo: https://codepen.io/iubenda/pen/NBOVWN)
- For a form without a checkbox (in this case we use the Submit function demo: https://codepen.io/iubenda/pen/NBOmbZ)
Checkbox
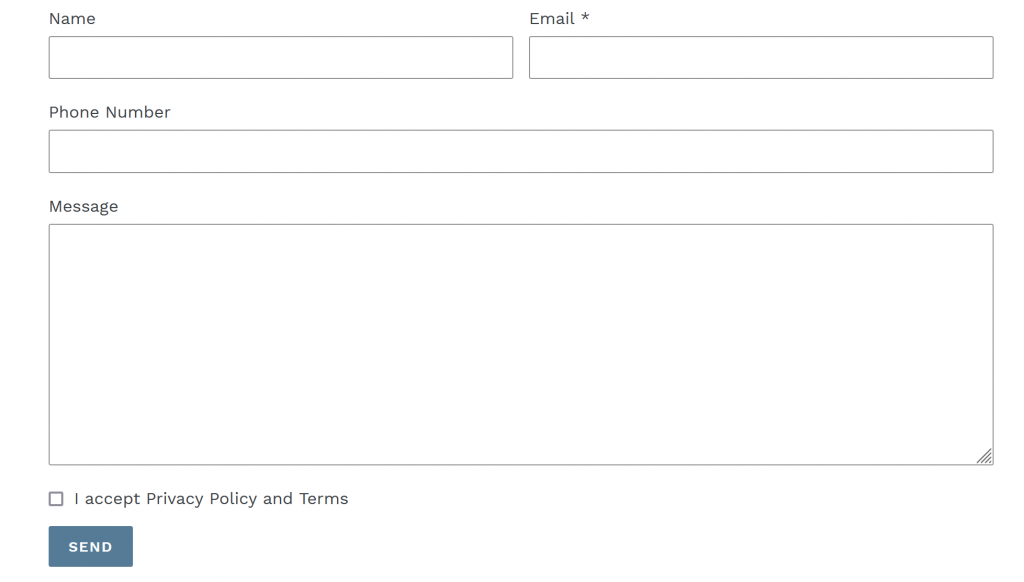
If we want to add a checkbox to accept Privacy Policy and terms like this example image then please follow the steps below.
For a simple checkbox, copy this HTML code.
<input type="checkbox" id="privacy_consent" name="privacy_consent_checkbox">
<label for="privacy_consent"> I accept Privacy Policy and Terms</label><br>
and add it in the page.contact.liquid before the submit button we previously added.
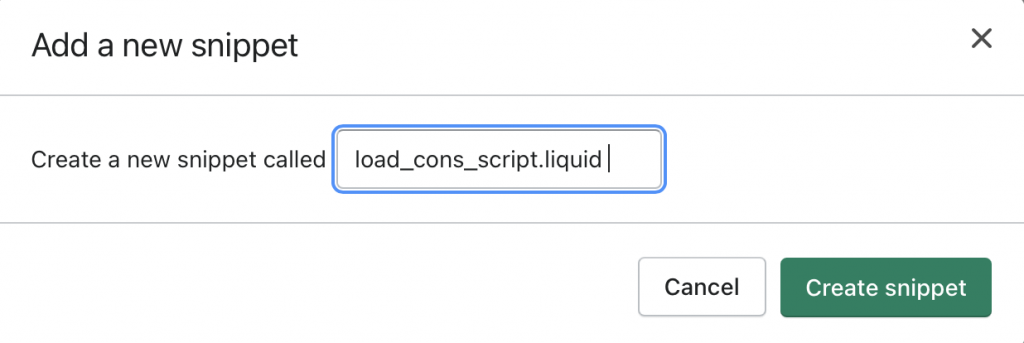
Next, go to the Snippets folder and create a new snippet for the Load Function and name it load_cons_script.liquid.
After that, paste in the load function:
<script type="text/javascript">_iub.cons_instructions.push(["load",{
submitElement: document.getElementById("submit_button_contact"),
form: {
selector: document.getElementById("ContactForm"),
map: {
subject: {
first_name: "contact[name]",
email: "contact[email]"
},
preferences: {
privacy_acceptance: "privacy_consent_checkbox",}
}
},
consent: {
legal_notices: [
{
identifier: 'privacy_policy',
},
{
identifier: 'cookie_policy',
},
{
identifier: 'terms',
}
],
}
}]);
</script>
Without Checkbox
For no checkbox: “Clicking send, I accept Privacy Policy and Terms” please follow the steps below.
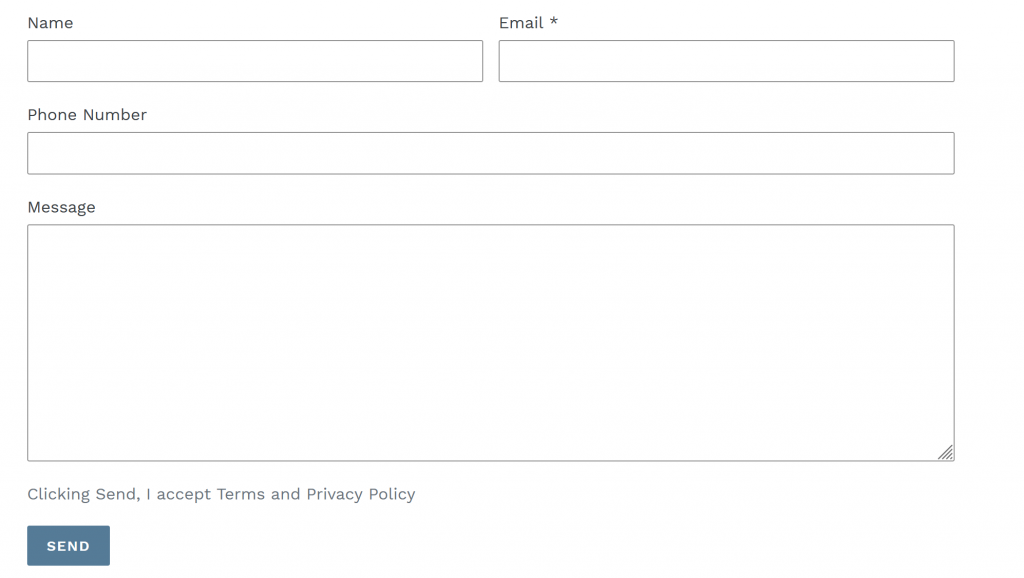
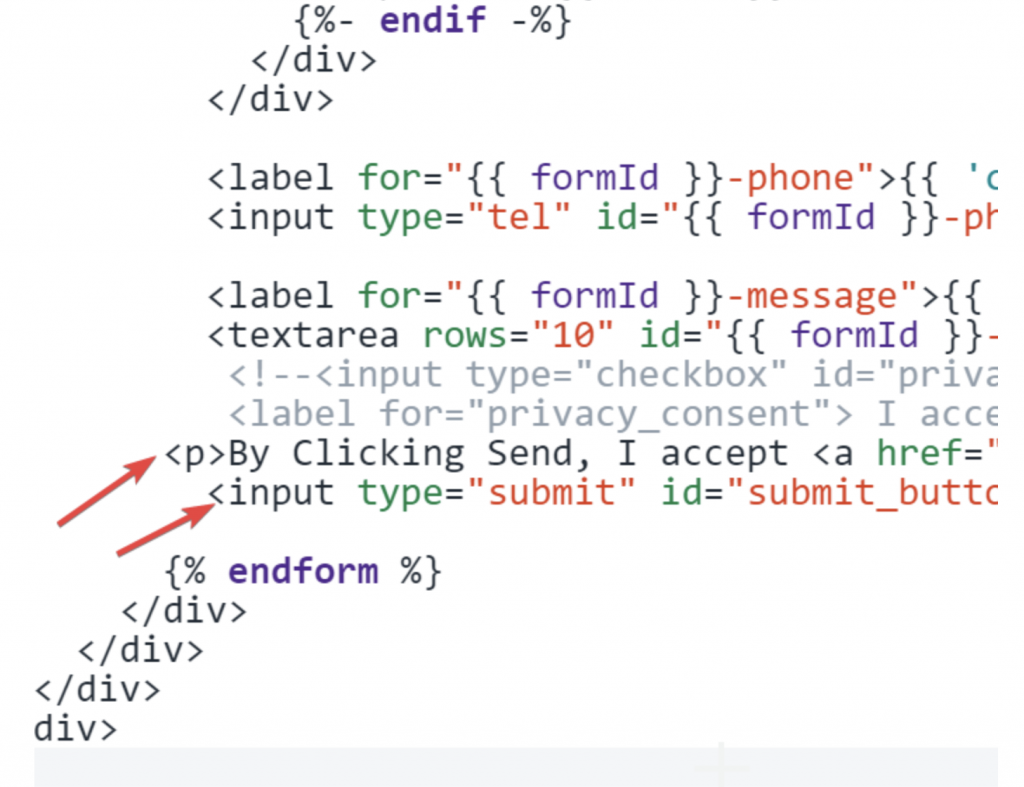
If we want to add a paragraph to accept Privacy Policy and terms (please copy the HTML below).
<p>By Clicking Send, I accept <a href="linkTerms">Terms</a> and <a href="link_pp">Privacy Policy</a></p>We can add it to the page.contact.liquid before the submit button as shown below.
Next, go to the Snippets folder and create a new snippet for the Load Function and name it load_cons_script.liquid.

After that paste the Submit function:
<script type="text/javascript">
document.getElementById("submit_button_contact").onclick=function(e){
e.preventDefault();
_iub.cons_instructions.push(["submit",{
form: {
selector: document.getElementById("ContactForm"),
map: {
subject: {
first_name: "contact[name]",
email: "contact[email]"
},
}
},
consent: {
preferences: {
privacy_acceptance: true,
},
legal_notices: [
{
identifier: 'privacy_policy',
},
{
identifier: 'cookie_policy',
}],}},
{success:function(response){console.log(response);
document.getElementById("ContactForm").submit()},}])}
</script>
Now, add Load/Submit the JavaScript function before the </form> closing tag in Theme.Liquid. Add the following HTML {% include 'load_cons_script' %} right before the </body> closing tag.
Click on save and then check out your iubenda Consent Database on your Shopify!