Have you generated a website using Webflow and need to meet GDPR consent requirements?
Well, you’re in the right place. In this guide, we’ll take a look at GDPR consent proof requirements and how to add iubenda’s Consent Database to your Webflow site.
→Jump to How to add the Consent Database to Weblow
Why do I need GDPR proof of consent
Consent records are specifically required under the GDPR. Keeping a complete and thorough record of consent is required and is an essential part of privacy compliance. The records of proof are managed by you, the Data Controller. As a result, the GDPR requires you to keep “proofs” or records of consent that contain specific details that might prove that the consent received is genuine and therefore valid under the GDPR. Consent must be explicit, freely provided, and verifiable under the GDPR. You can read up more on iubenda’s Consent Database here.
What must GDPR consent records contain
These records should include a way of identifying the user, proof of consent, record of the consenting action, and the legal documents available to the user at the time of consent, among other things.
The following information should be recorded:
- who provided the consent;
- when and how consent was obtained from the particular user;
- the consent collecting form they were presented with at the time of collection; and
- whatever conditions and legal documents were in effect at the time the consent was obtained.
You can read about the full requirements here.
iubenda’s Consent Database automatically records and manages GDPR & LGPD consent and privacy preferences for each of your users. You can read up more on iubenda’s Consent Database here.
How to add iubenda’s Consent Database on Webflow
Please note: this integration method is possible for Webflow premium plan users only.
This process has been split into two steps:
Step 1 – Create a Form
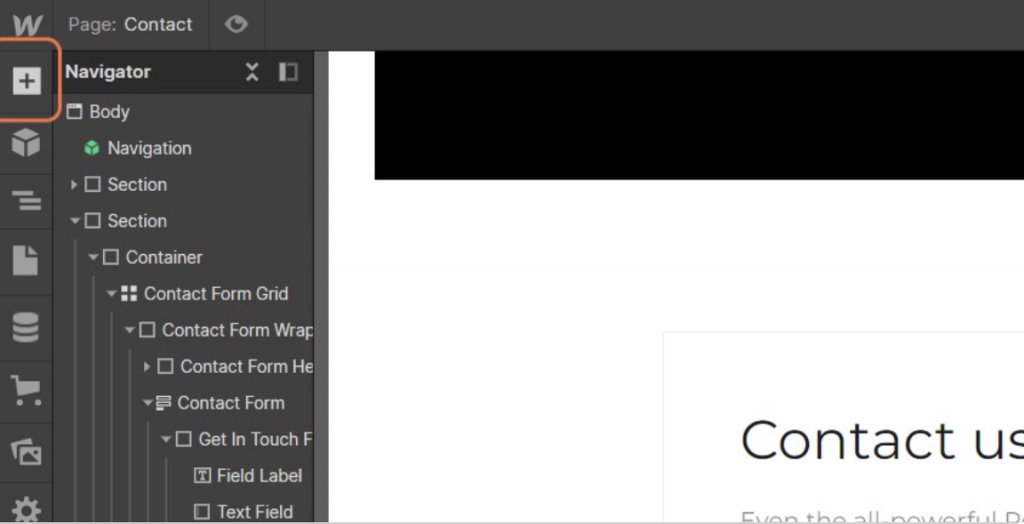
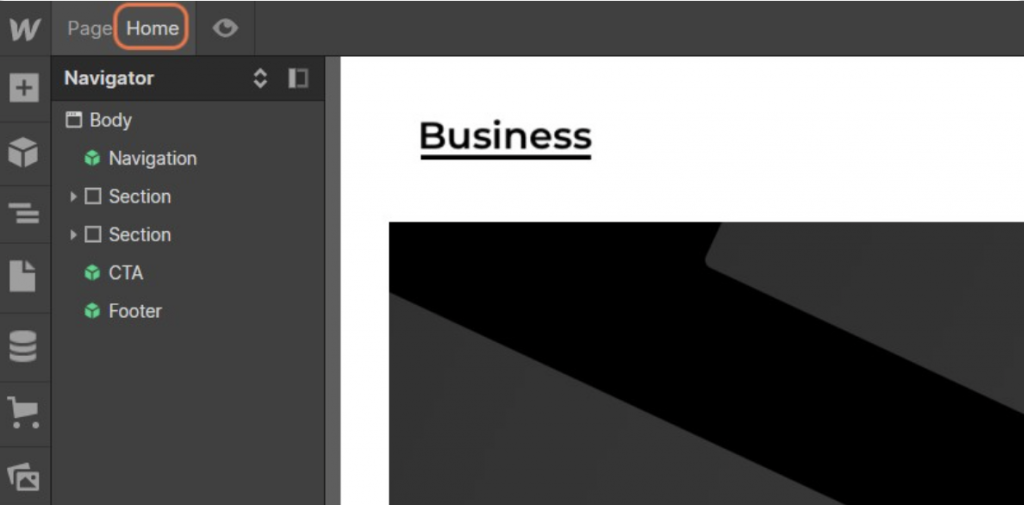
To get started you want to head to your Webflow site and open the project you want to work on and then, click on the home button.

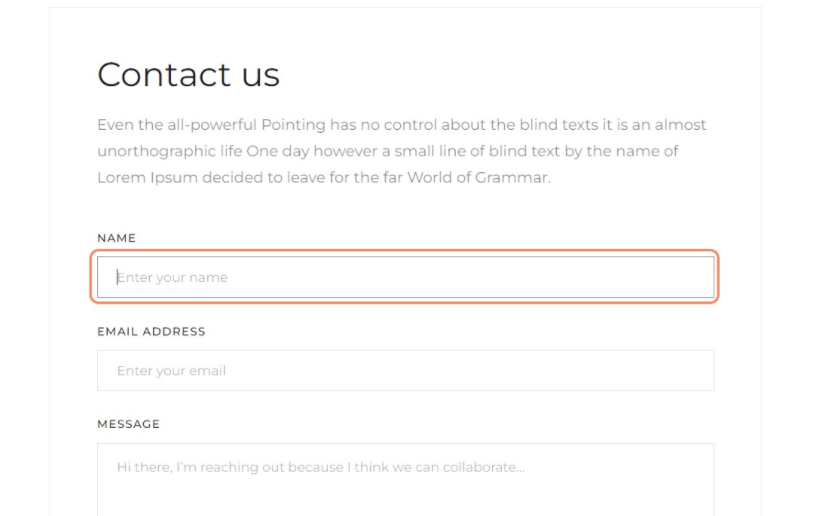
Next, click on ‘contact’. Here, we can modify the form and add name attributes to every form field.

After that, click on the ‘message’ field, this will fix the placement of the checkbox after the message field.
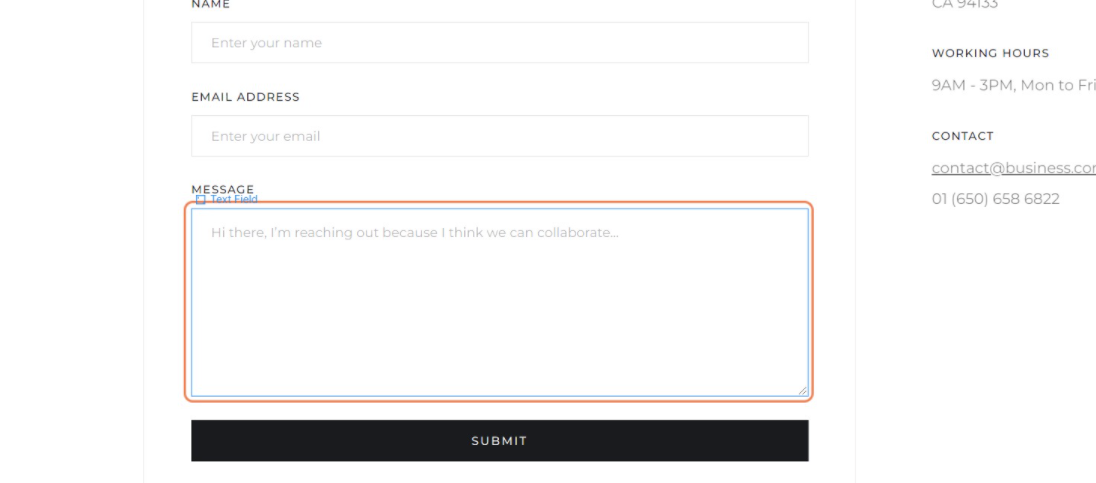
We are going to add the checkbox to accept the privacy policy to the form. To do so, click on (+)in the top left corner.
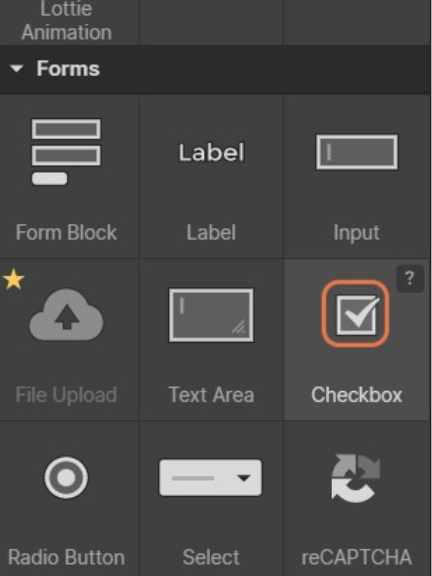
Next, click on the checkbox icon as shown in the image below.
After that, in the new checkbox field settings, click on ‘Required’ and make sure it’s disabled.
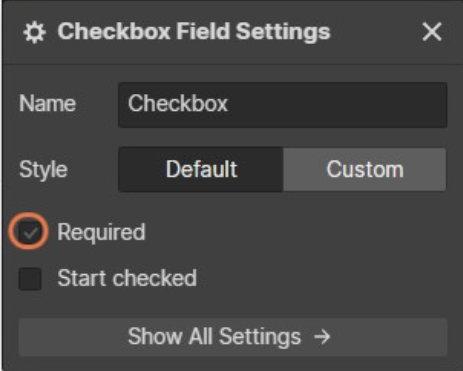
Now, type “Privacy_acceptance” to the “Name” setting text box provided.
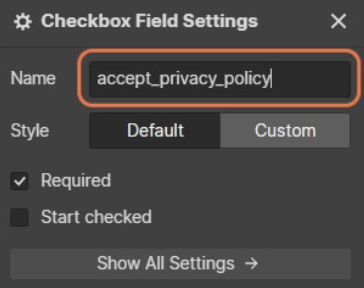
Once you’ve added a name, click on ‘Show All Settings’.
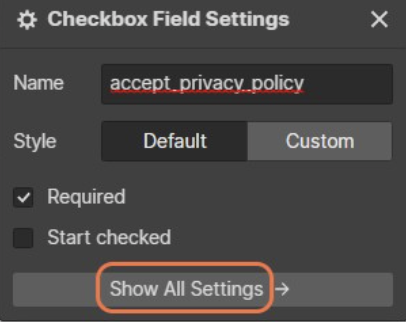
Here, you need to click on CHECKBOX in order to change the name. You can write something like: “I accept the privacy policy and terms and conditions”.

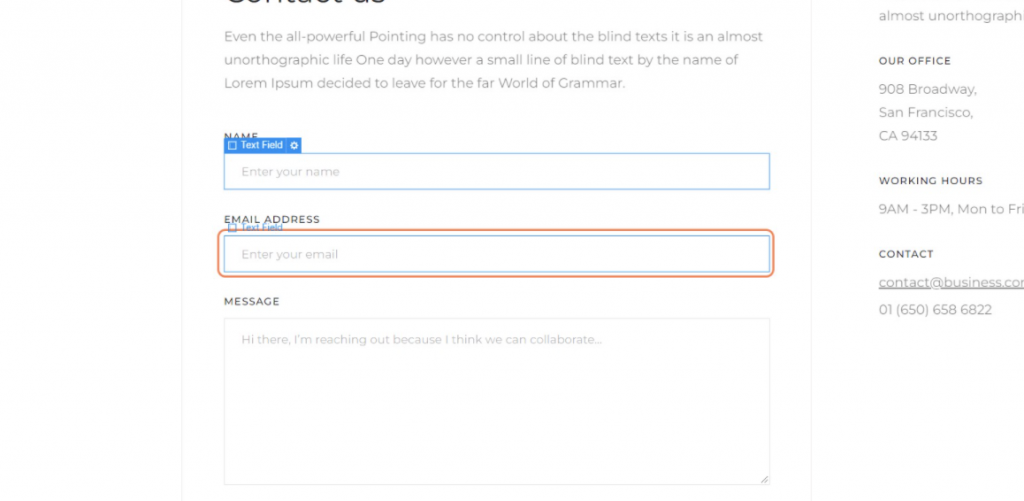
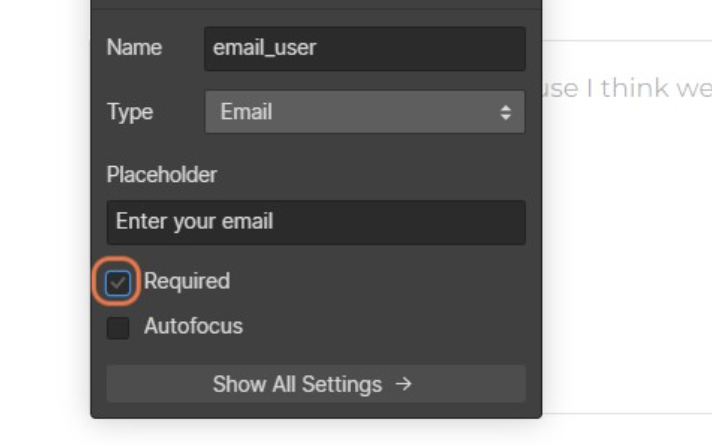
Next, click on the text box for ‘email address.
On the right-hand side of your screen type “email_user’” in the name text box.
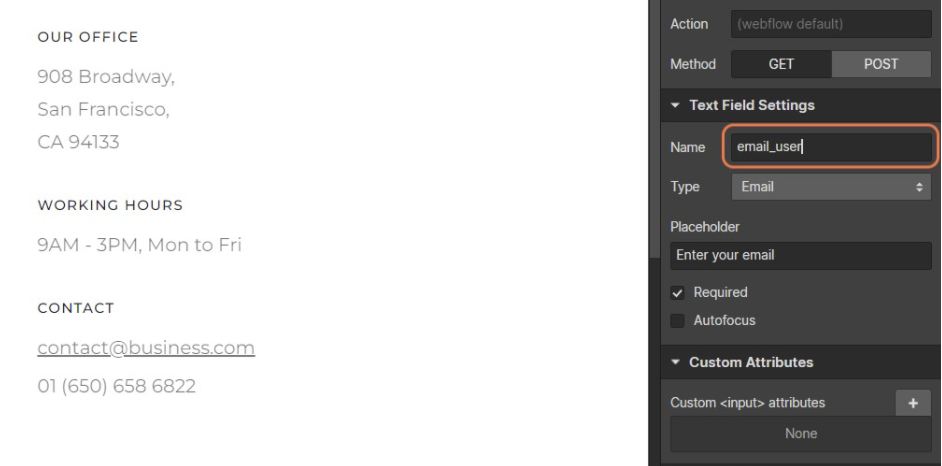
Again, click on Required to make sure it is disabled.
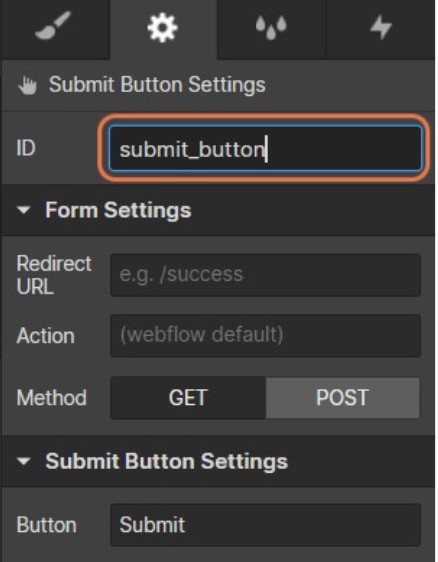
Now click on the submit button at the bottom to add an ID attribute.
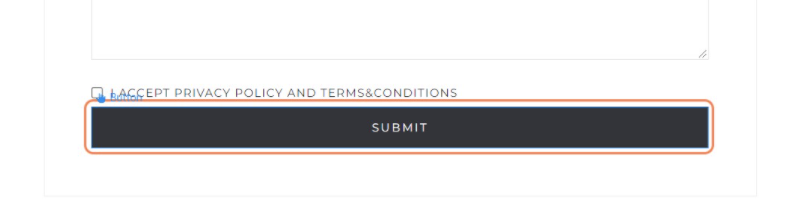
On the right sidebar, add an ID attribute “submit_button” in the first text box.
After that, click on contact us to select the whole form as shown in the image below.
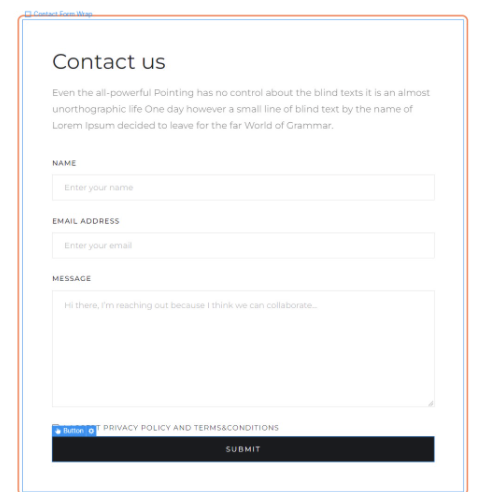
Now, using the left-hand sidebar, click on Contact Form.
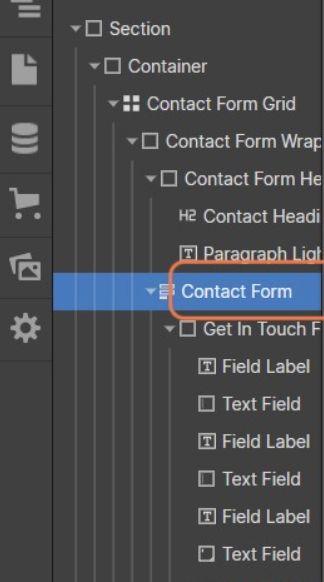
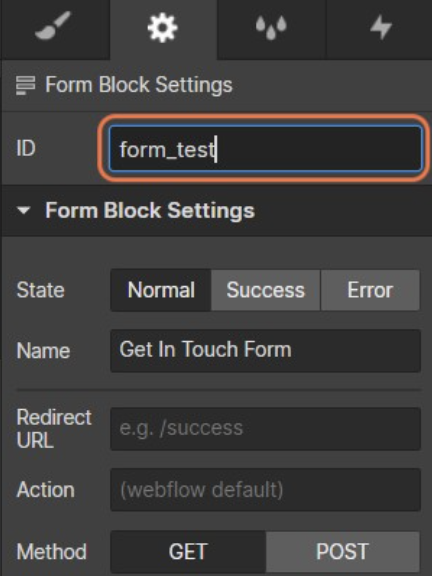
Then on the right-hand sidebar Type “form_test” in the first text box provided. Here we are adding an ID to the <form>.
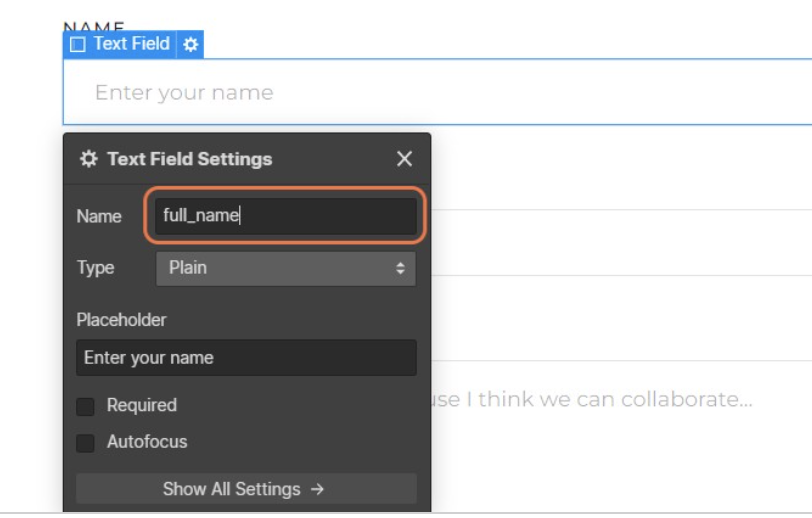
Next, click on the name text box on the contact form.
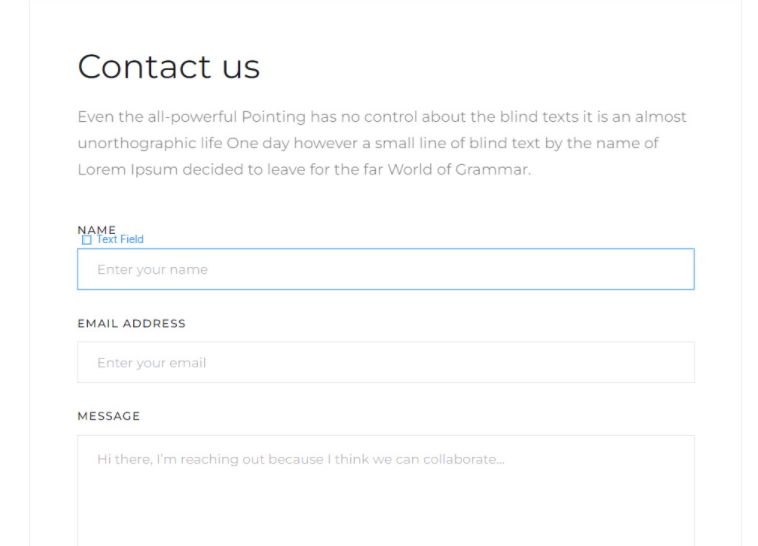
Then, select the settings icon next to the text field.
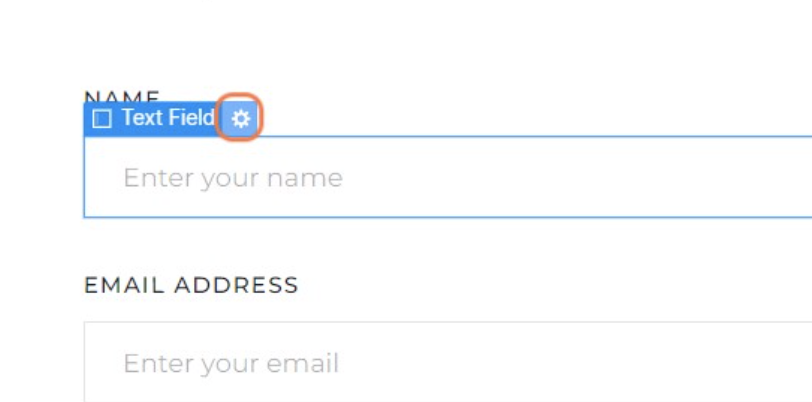
And then, enter ‘full_name’ into the text box and make sure ‘Required’ is disabled.
Congratulations! You’ve just created your simple contact form. In the following step, we are going to integrate the form with iubenda’s Consent Database.
Step 2: Integrate the form with iubenda’s Consent Database
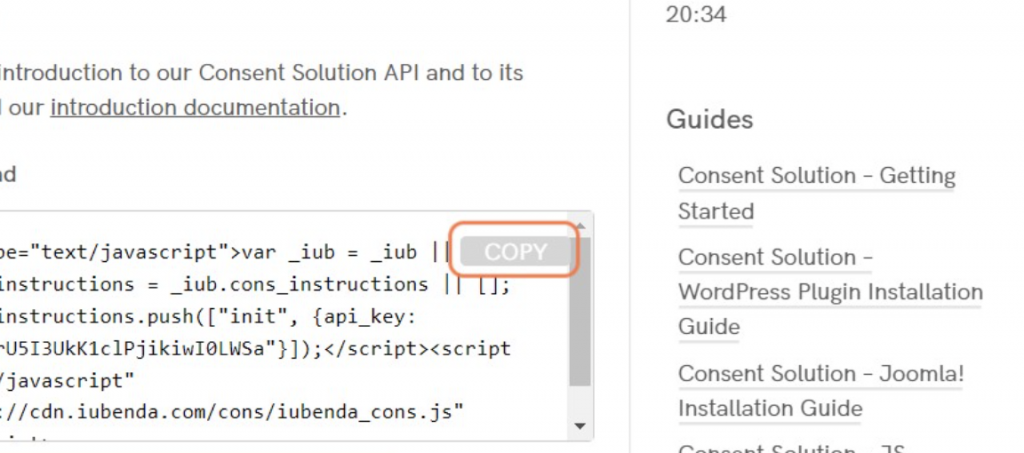
First, you need to open your iubenda dashboard in a new tab. From here we are going to copy the init code from iubenda dashboard.
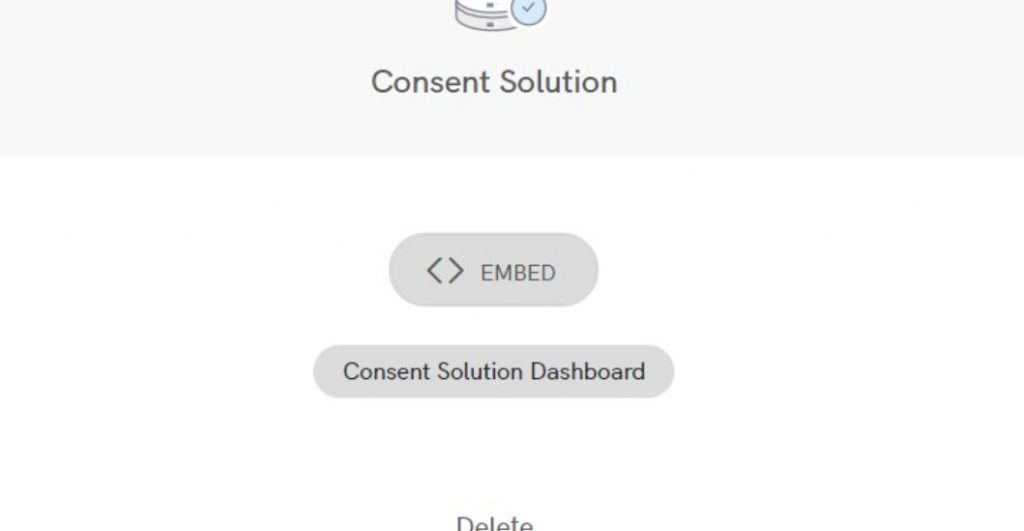
Click on the copy button next to the ‘init’ code. When the button turns green it has been copied onto your clipboard.
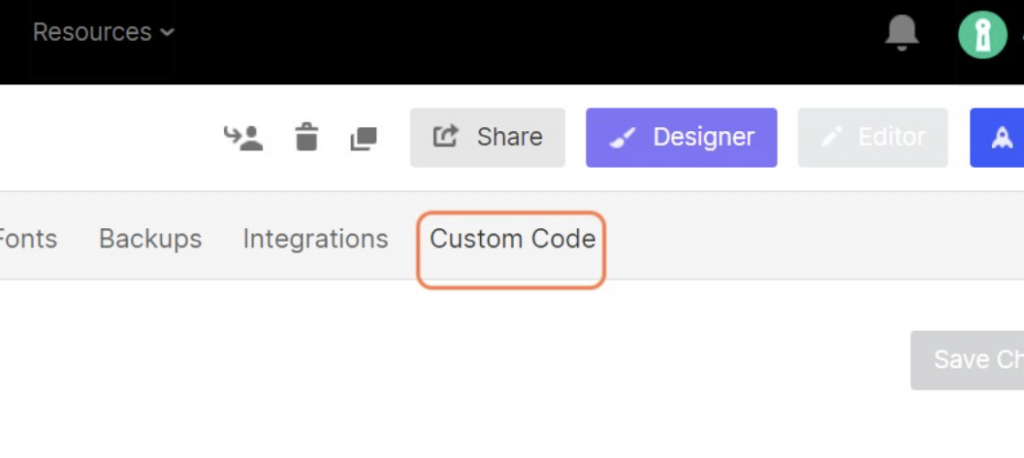
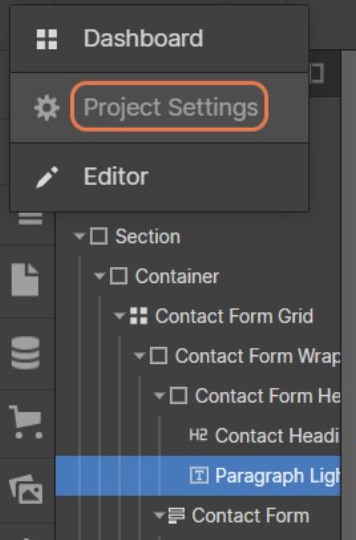
Next, head back to your Webflow page and click on the ‘Project settings’.

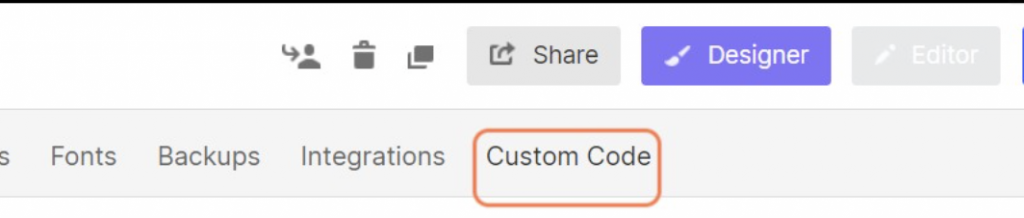
After that, click on Custom Code, here we are going to add the init code to the <head> tag.
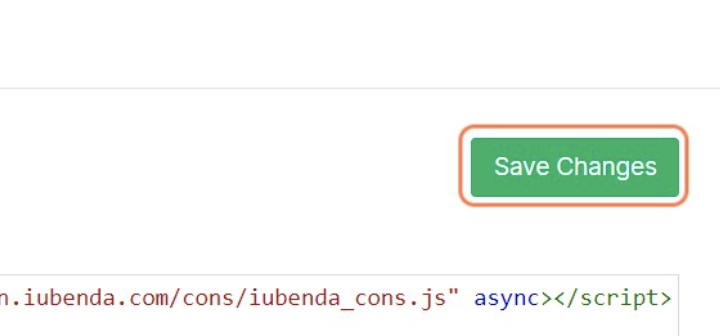
To add the init code to the <head> tag, paste the ‘init’ script from your Consent Database in the <head> tag text area provided.
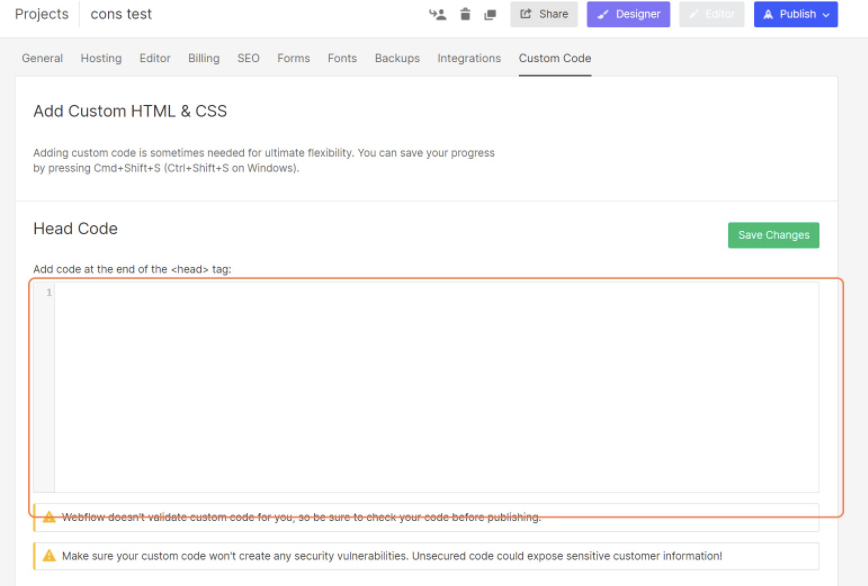
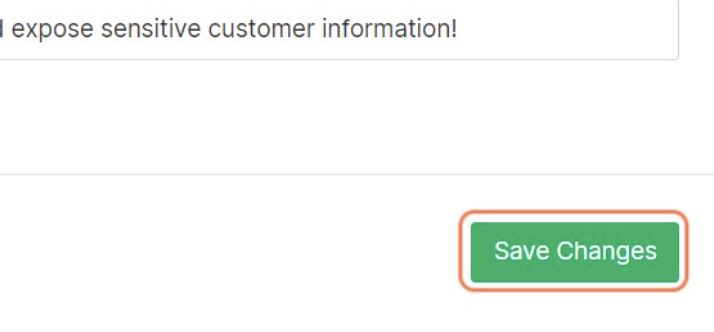
Now, click on Save Changes.
After saving, go to the Designer and analyze the form to modify the Consent Database Submit function.

Once you’re done, click on Home on the top left of your screen.
Then, in the drop-down menu select Contact.
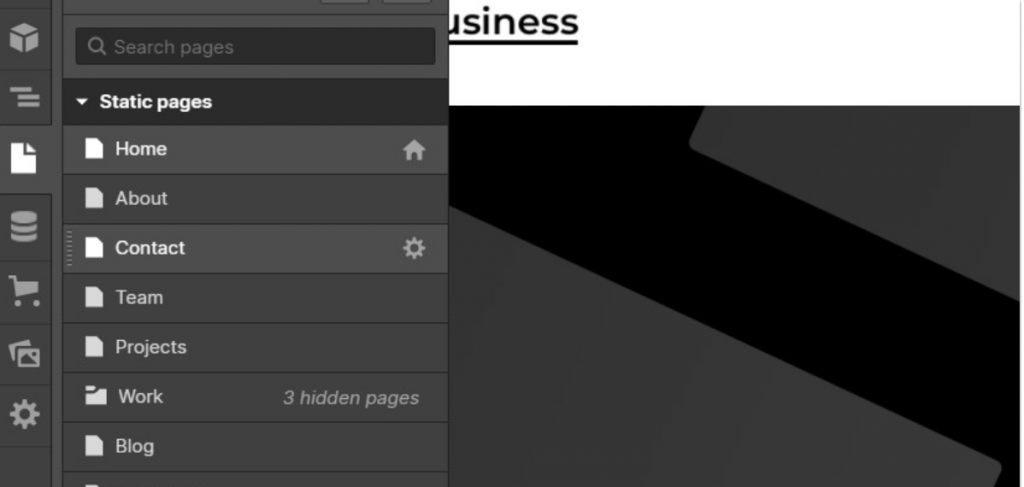
From here, click on the eye icon to enter preview mode, as shown in the image below.

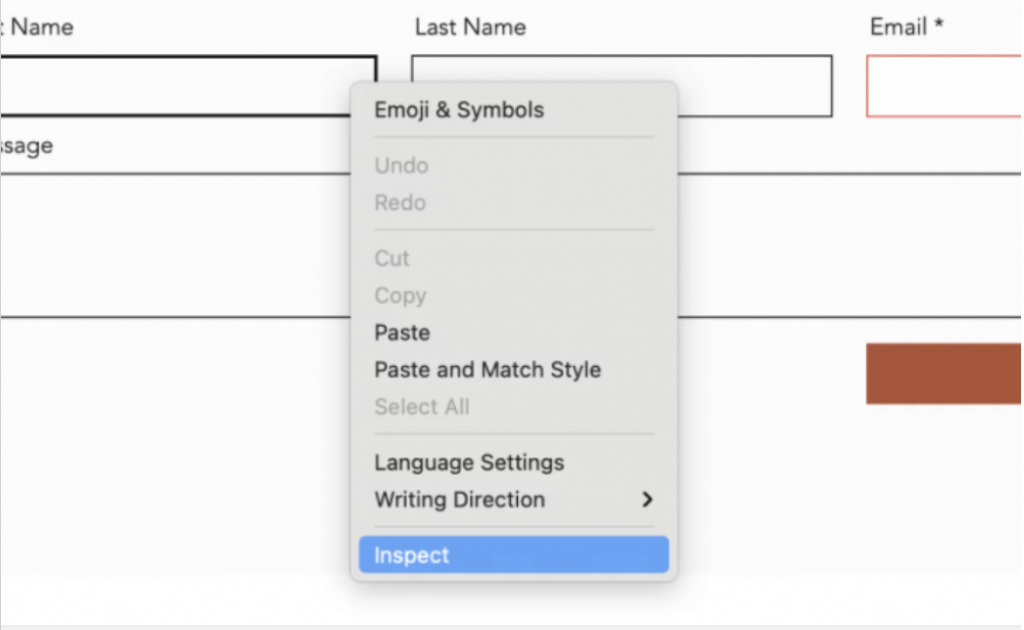
Next, you need to collect the name and ID attributes of the <form> (we have added them in step 1). For this, we are going to use DevTools. To start, right-click on the NAME field.
Then, click on the Inspect function.
Now, search for the <form> tag and note down the ID attribute.
We need to note down the name attribute of the Email and Full name (<input type="text"> tags) fields.
The same for the submit button (<input type="submit"> tag)
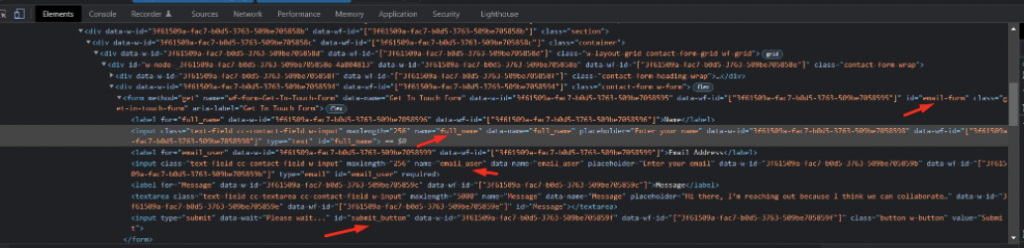
In this example:
- the ID of the form is: email-form
- the ID of the submit button is: submit_button
- the name attribute of the Name field is: full_name
- the name attribute of the Email is: email_user
- the name attribute of the checkbox Privacy Policy is: privacy_acceptance
Now, we are going to add the previously collected data to the Submit function of our Consent Database as shown in the example below.
<script type="text/javascript">
function sendToConsentSolution(){
_iub.cons_instructions.push(["submit",{
submitElement: document.getElementById("submit_button"),
form: {
selector: document.getElementById("email-form"),
map: {
subject: {
full_name: "full_name",
email: "email_user"
},
preferences: {
privacy_acceptance: "privacy_acceptance",}
}
},
consent: {
legal_notices: [
{
identifier: 'privacy_policy',
},
{
identifier: 'cookie_policy',
},
{
identifier: 'terms',
}
],
}}]);
}
</script>
Now, it’s time to modify the default behavior of the “submit” button on the form.
- when clicking on the submit button (id=#submit_button) we are going to check if the checkbox “Privacy_acceptance” is checked or not.
- If checked we send the form and the consent to the Consent Database
- If not checked we display an alert for the user and he should accept the privacy acceptance
<script type="text/javascript">
jQuery(document).ready(function() {

$("#submit_button").click(function (e) {

e.preventDefault();

if(jQuery('input[name="privacy_acceptance"]:checked').length<=0){alert('You should read and accept privacy policy');return false;}
else {
jQuery("#email-form").submit();
sendToConsentSolution();
}

});
});
</script>
After that, we need to merge the two scripts. Please see our example below for how this is done.
Now, click on the Navigator menu button. We need to paste the “submit” function and the other script in the footer of the page.
<script type="text/javascript">
jQuery(document).ready(function() {

$("#submit_button").click(function (e) {

e.preventDefault();

if(jQuery('input[name="privacy_acceptance"]:checked').length<=0){alert('You should read and accept privacy policy');return false;}
else {
jQuery("#email-form").submit();
sendToConsentSolution();
}


});
});
</script>
<script type="text/javascript">
function sendToConsentSolution(){
_iub.cons_instructions.push(["submit",{
submitElement: document.getElementById("submit_button"),
form: {
selector: document.getElementById("email-form"),
map: {
subject: {
full_name: "full_name",
email: "email_user"
},
preferences: {
privacy_acceptance: "privacy_acceptance",}
}
},
consent: {
legal_notices: [
{
identifier: 'privacy_policy',
},
{
identifier: 'cookie_policy',
},
{
identifier: 'terms',
}
],
}
}]);
}
</script>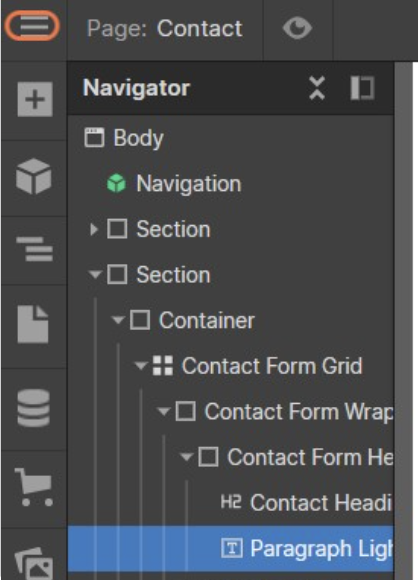
To do so, click on Project Settings.
Then, click on custom code.
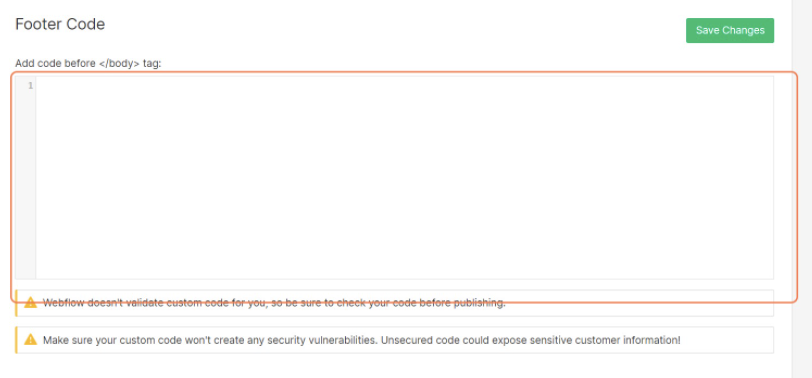
After that, right-click on the number 1 under Footer Code.

Then, paste the two merged scripts into the text area.
Once you have done that, click on save changes.
Now, you can click on Publish in the top right-hand corner.

Make sure you select the first check box.
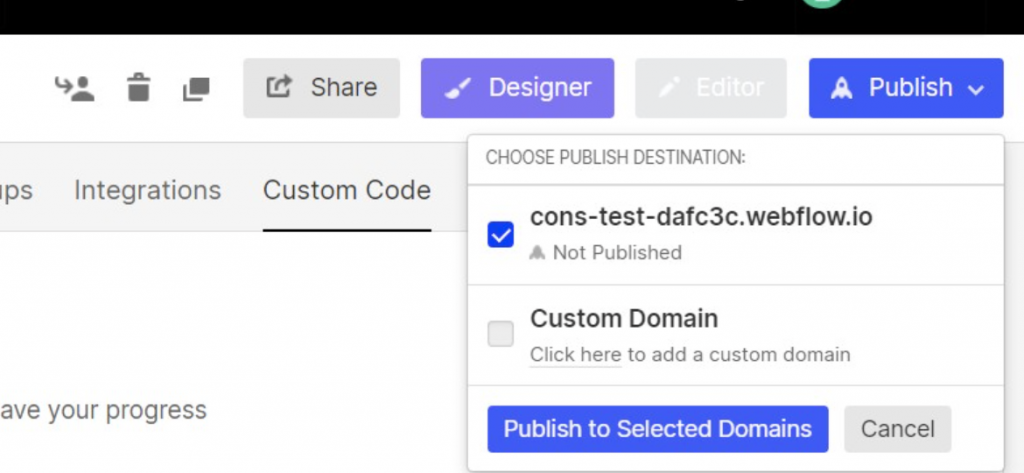
And finally, click on Publish to Selected Domains.

Congratulations! You’ve successfully integrated your Consent Database onto Webflow.