Have you generated a website using Prestashop and need to meet GDPR consent requirements?
Well, you’re in the right place. In this guide, we’ll take a look at GDPR consent proof requirements and how to add iubenda’s Consent Database to your Prestashop site.
→ Jump to How to add the Consent Database on Prestashop
Why do I need GDPR proof of consent
Consent records are specifically required under the GDPR. Keeping a complete and thorough record of consent is required and is an essential part of privacy compliance. The records of proof are managed by you, the Data Controller. As a result, the GDPR requires you to keep “proofs” or records of consent that contain specific details that might prove that the consent received is genuine and therefore valid under the GDPR. Consent must be explicit, freely provided, and verifiable under the GDPR. You can read up more on iubenda’s Consent Database here.
What must GDPR consent records contain
These records should include a way of identifying the user, proof of consent, record of the consenting action, and the legal documents available to the user at the time of consent, among other things.
The following information should be recorded:
- who provided the consent;
- when and how consent was obtained from the particular user;
- the consent collecting form they were presented with at the time of collection; and
- whatever conditions and legal documents were in effect at the time the consent was obtained.
You can read about the full requirements here.
iubenda’s Consent Database automatically records and manages GDPR & LGPD consent and privacy preferences for each of your users. You can read up more on iubenda’s Consent Database here.
How to add iubenda’s Consent Database on Prestashop 1.7
💡Using Prestashop 1.6? See here →
This guide is in two parts; please select and follow one of the processes provided below.
- How to add Consent Database to the default Contact Us page on Prestashop
- How to add Consent Database to the default Newsletter form on Prestashop
Contact us page on Prestashop
Please note that this guide is written for Prestashop 1.7; some parts of this guide may differ if you use an older version of Prestashop. Before starting, we suggest disabling Cache from Prestashop settings.
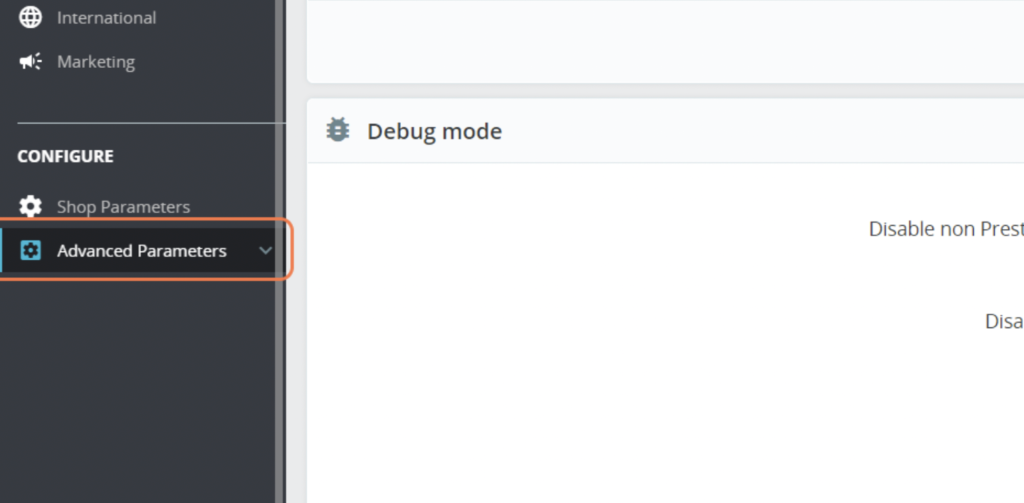
To begin, head to your Prestashop dashboard and click on advance parameters.
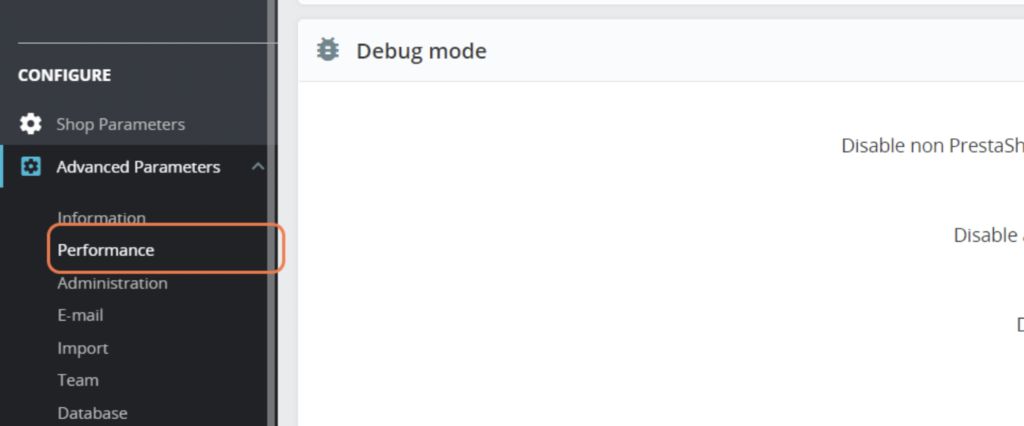
Next, click on Performance.
After that, in the Template Compilation drop-down menu, select > Recompile templates if the files have been updated from Template compilation.
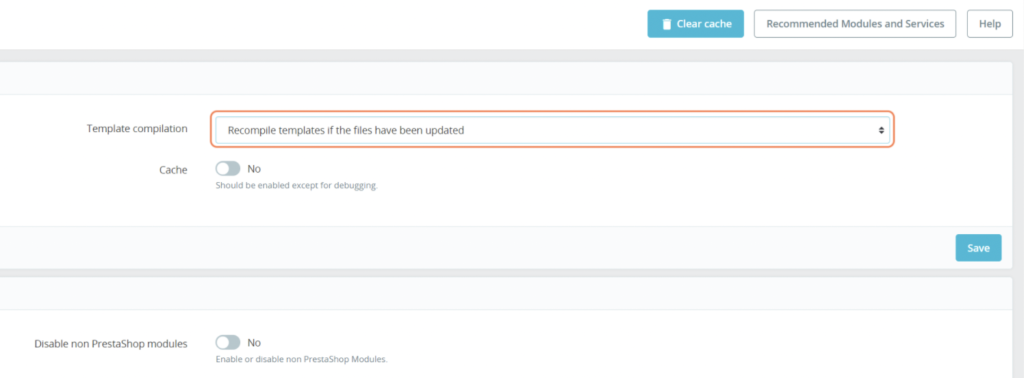
Then toggle the Cache button to No in order to disable cache.
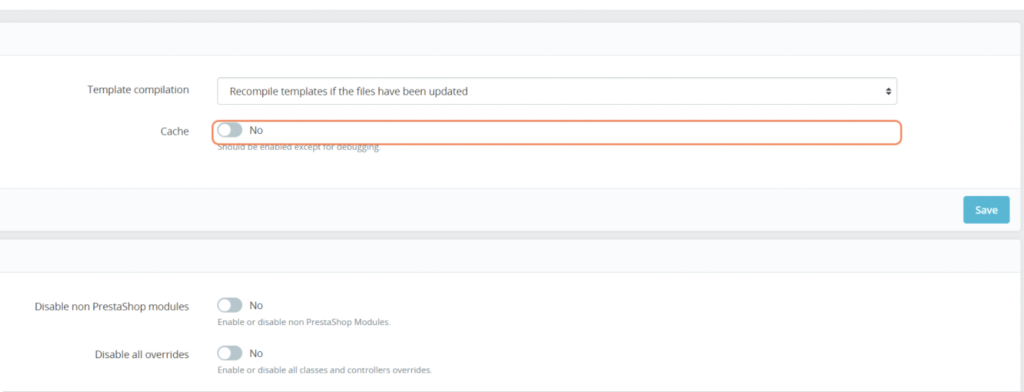
After that, scroll down to the bottom of the page and select the “Use Cache” setting and toggle to No. Finally, click on Save.

Next, we need to connect Contact US Page to your iubenda Consent Database. Here we are referring to the default ‘contact us page’ that Prestashop adds on the home page (usually at the top of the homepage, depending on your Theme)
For example:

Which would link to a contact page like the one below:
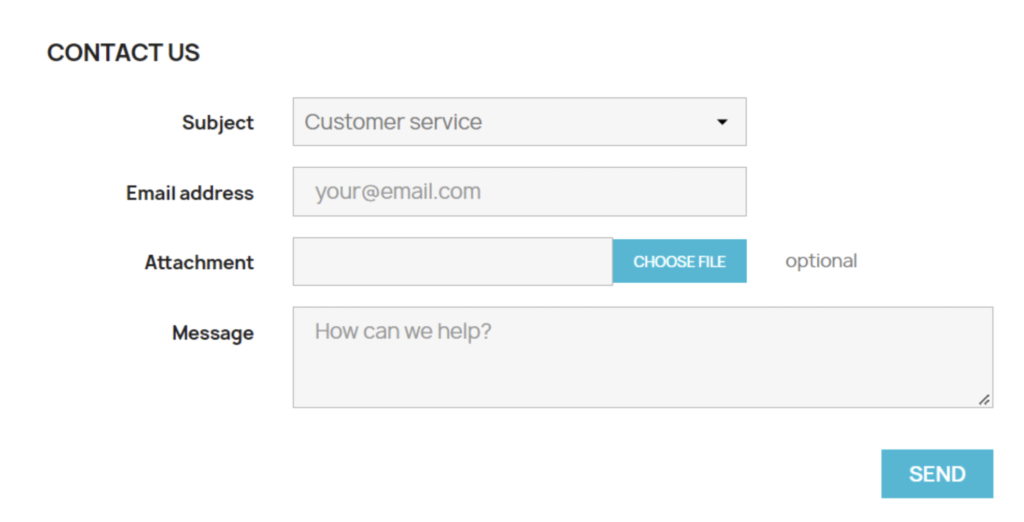
From here, we need to manually add IDs to the <form> tag and submit button of the form; to do this, follow the next steps:
1. Open contactform.tpl from your theme folder
You can find it in prestashop_folder\themes\YOUR_THEME\modules\contactform\views\templates\widget
(Replace YOUR_THEME, with the name of your theme in use)
2. Now, add id="form_contact" to <form> tag.

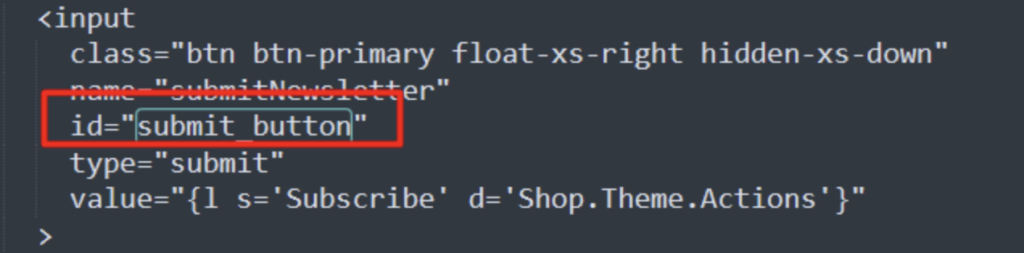
3. After that, add id="submit_button" to submit button.

4. Now the form is ready; we need to add the Load function of your Consent Database after the </form> closing tag
Please remember that the Load should be customized in this way:
You can find a demo here.
The script should be added between the {literal} {/literal} tags
You will add in the load function as described below:
- ID
"submit_button"in the submitElement:
submitElement: document.getElementById("submit_button"),
- ID
"form_contact"in the form object:
form: {selector: document.getElementById("form_contact"),
- in the subject, we should add the name attribute of the email field of our form; in this case, it is
"from":
subject: {
email: "from"
How to find it? Go to your contact us page, click on the email field, right-click with your mouse, then click Inspect.
A tab with the HTML of that field will show you the name attribute:

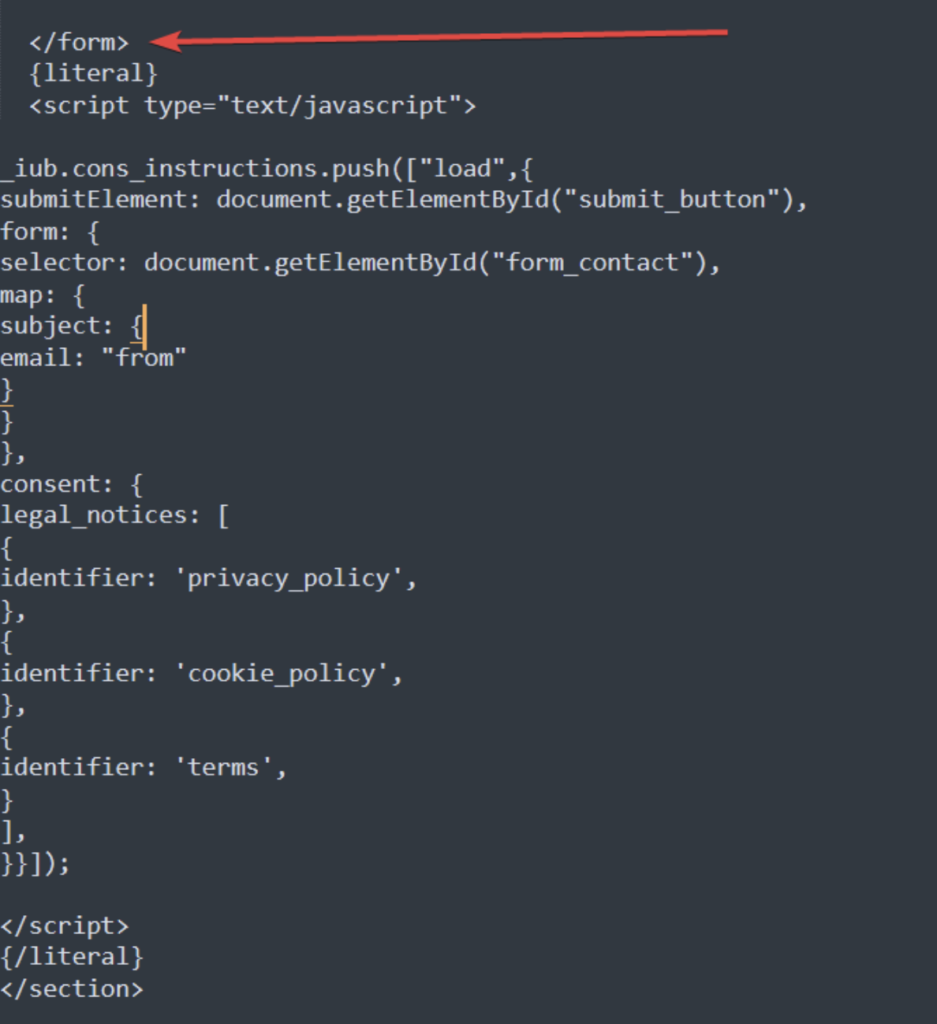
The final Load script will look like the following:
{literal}
<script type="text/javascript">
_iub.cons_instructions.push(["load",{
submitElement: document.getElementById("submit_button"),
form: {
selector: document.getElementById("form_contact"),
map: {
subject: {
email: "from"
}
}
},
consent: {
legal_notices: [
{
identifier: 'privacy_policy',
},
{
identifier: 'cookie_policy',
},
{
identifier: 'terms',
}
],
}}]);
</script>
{/literal}
Lastly, you will paste it after the </form> closing tag:
Next, we need to add the INIT function in the <head> of the website.
Without modifying your theme’s template, we suggest you use a module that allows you to add scripts in the head tag. We recommend HTML box or something similar.
After installing the HTML box or something similar, you can copy the INIT function from your iubenda’s dashboard → Consent Database → Embed
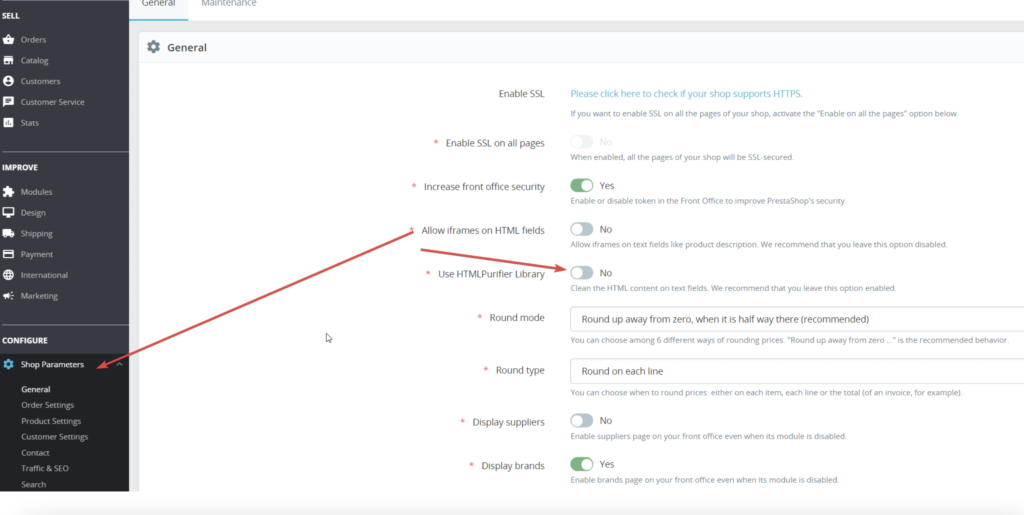
Before copying our INIT function, HTML BOX suggests disabling the HTML Purifier library; you can find it in Shop Parameters → General.

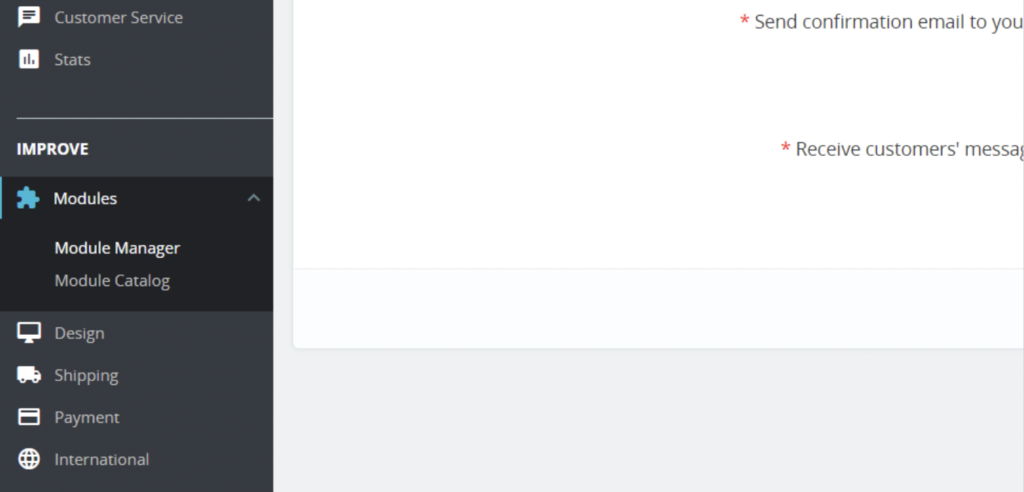
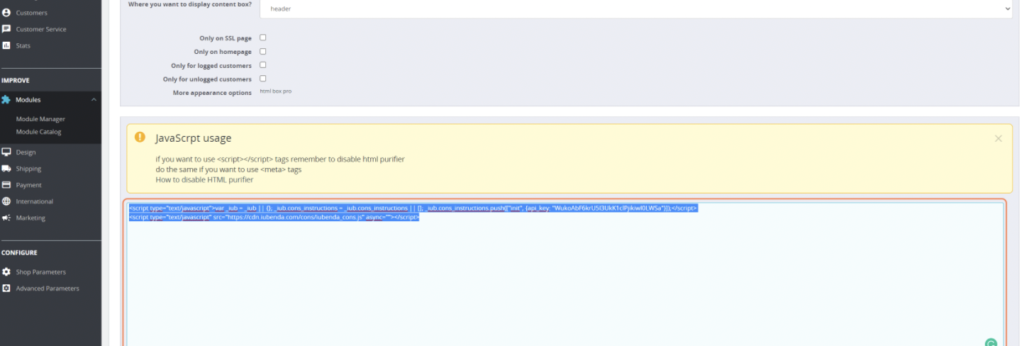
Copy INIT function in the HTML BOX module. Click on Module Manager.

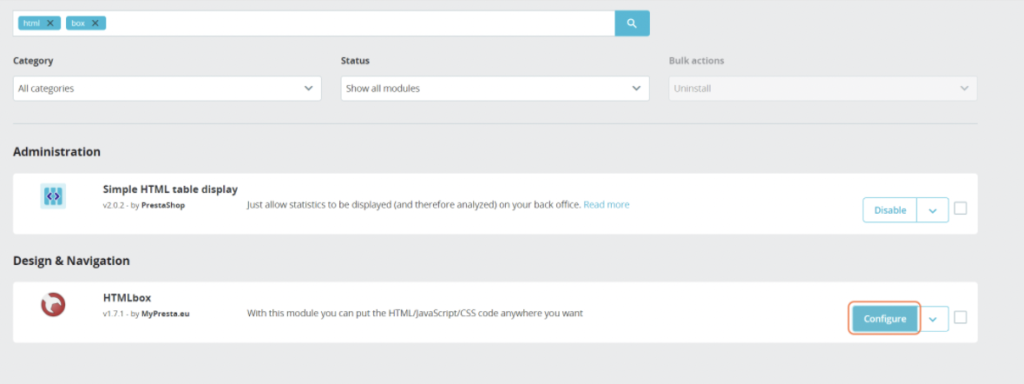
Type in “html box” into the search bar.
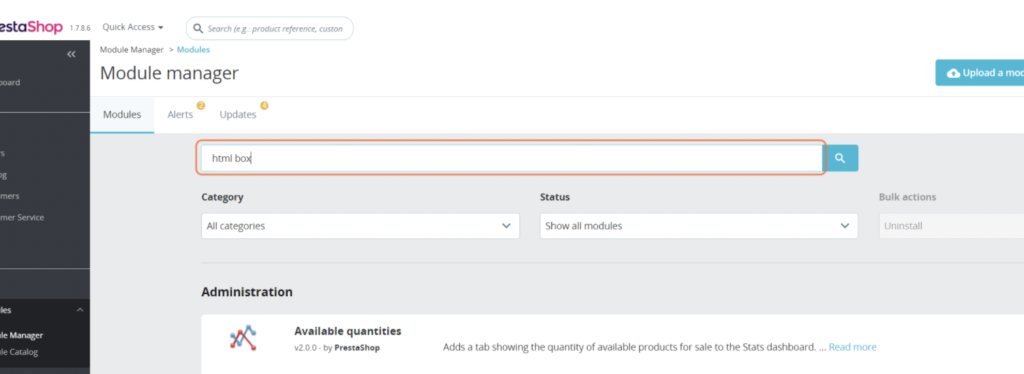
Then click on the Configure button.

After that, paste the INIT function into the text box provided and click on Save, and you’re done!

Default Newsletter form on Prestashop
This step-by-step guide explains how to install Consent Database on the Newsletter form created using the default ps_emailsubscription module.
If ps_emailsubscription module is enabled, Prestashop creates a newsletter subscription form at the website’s footer.
Here is an example:

Now we need to add IDs to the form and submit button of our form. To do so, you will need to open the ps_emailsubcription.tpl file and modify it.
You can find it in the folder themes/YOUR_THEME/modules/ps_emailsubscription/views/templates/hook/
(Replace YOUR_THEME, with the name of your theme in use)
After that, add id="newsletter_subscription" to the <form> tag.

Next, add id="submit_button" to the submit button.
Now the form is ready; we need to add the “submit” function of your Consent Database after the </form> closing tag.
Please note that the Submit function should be customized in this way:
Please note that Prestashop requires you to paste the script between {literal} {/literal} tags.
- ID
"submit_button"here:document.getElementById("submit_button").onclick=function (e) { - ID newsletter_subscription in the form object:
form: {selector: document.getElementById("newsletter_subscription"), - in the subject-object, we should add the name attribute of the email field of our form; in this case, it is “email”:
subject: {
email: "email"
How to find it? Go to your contact us page, click on the email field, right-click with your mouse, then click Inspect.
A tab with the HTML of that field will show you the name attribute.

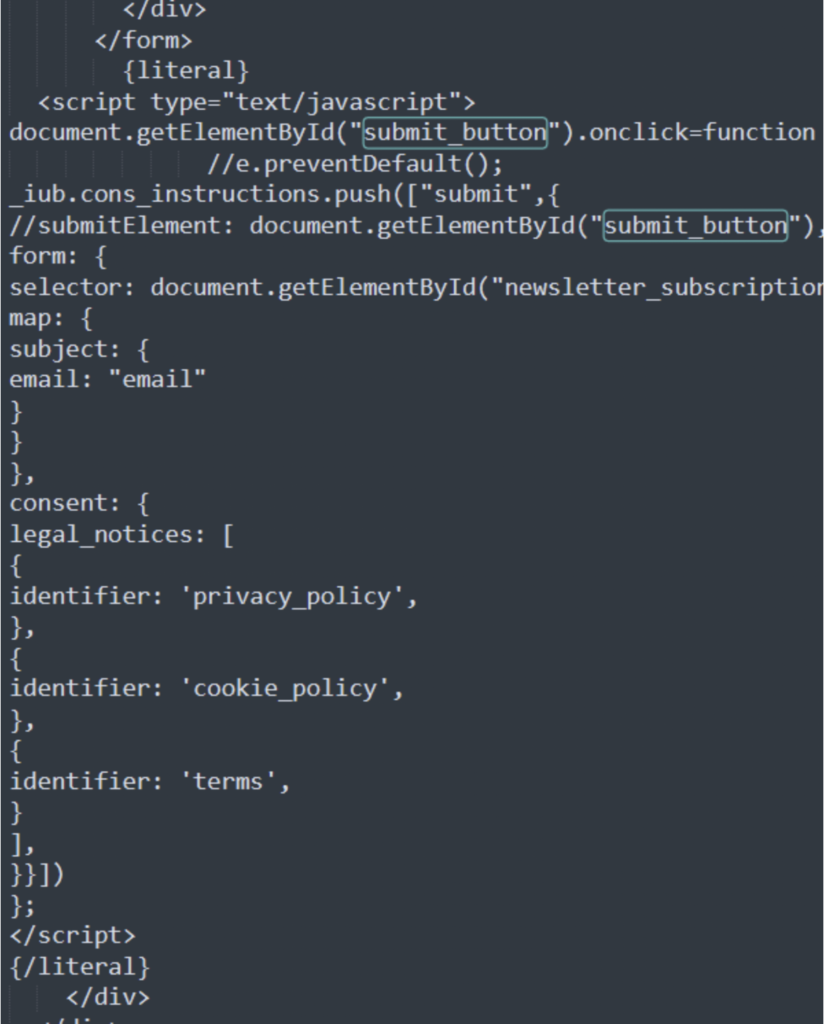
The final submit script will be:
{literal}
<script type="text/javascript">
document.getElementById("submit_button").onclick=function (e) {
_iub.cons_instructions.push(["submit",{
form: {
selector: document.getElementById("newsletter_subscription"),
map: {
subject: {
email: "email"
}
}
},
consent: {
legal_notices: [
{
identifier: 'privacy_policy',
},
{
identifier: 'cookie_policy',
},
{
identifier: 'terms',
}
],

}}])
};
</script>
{/literal}
You will paste it after the </form> closing tag
We need to add the INIT function in the <head> of the website.
Without modifying your theme’s template, we suggest you use a module that allows you to add scripts in the head tag. We recommend HTML box or something similar.
After installing the HTML box or something similar, you can copy the INIT function from your iubenda’s dashboard → Consent Database → Embed
Before copying our INIT function, HTML BOX suggests disabling the HTML Purifier library; you can find it in Shop Parameters → General.
Copy INIT function in the HTML BOX module. Click on Module Manager.
Type in “html box” into the search bar.

Then click on the Configure button.
After that, paste the INIT function into the text box provided and click on Save, and you’re done!
Prestashop 1.6 with iubenda’s Consent Database
You can install iubenda’s Consent Database on the contact-us page of Prestashop 1.6.
Prestashop 1.6 and Consent Database integration
Start by modifying (in the main theme folder) the file contact-form.tpl.Here you paste the Load function (before the form closing tag) and the header.tpl file where you paste the init function.
Please note that in the following script:
"submitMessage" is the ID of the submit button
"contact-form" is the ID of the form
You can save the consent by launching _iub.cons.sendData() using a javascript onclick event.
In the Load function, you are going to map the form fields, in this case only the email, where the name attribute is “from”.
The Load function is modified since we delete the “submitElement” and use the first javascript onclick event to send the consent mapped by the Load function.
{literal}
<script type="text/javascript">
document.getElementById("submitMessage").onclick=function(e){

_iub.cons.sendData();
}
</script>

<script type="text/javascript">

_iub.cons_instructions.push(["load",{


form: {

selector: document.getElementById("contact-form"),

map: {

subject: {

email: "from"

}

}

},

consent: {

legal_notices: [

{

identifier: 'privacy_policy',

},

{

identifier: 'cookie_policy',

},

{

identifier: 'terms',

}

],

}}]);

</script>

{/literal}
The init function should be pasted in the header.tpl file:
Please note that there is sendFromLocalStorageAtLoad: false
<!-- start init cons -->
{literal}
<script type="text/javascript">var _iub = _iub || {}; _iub.cons_instructions = _iub.cons_instructions || []; _iub.cons_instructions.push(["init", {api_key: "PUBLIC_TEST_API_KEY", *sendFromLocalStorageAtLoad**: false* }]);</script><script type="text/javascript" src="https://cdn.iubenda.com/cons/iubenda_cons.js" async></script>
{/literal}
<!-- end consent solution iubenda -->